Tuesday, 19 Feb 2019
Driver’s Chat Guide
Dear Drivers-Partner,
We are excited to announce that EzDriver are now available with the In Apps chat feature!
We hear you!
Now you can easily communicate with your Passenger In Apps with the new instant messaging feature.
It's now available for you, so Ez and Convenient!
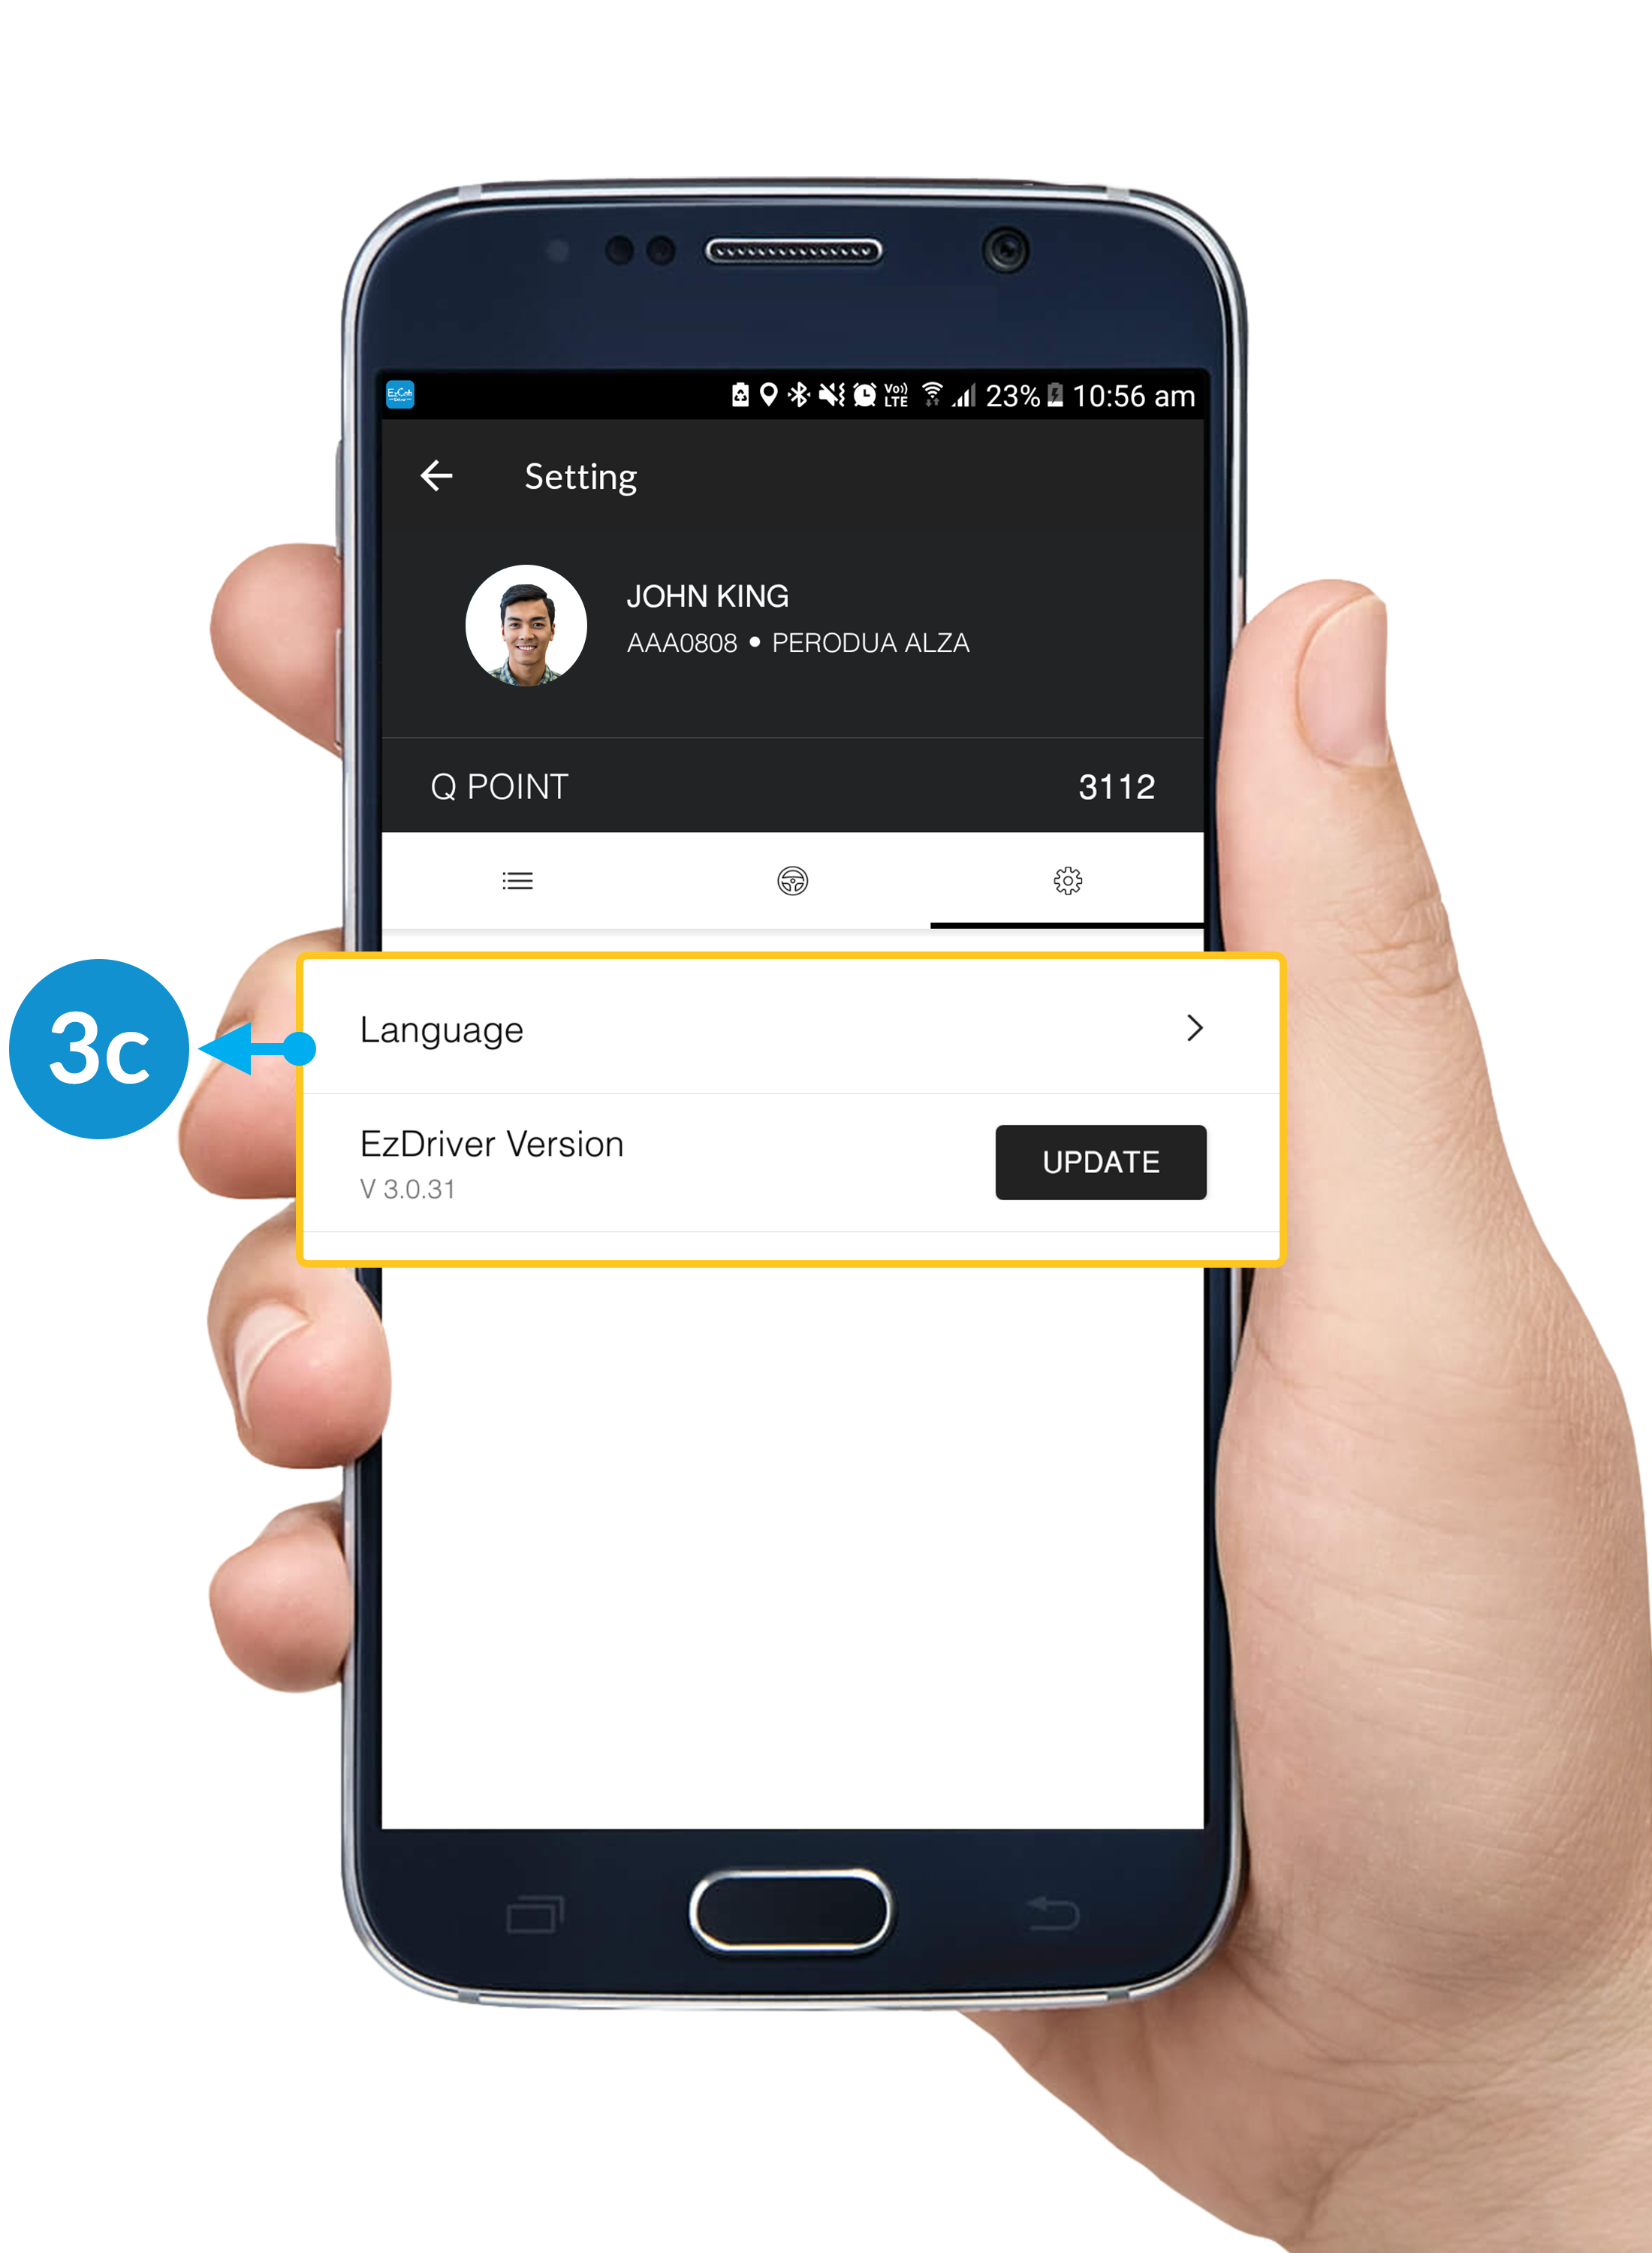
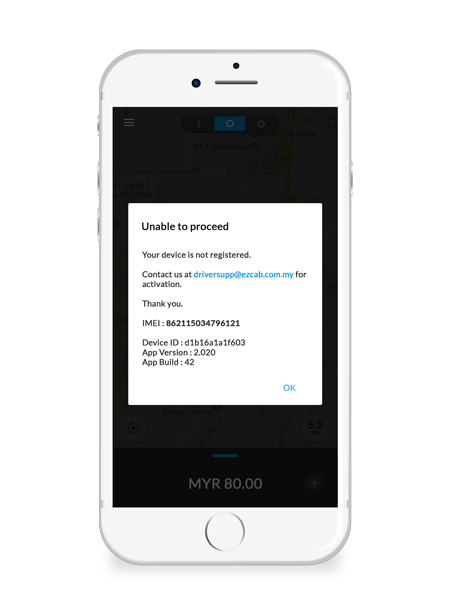
NOTES: Update your EzDriver apps to the latest version to get this Chat Features.
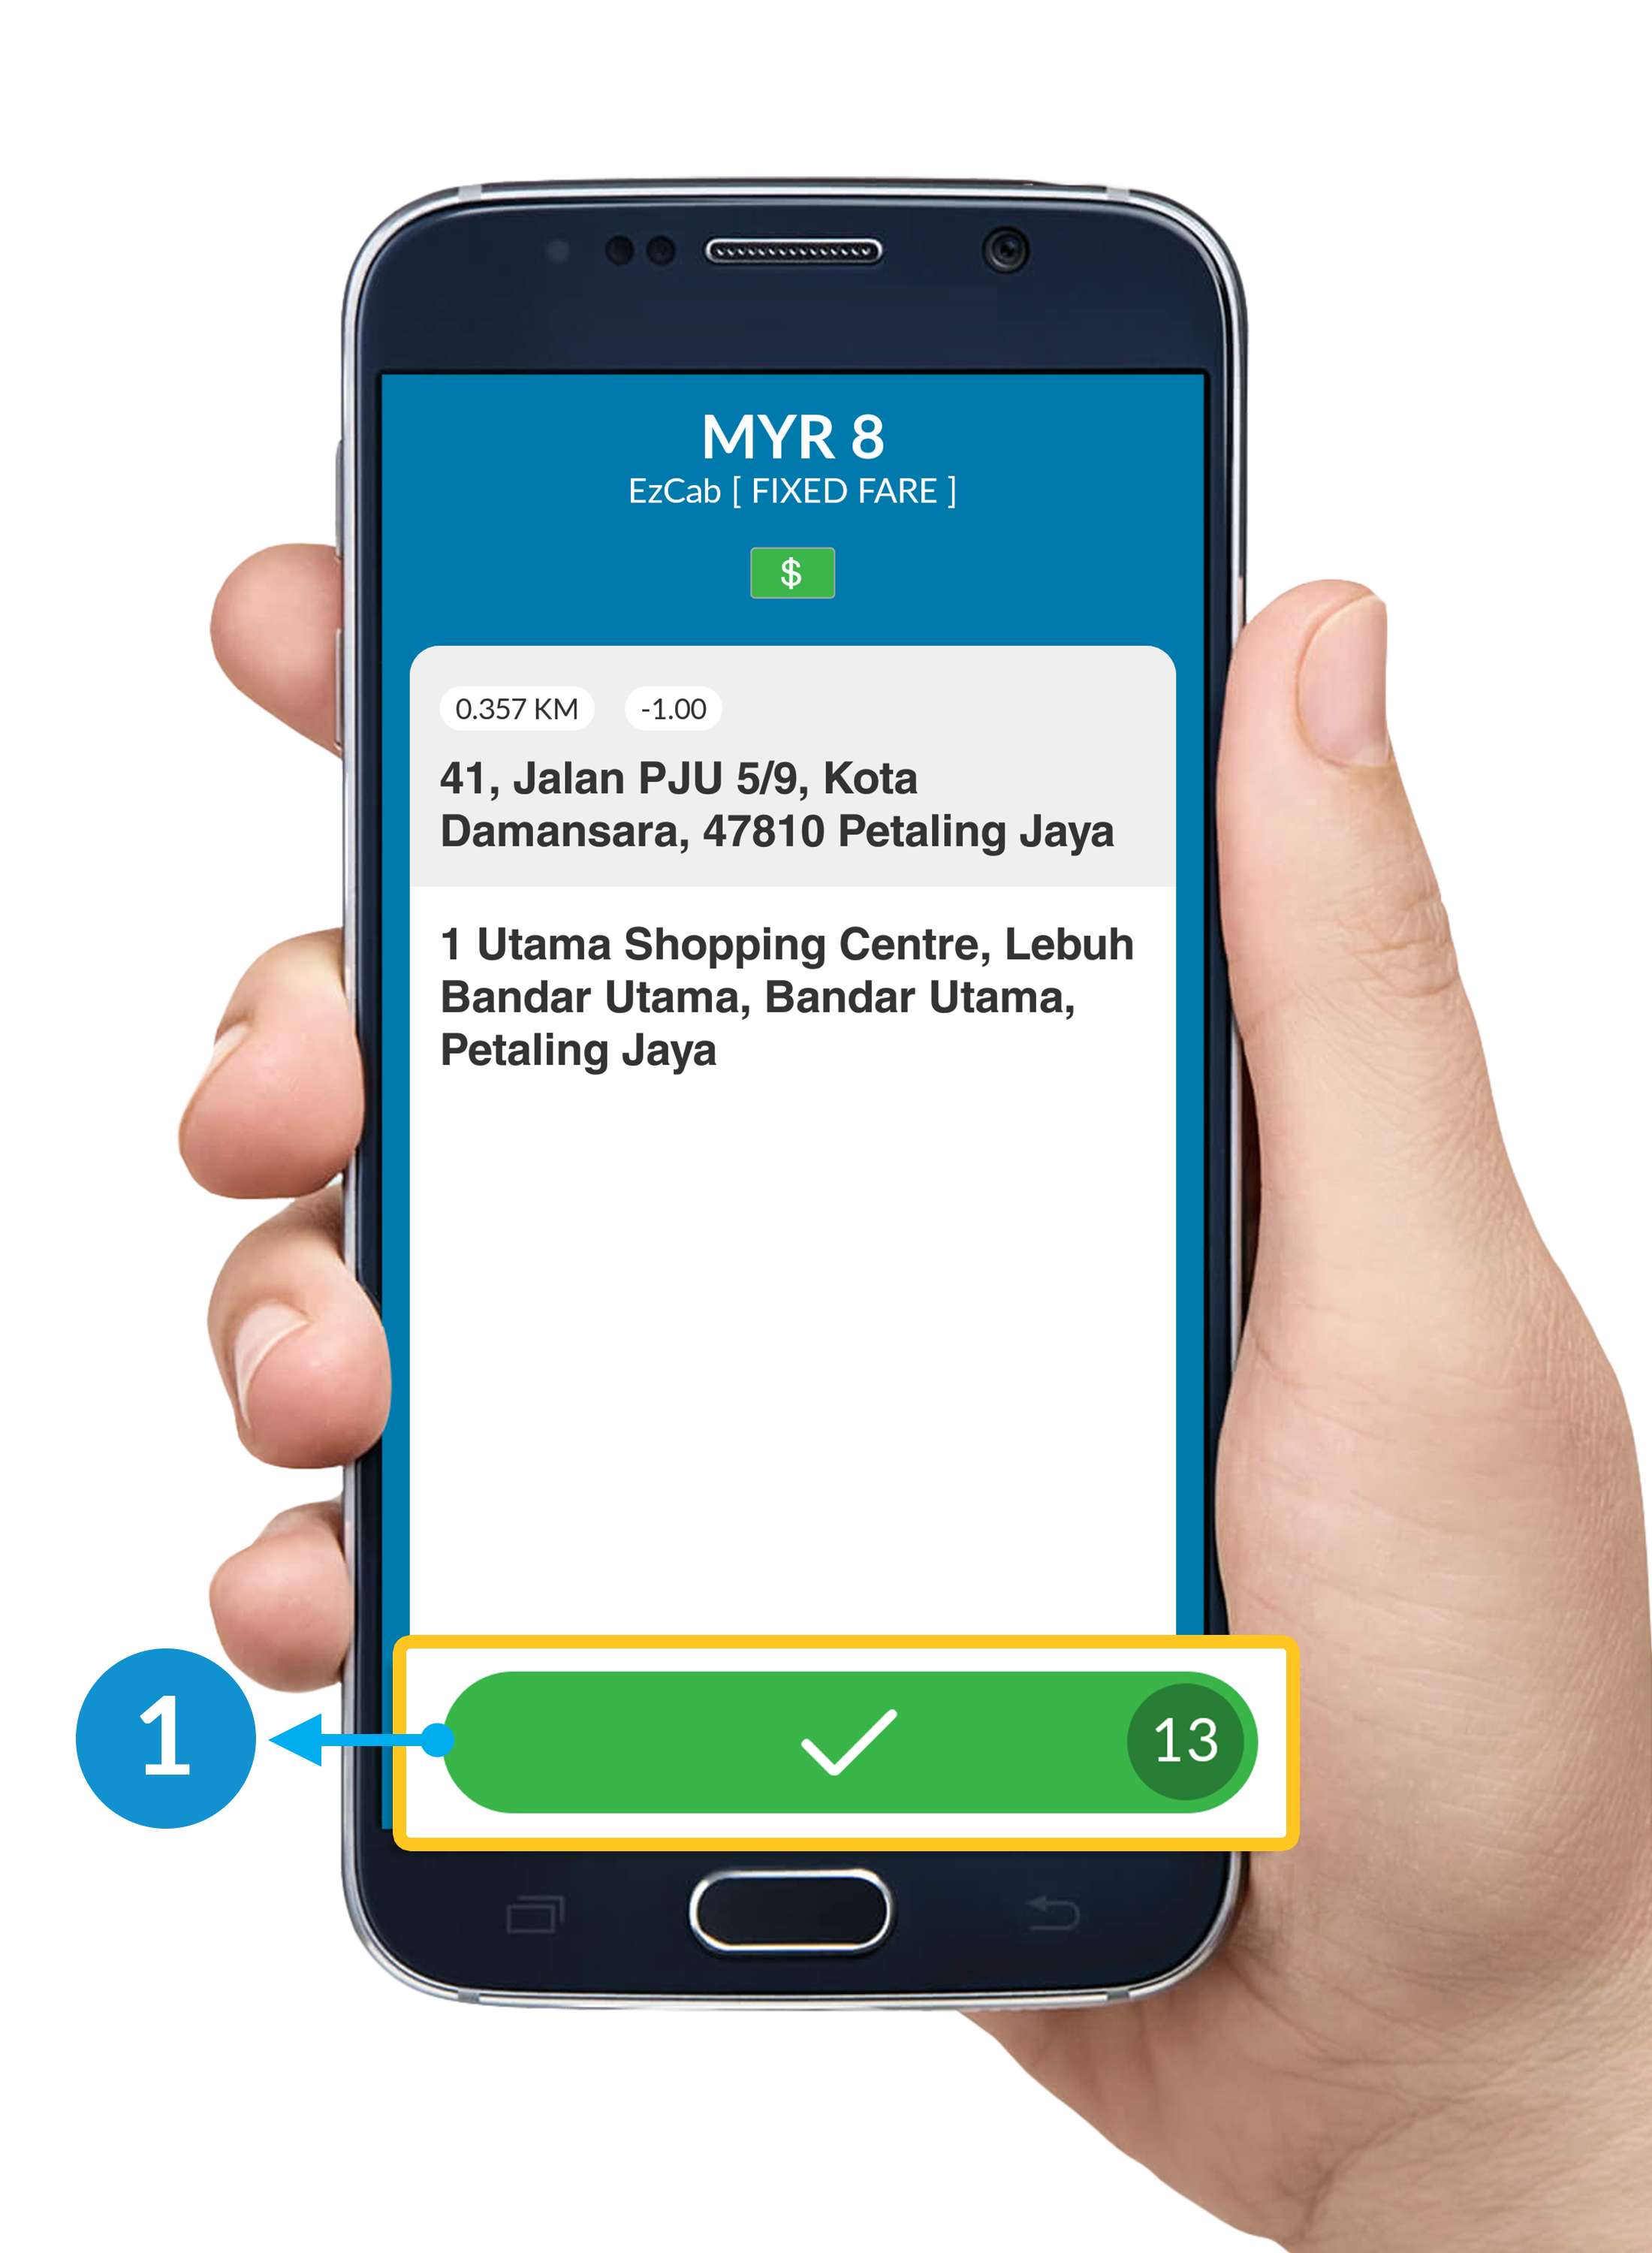
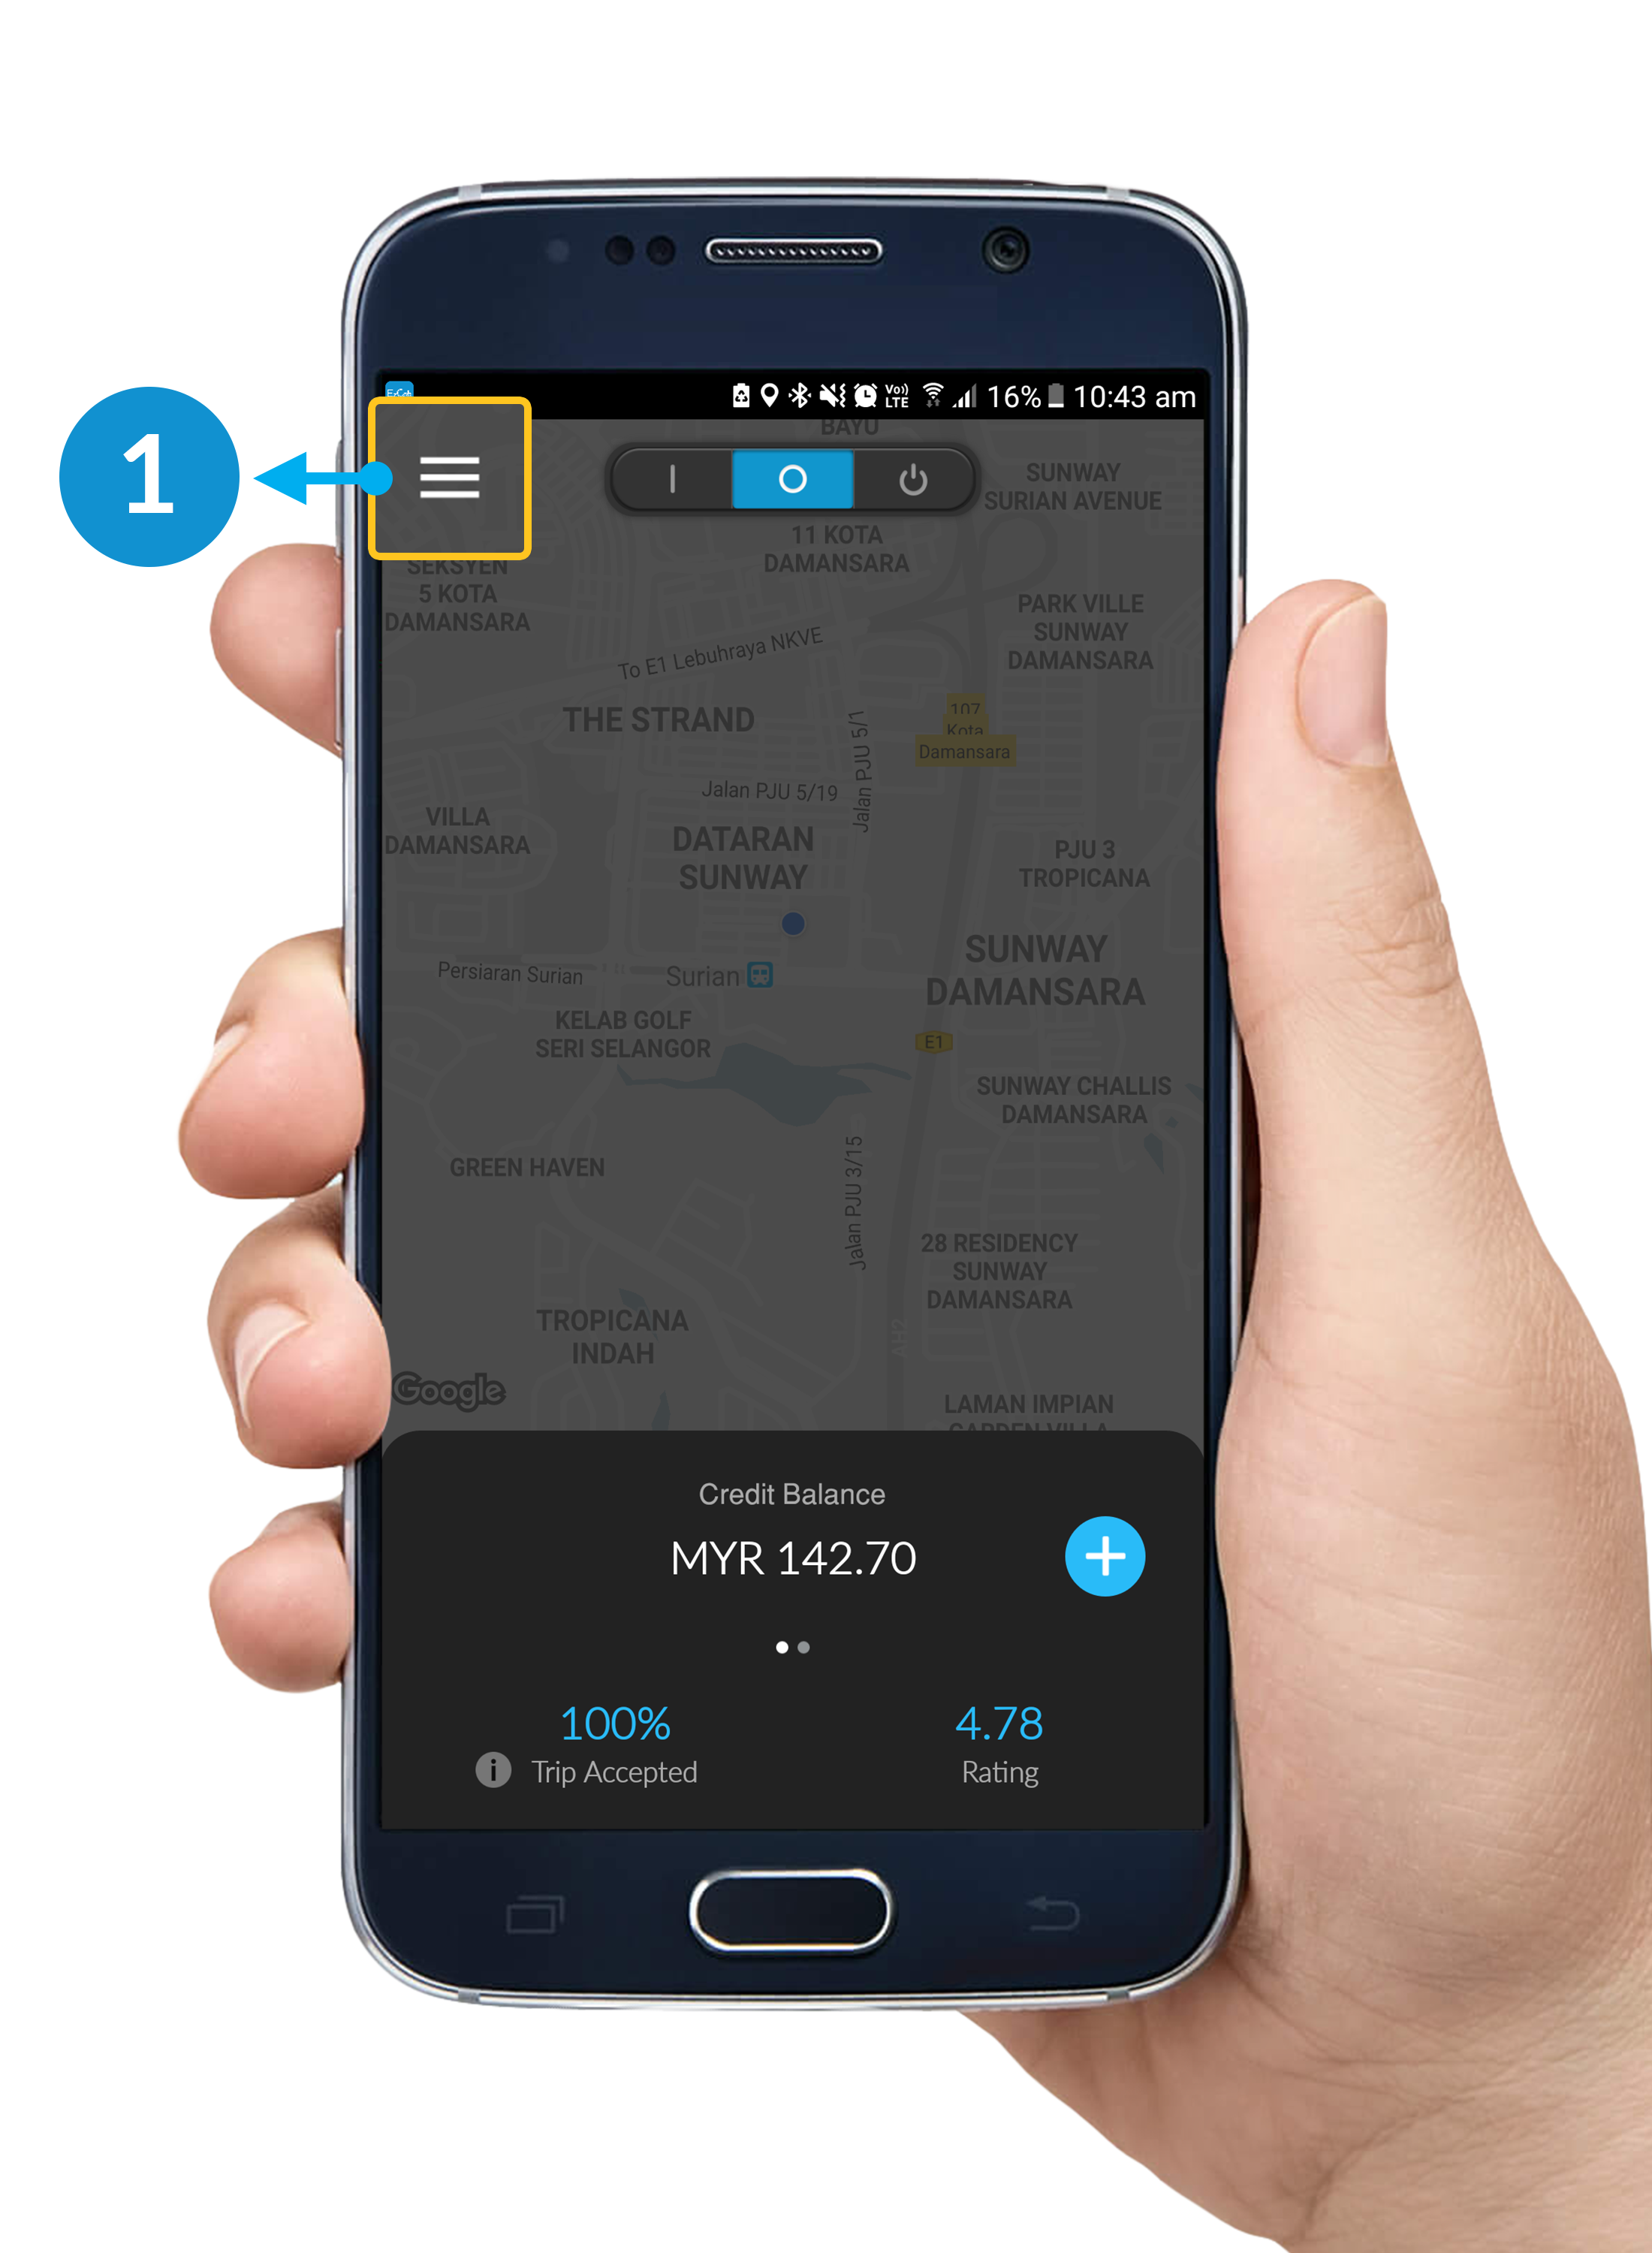
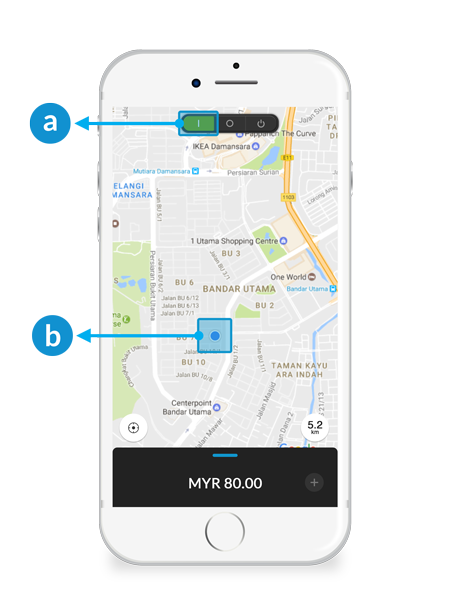
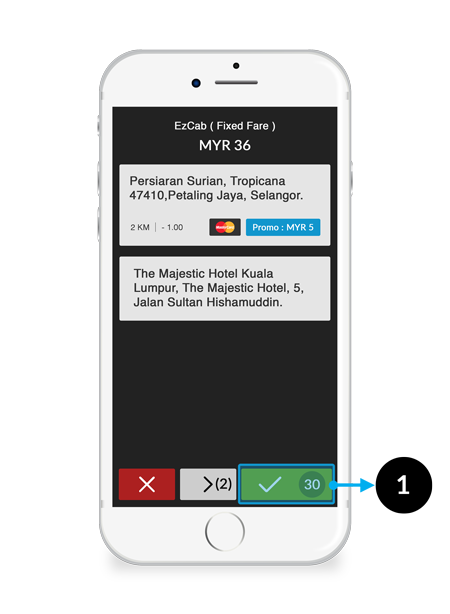
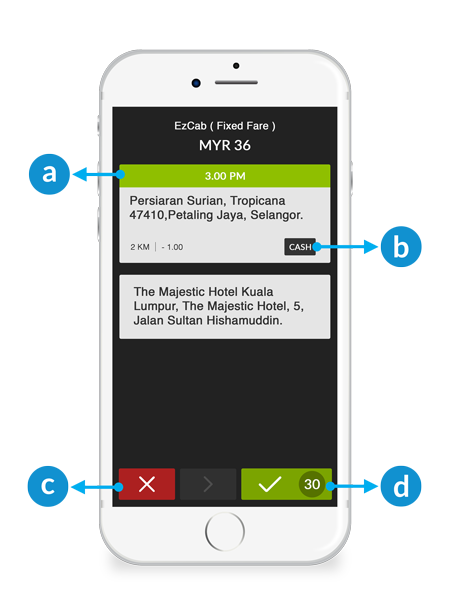
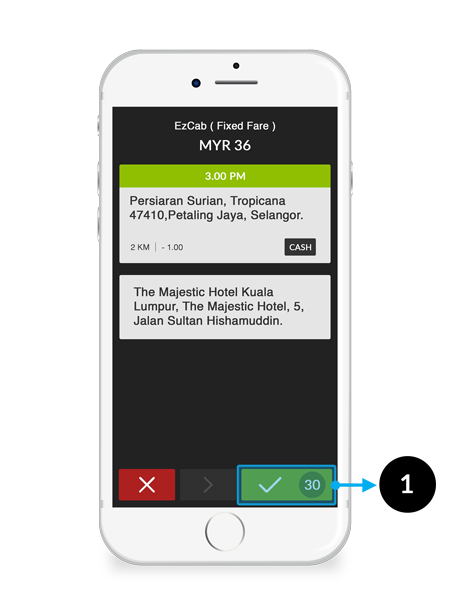
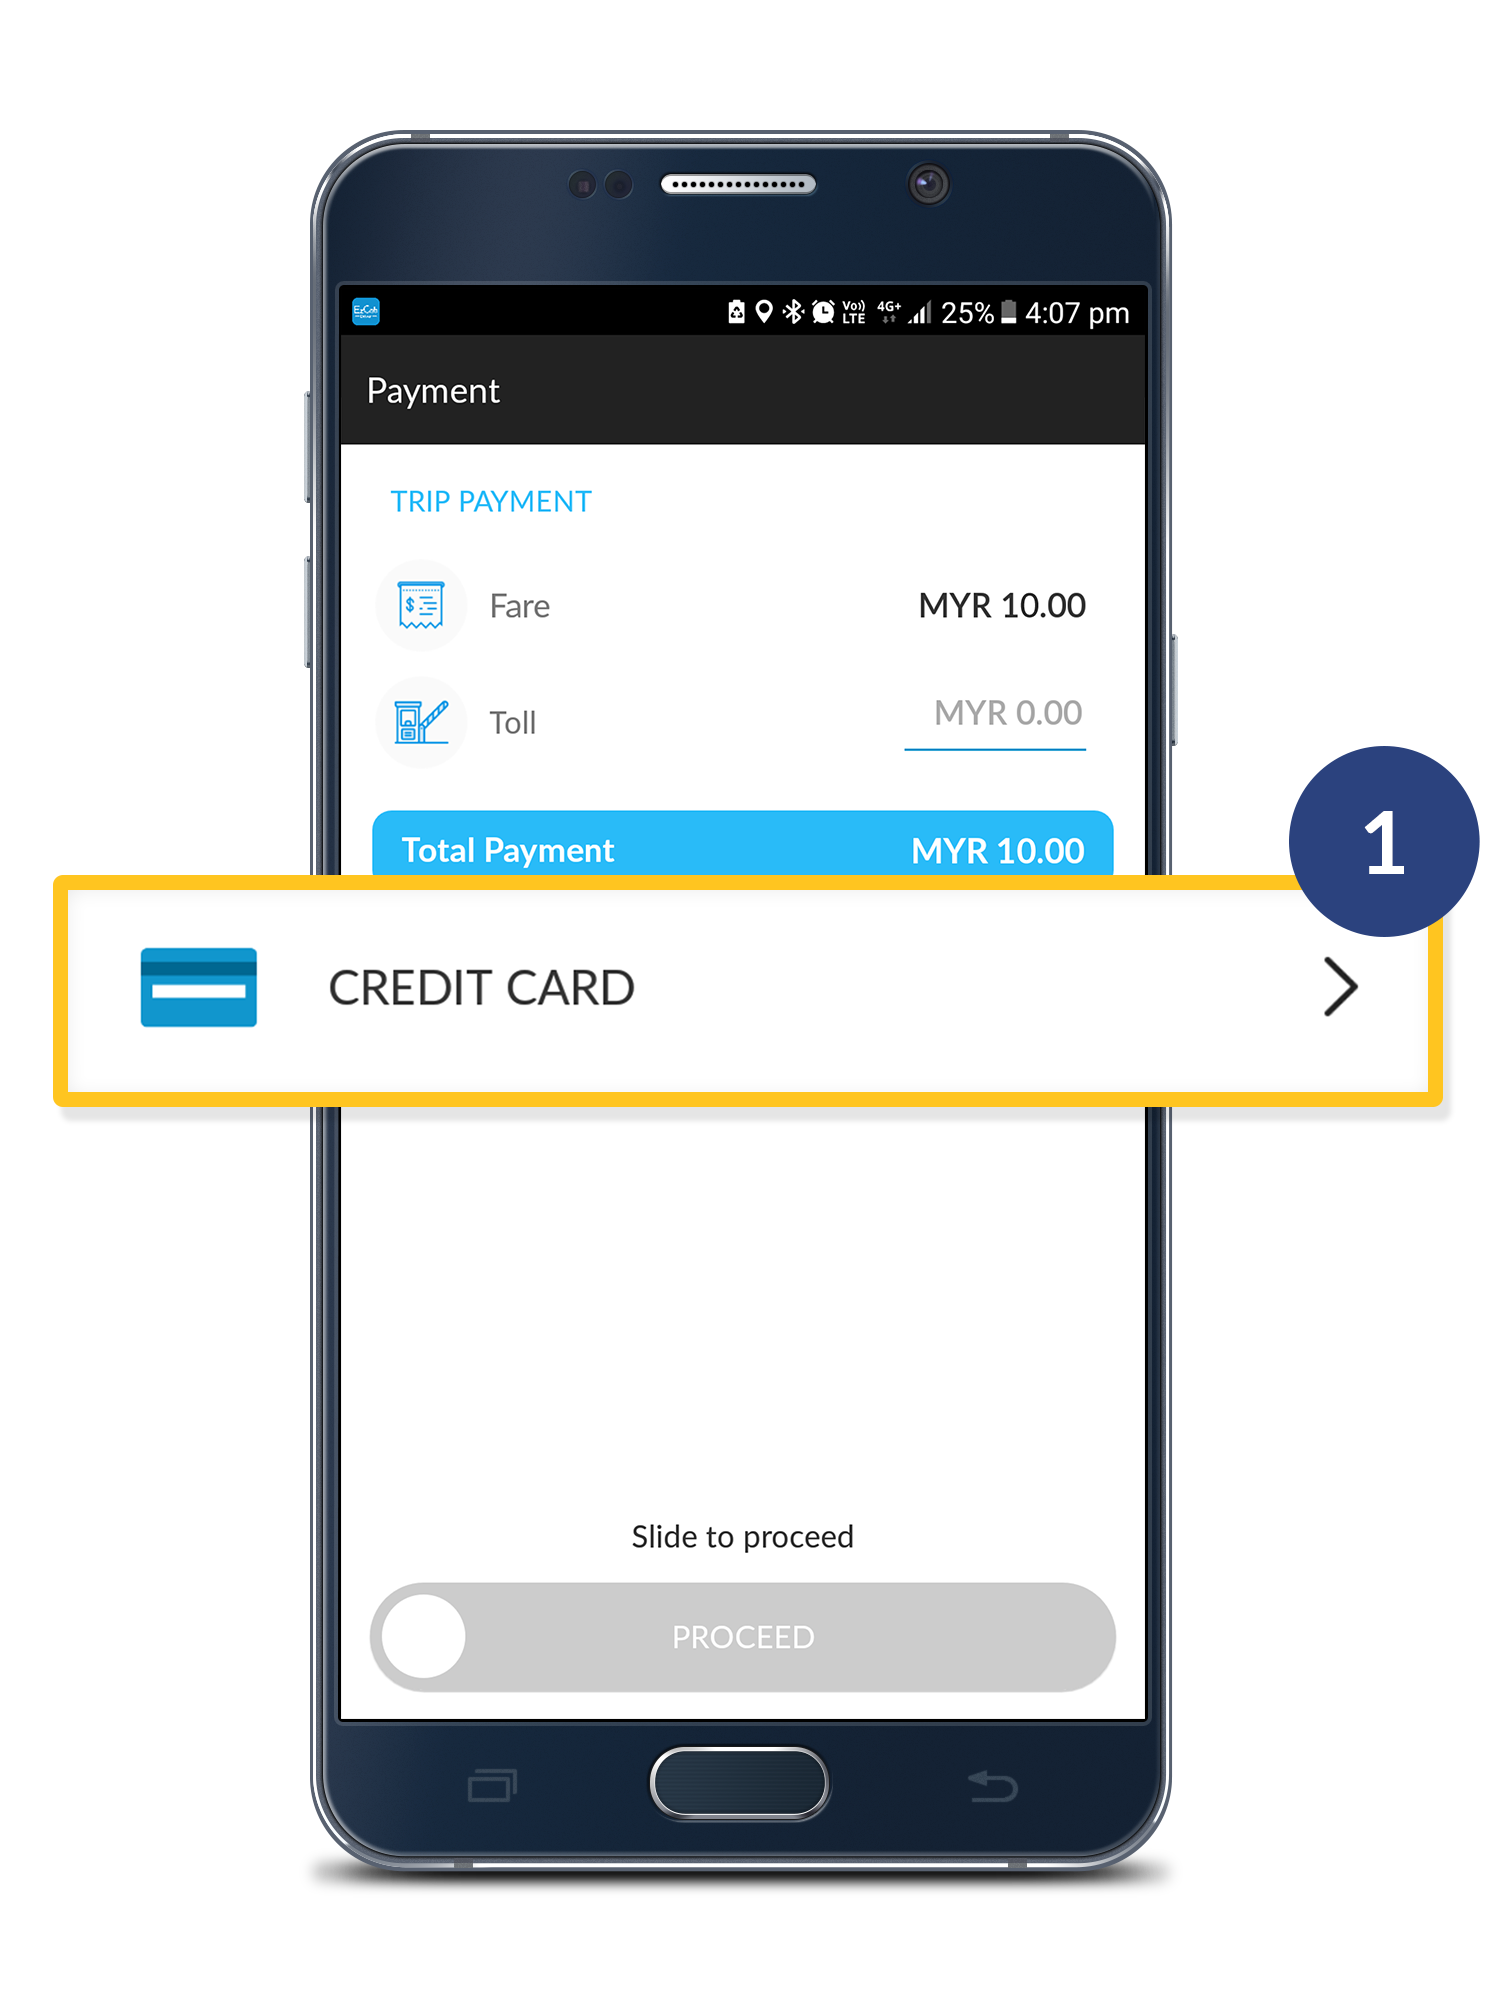
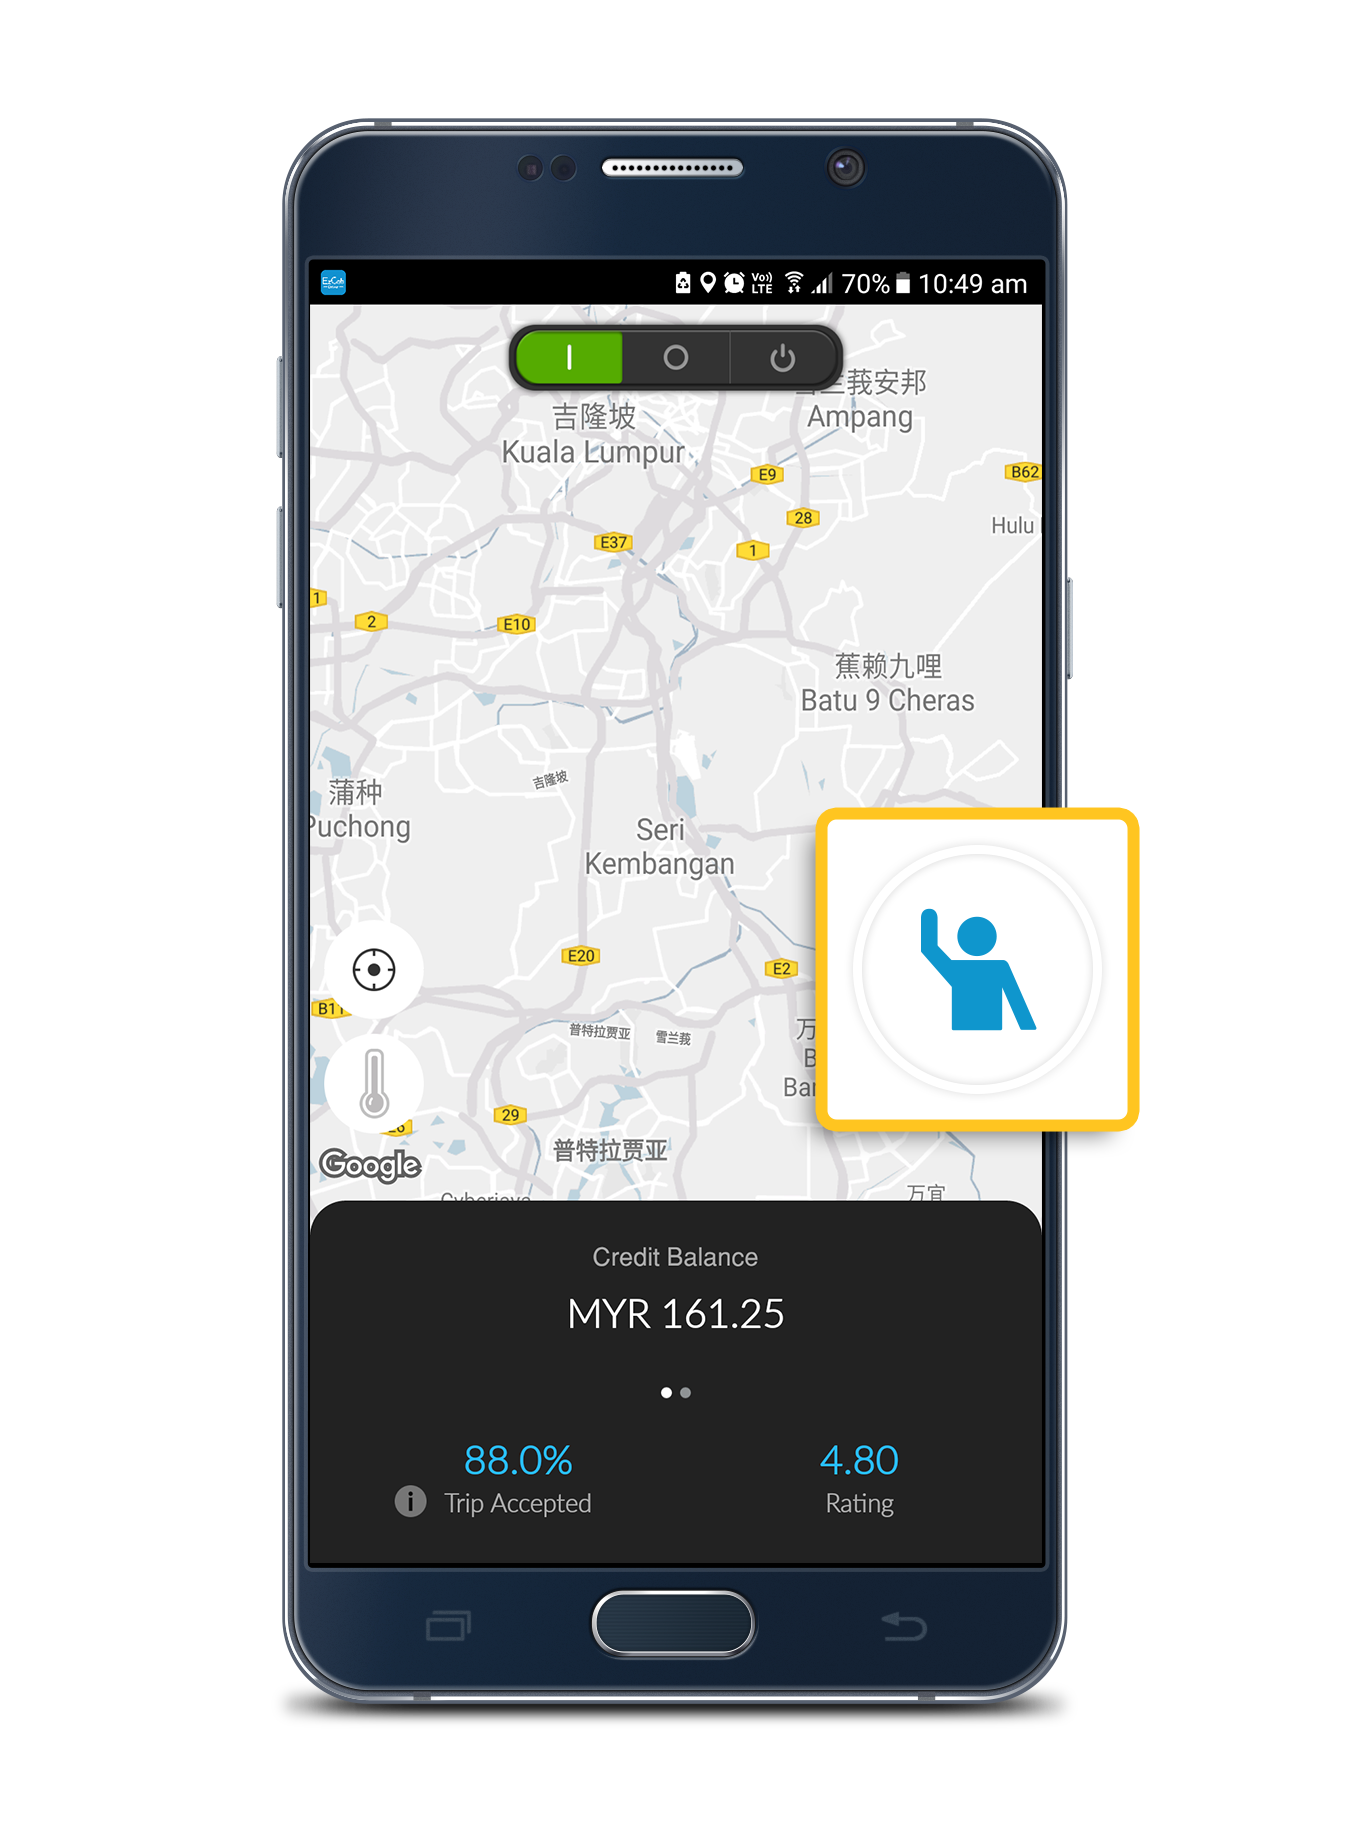
Step 1
Click the “” to accept for the order.
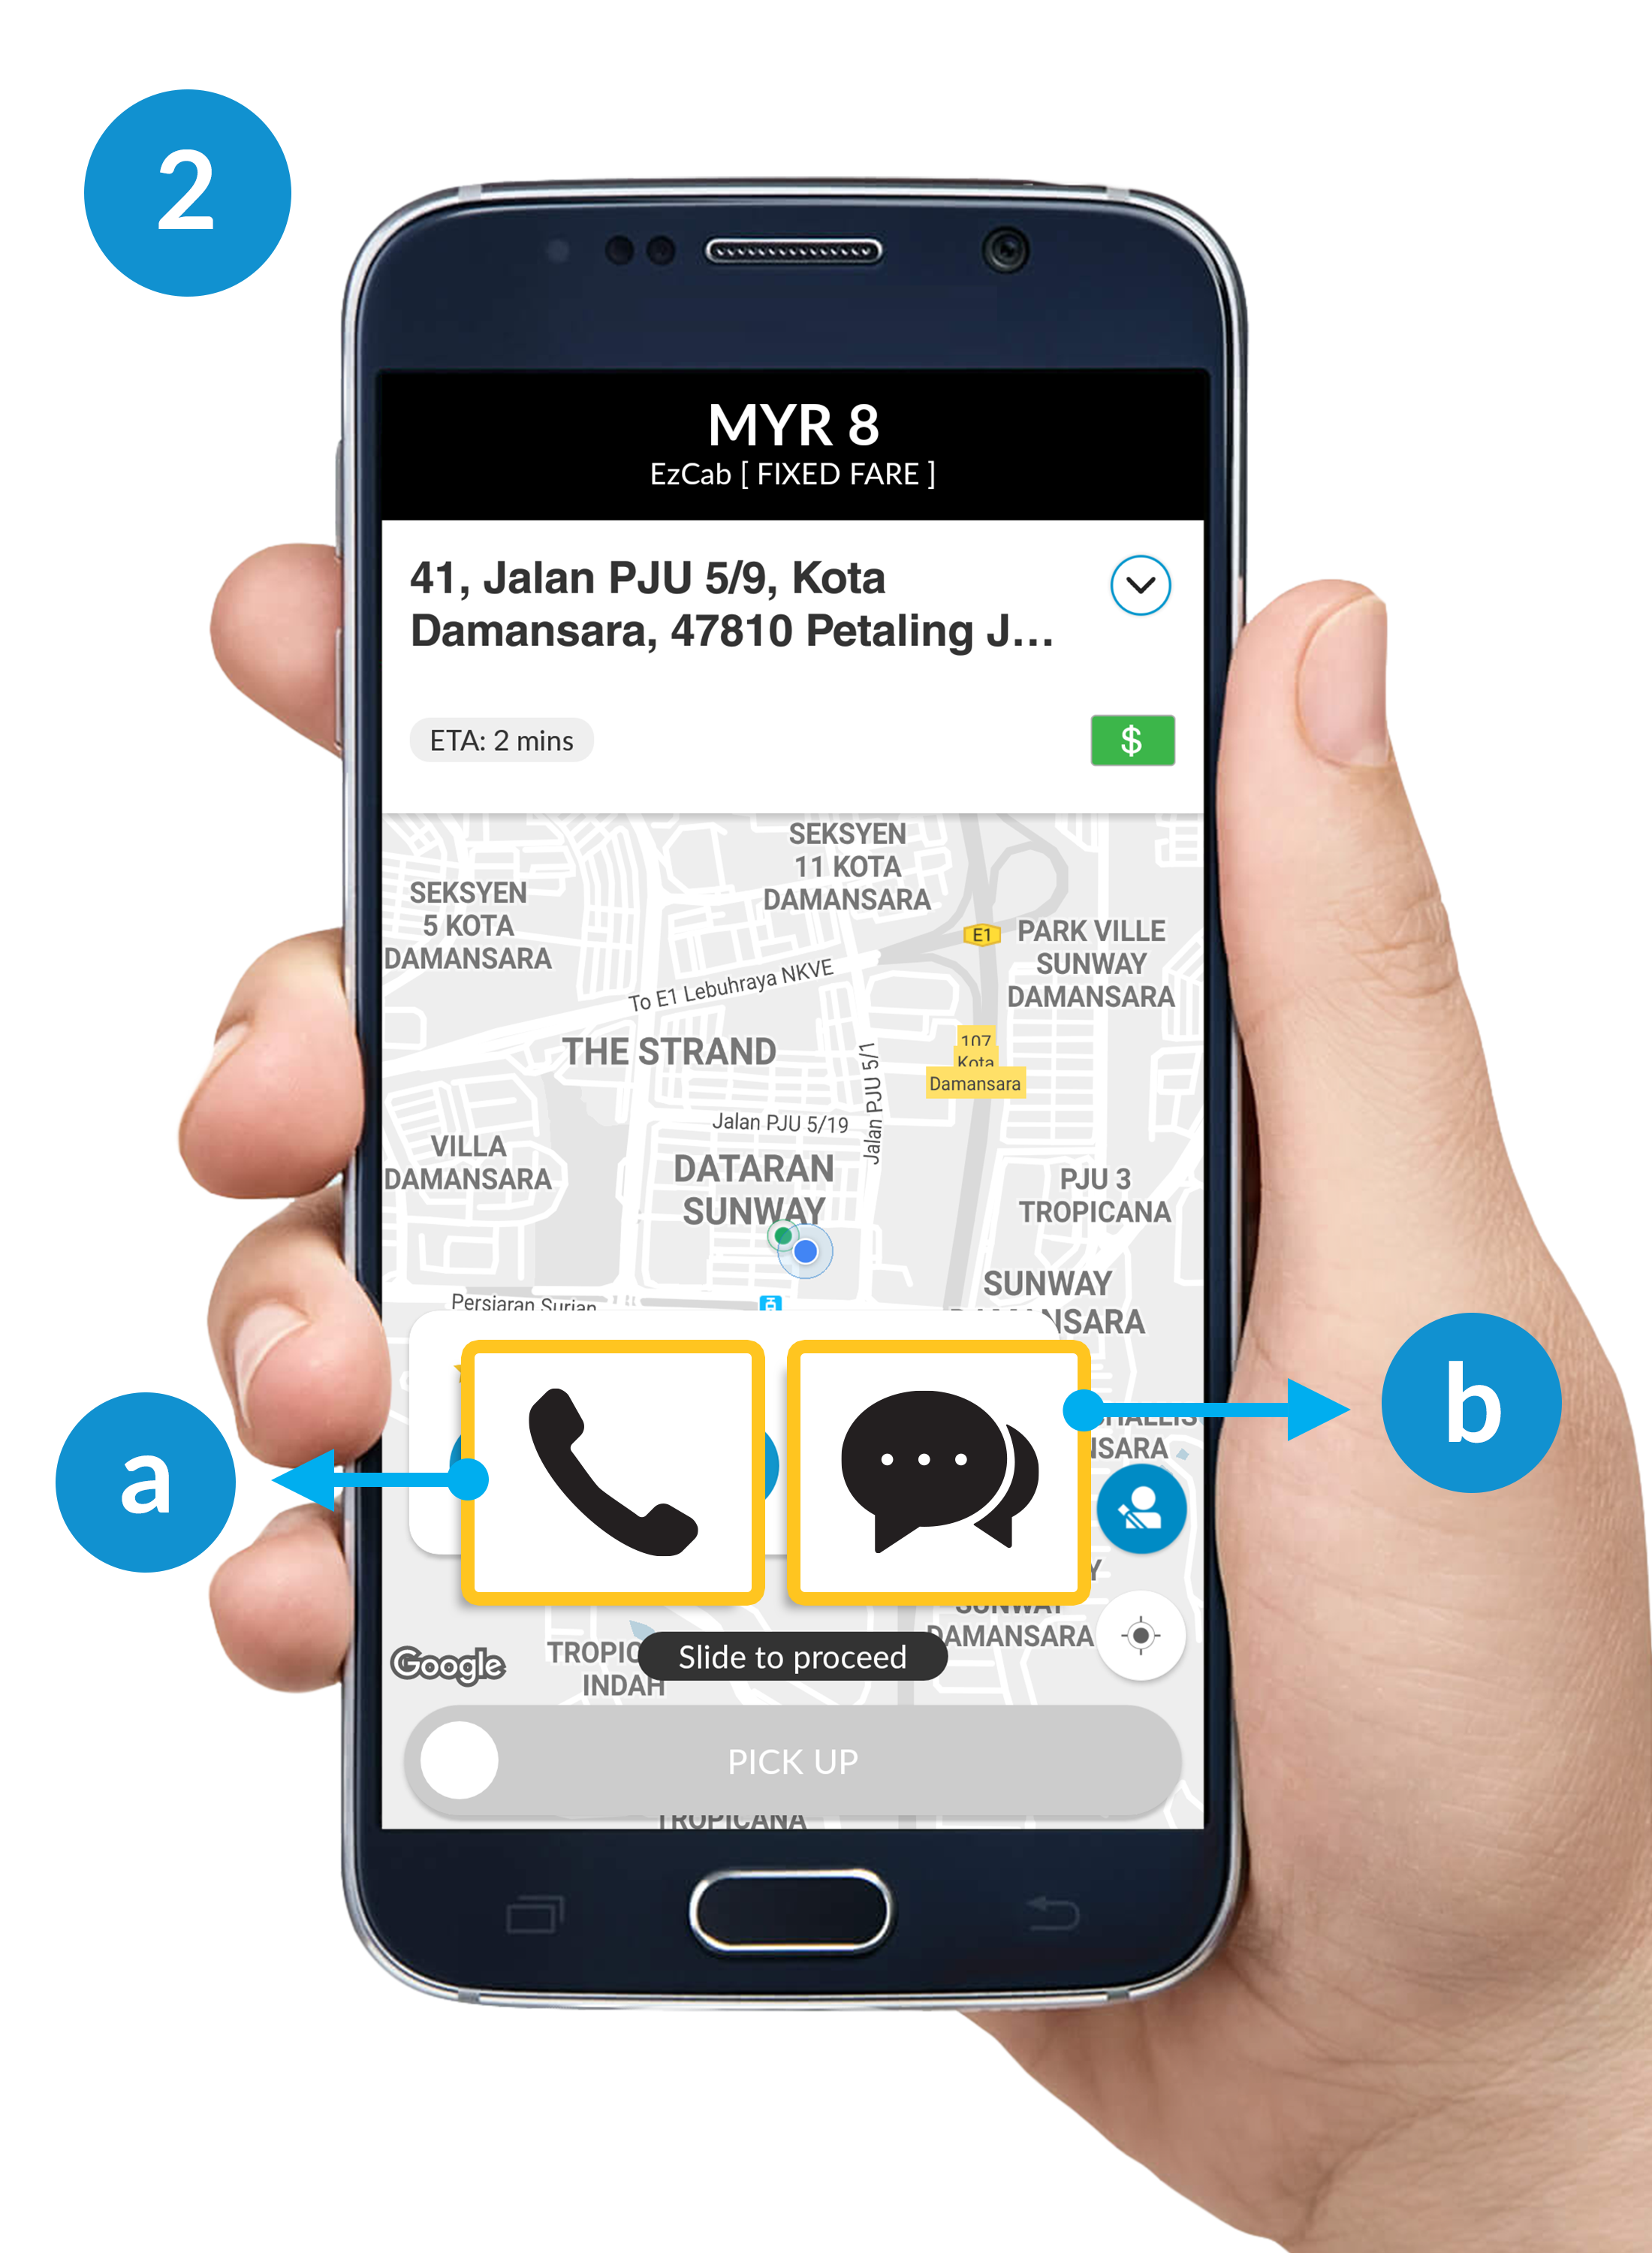
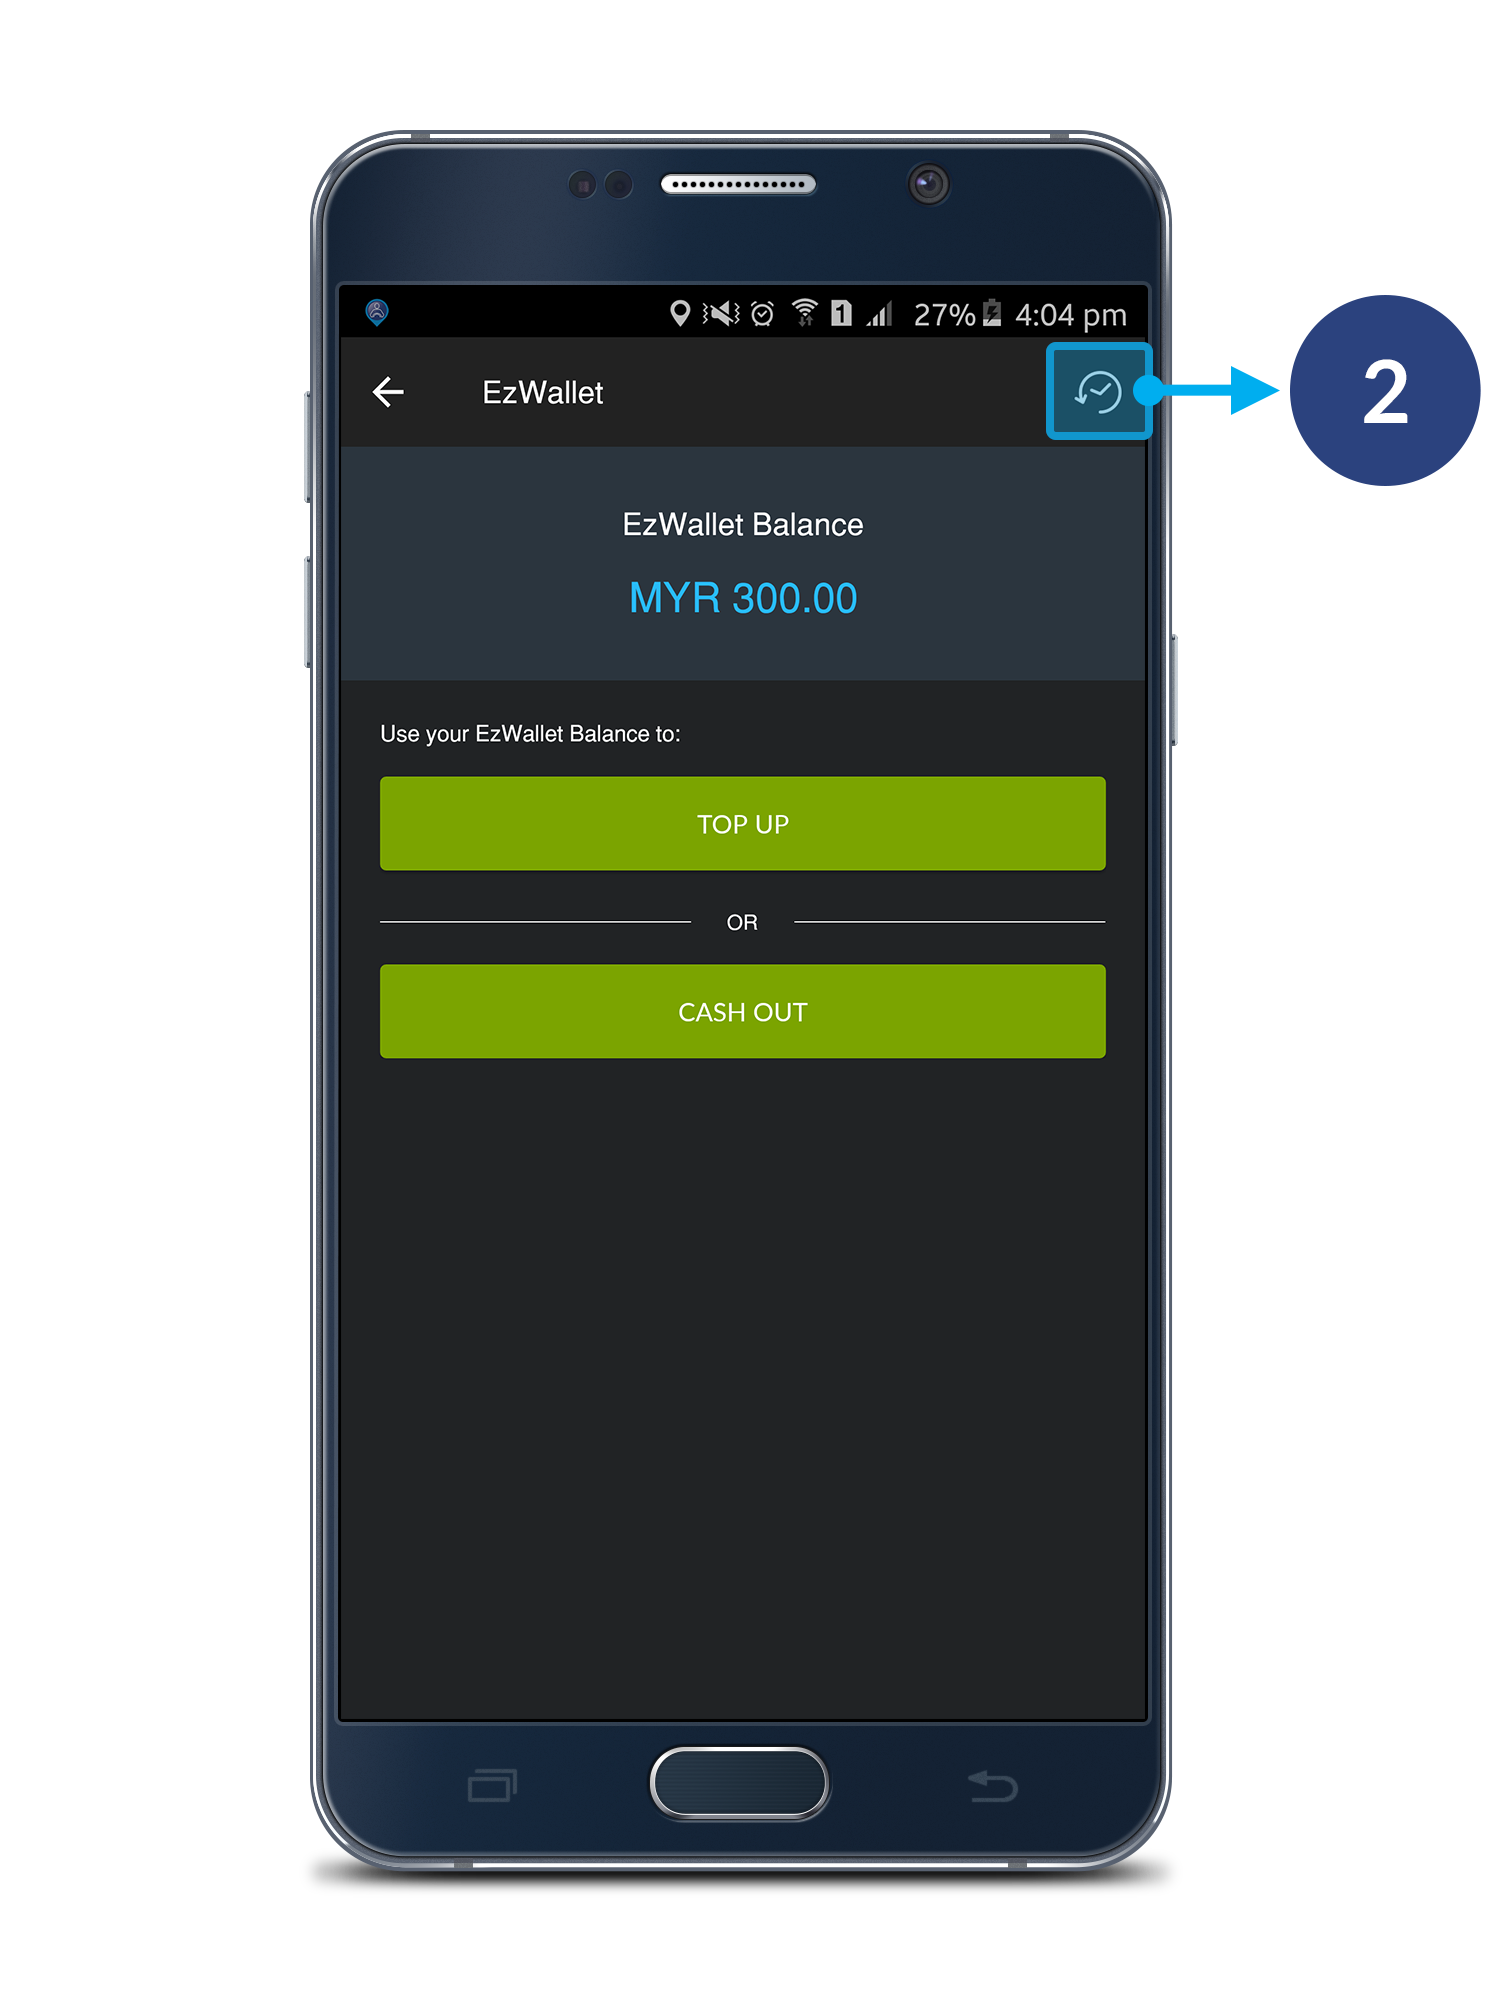
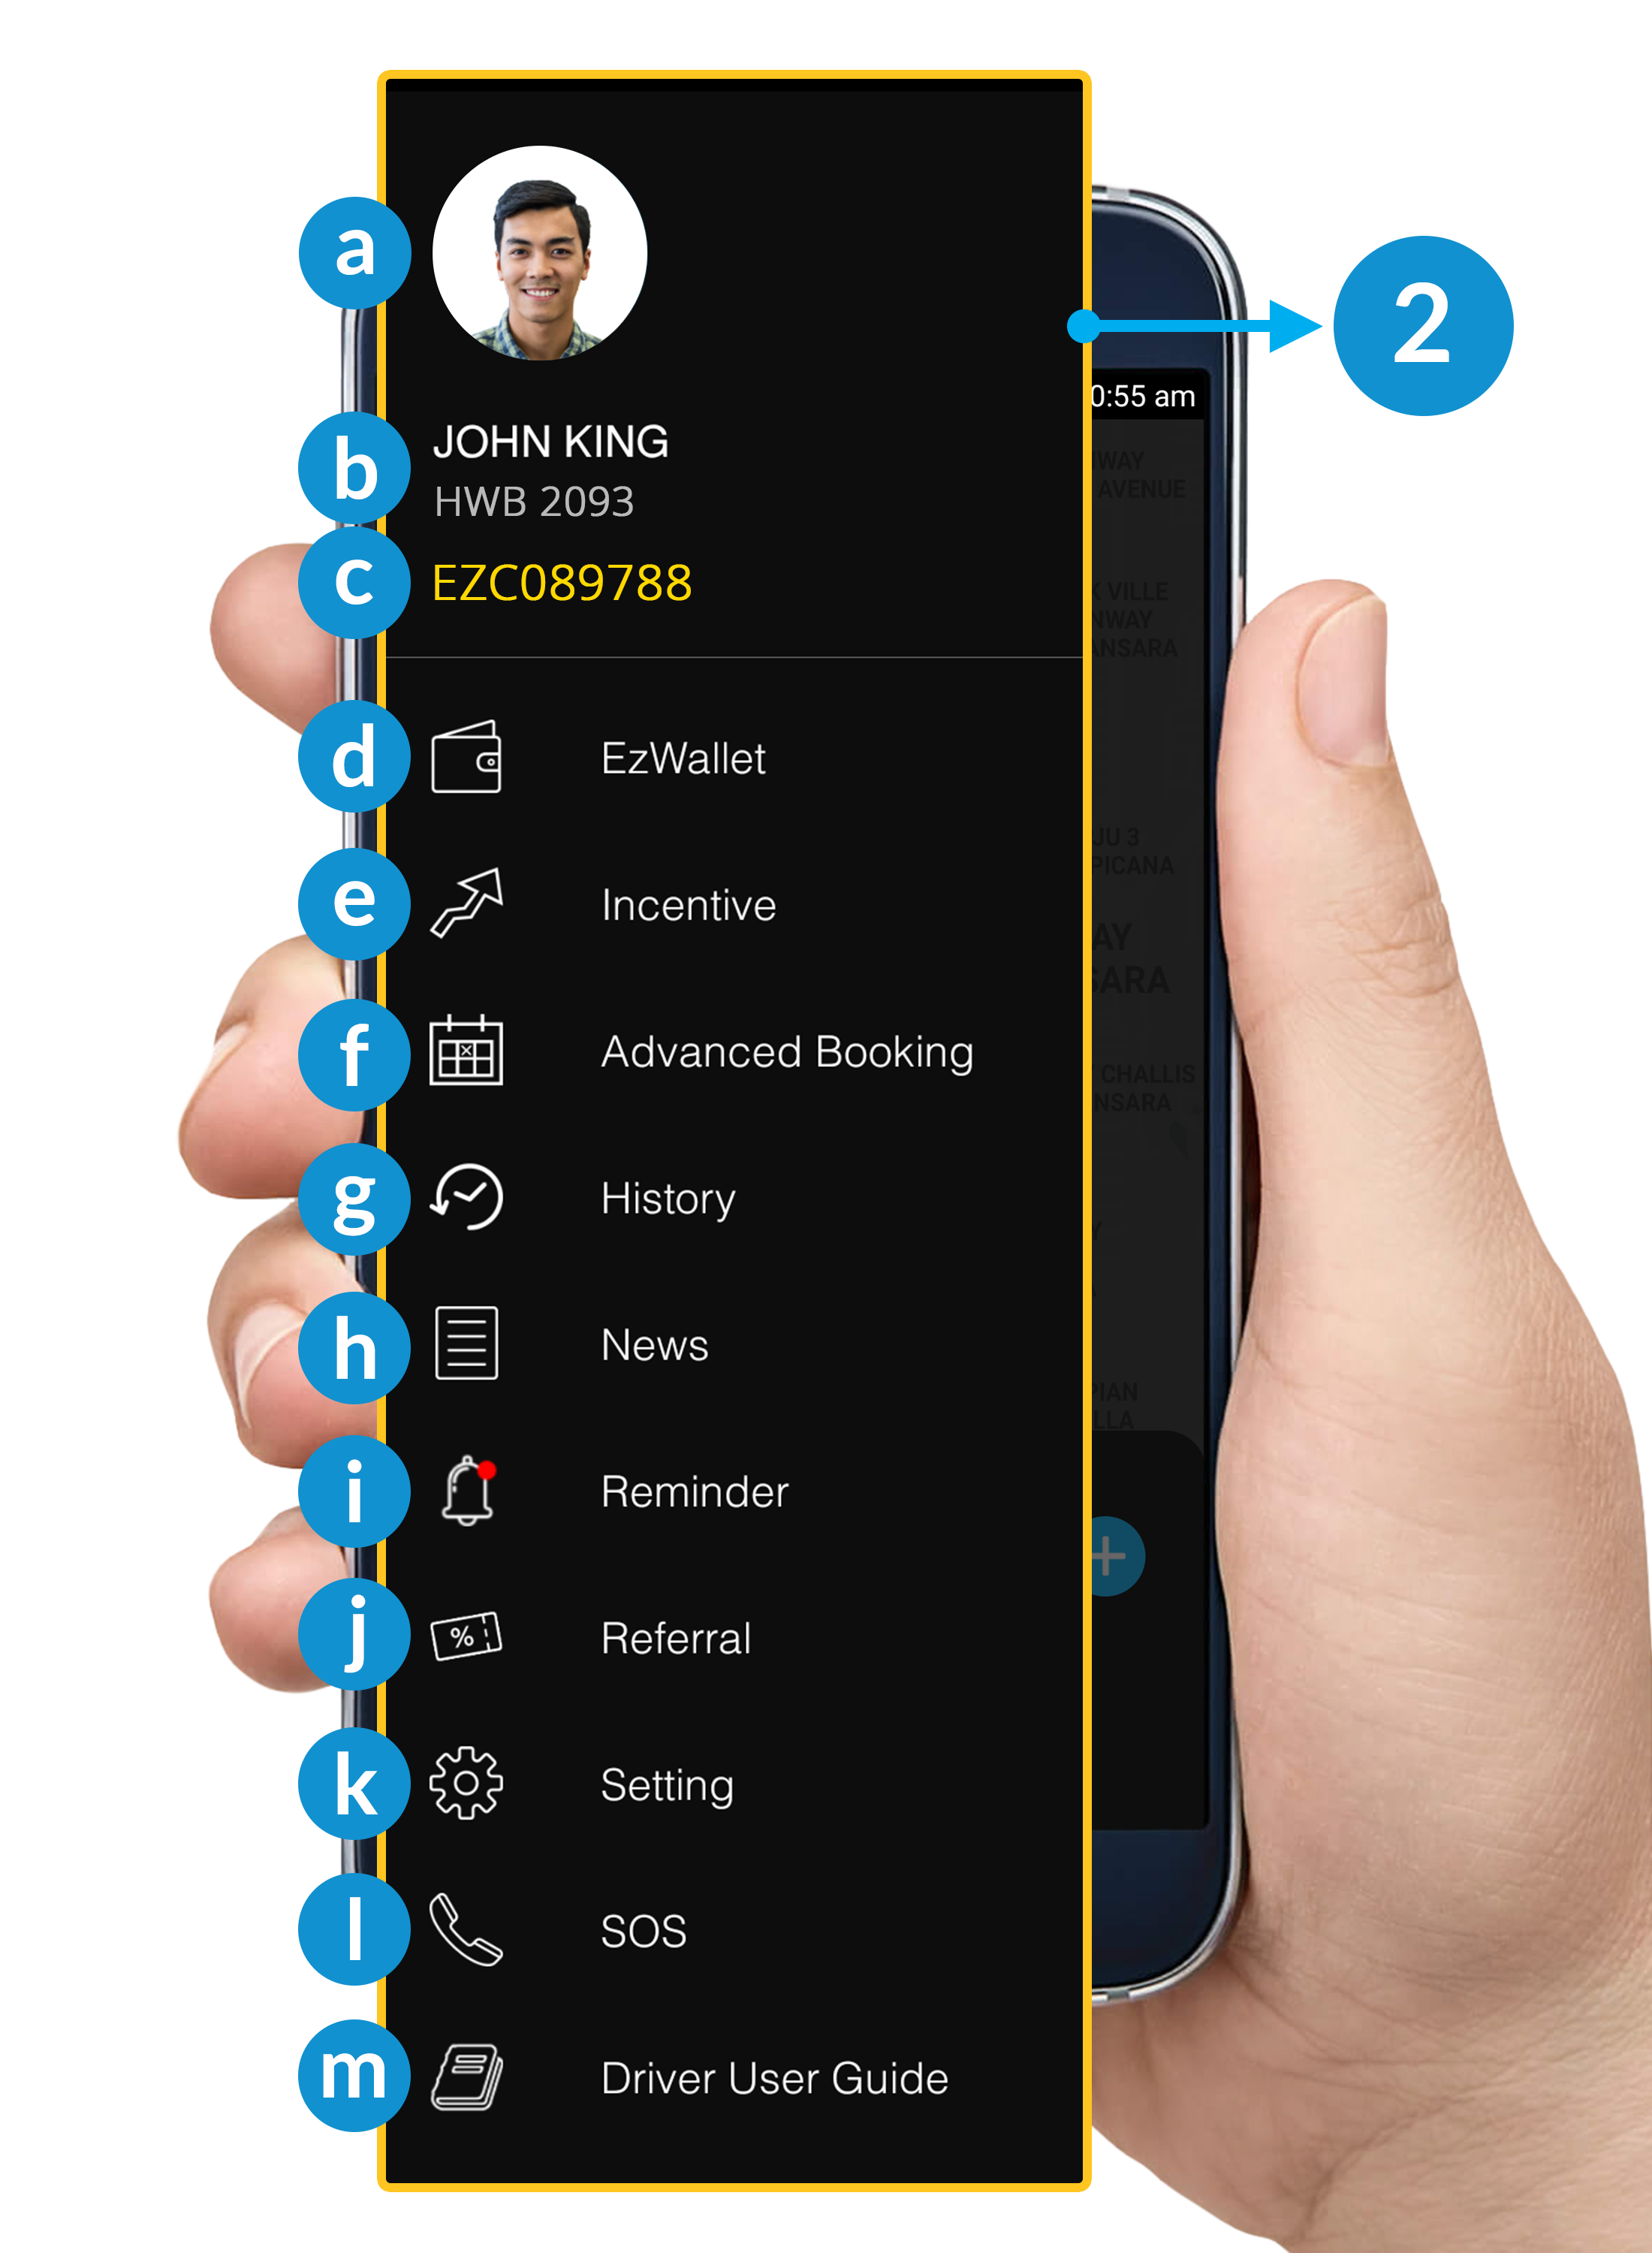
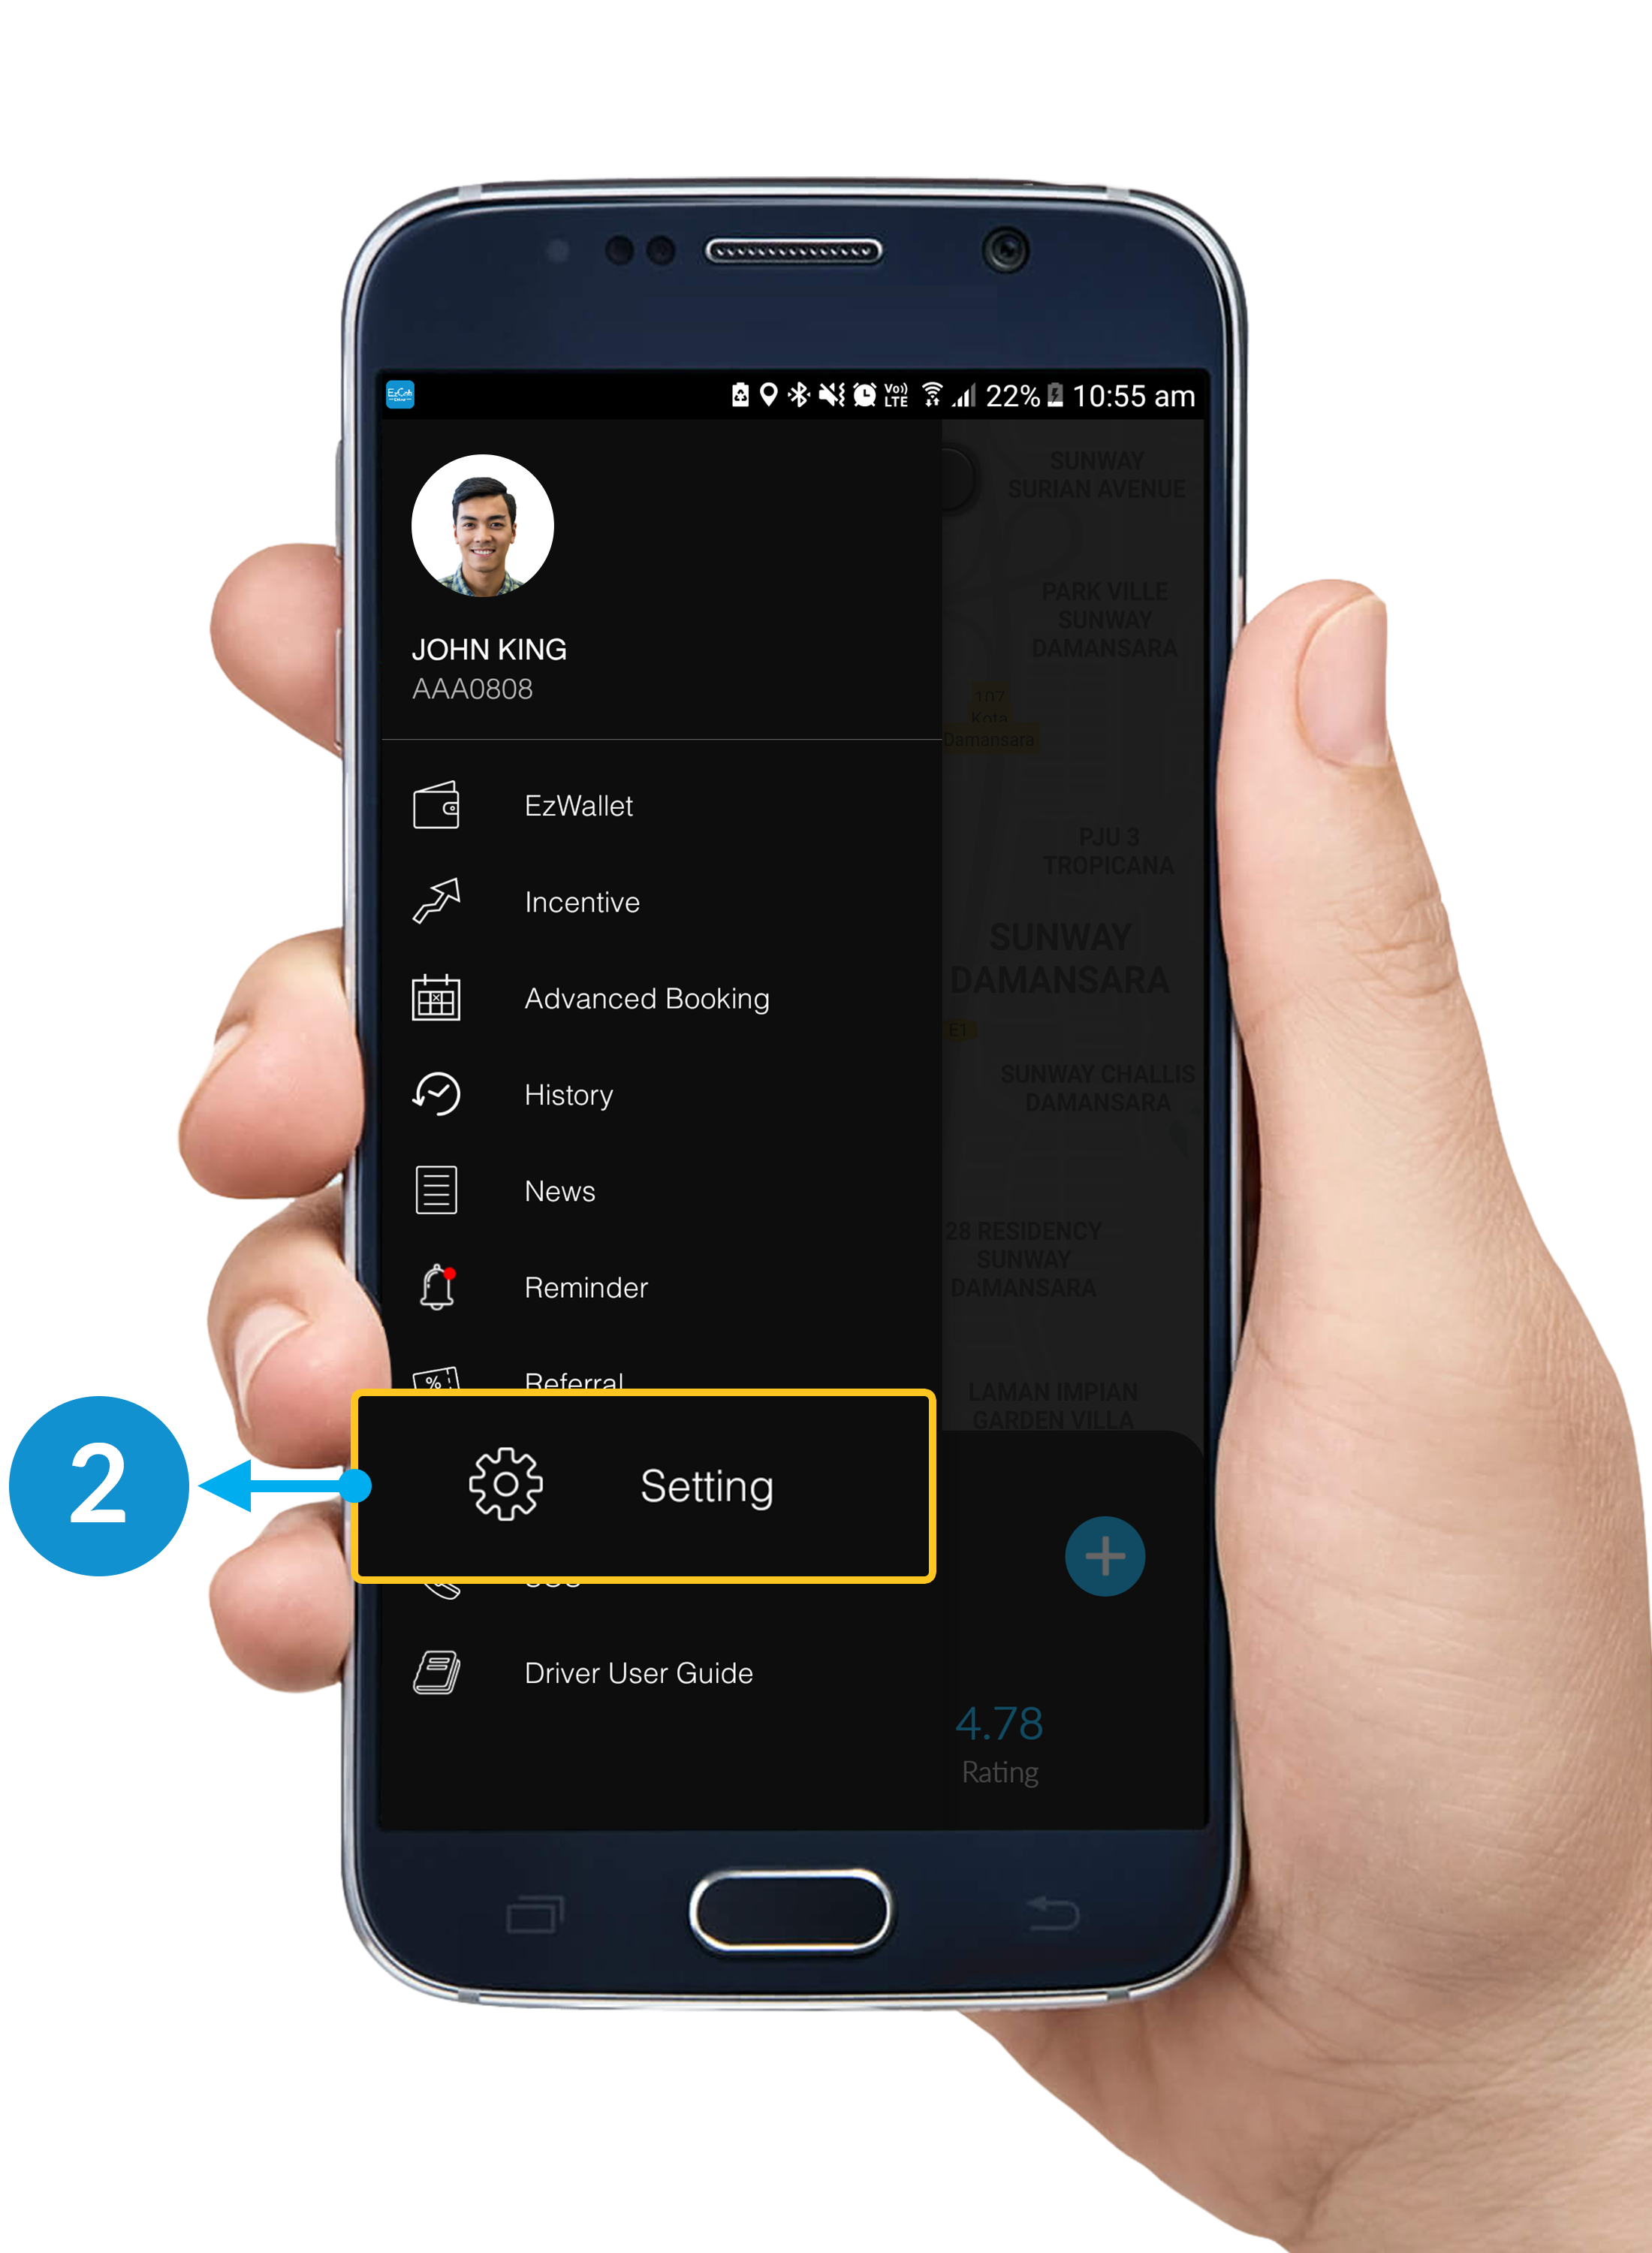
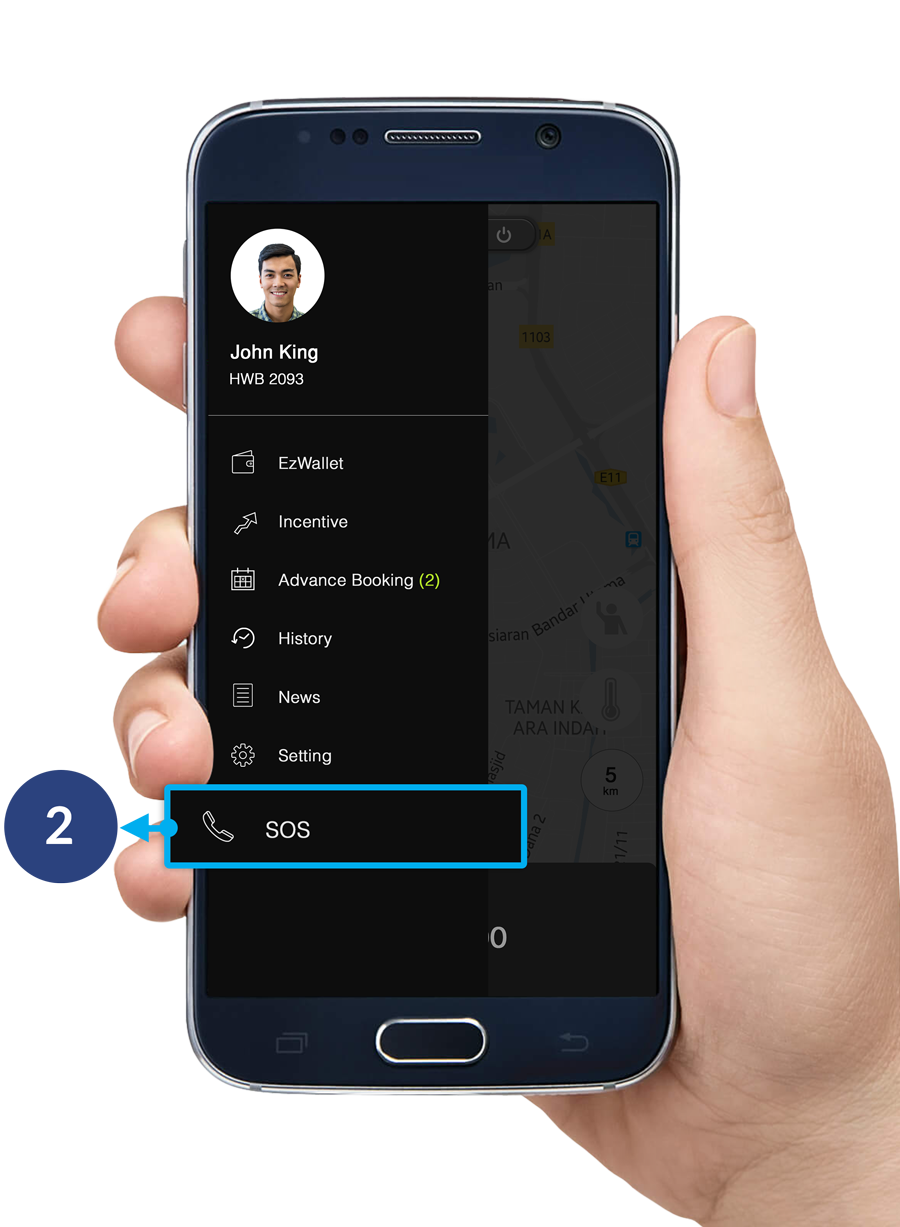
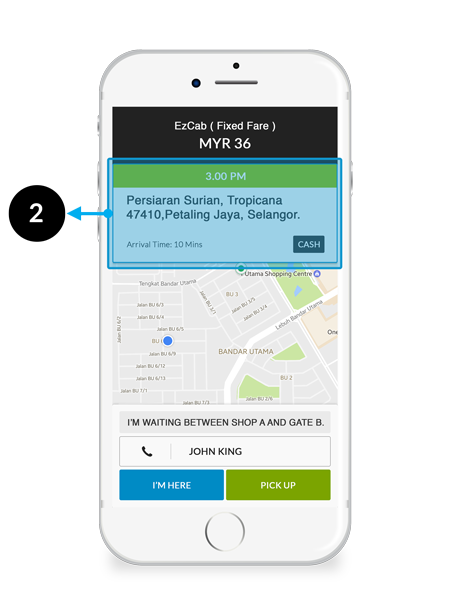
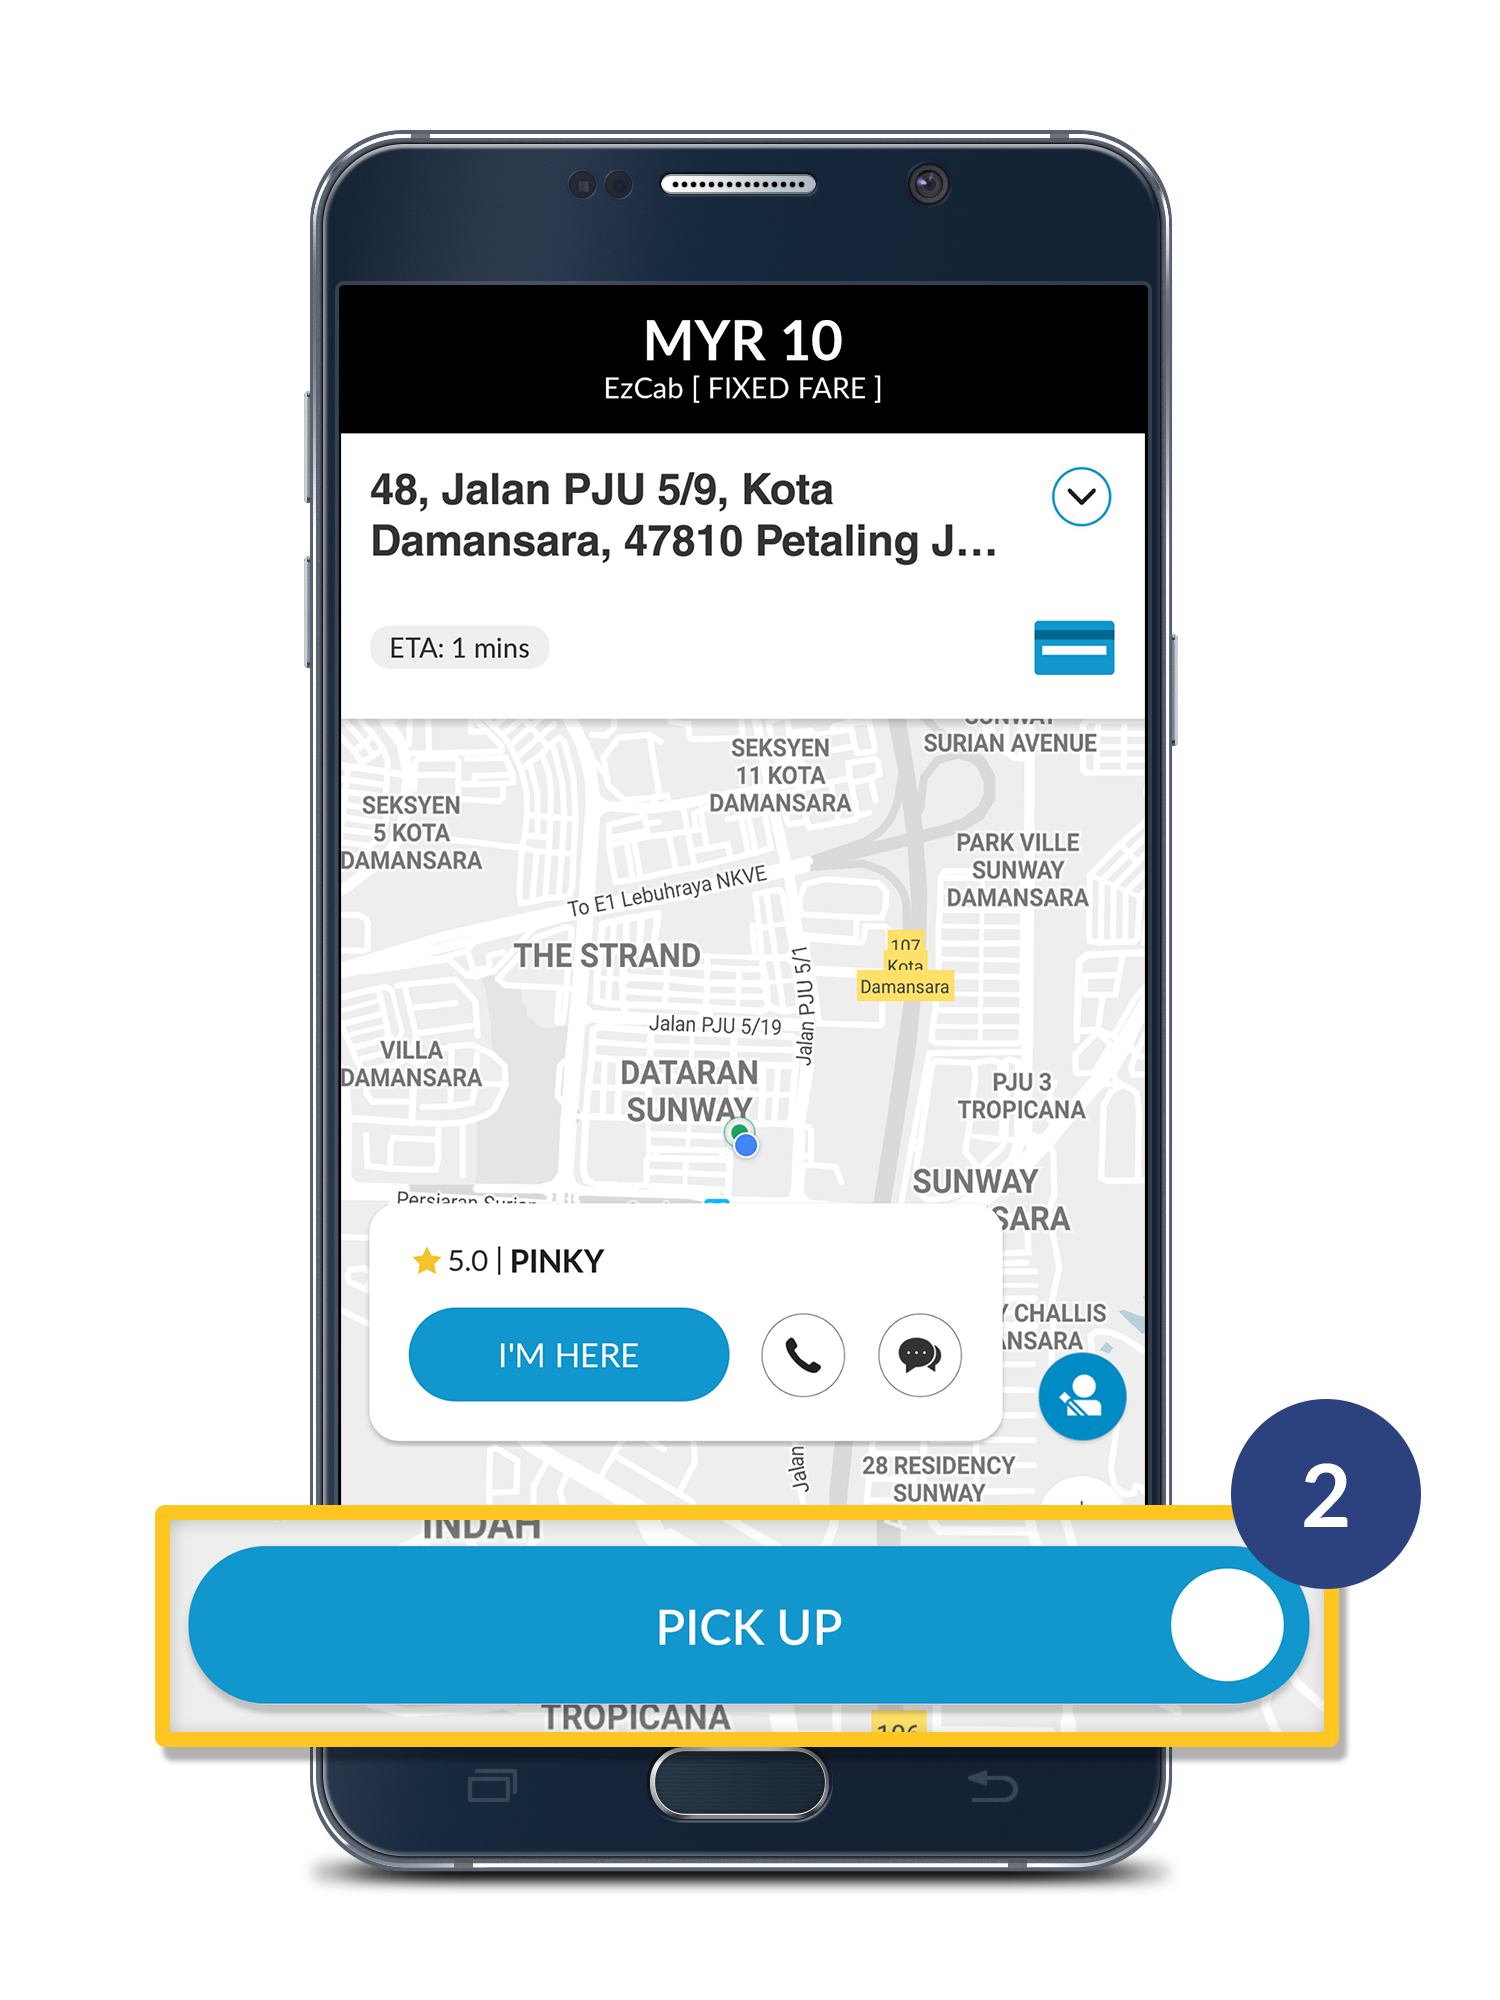
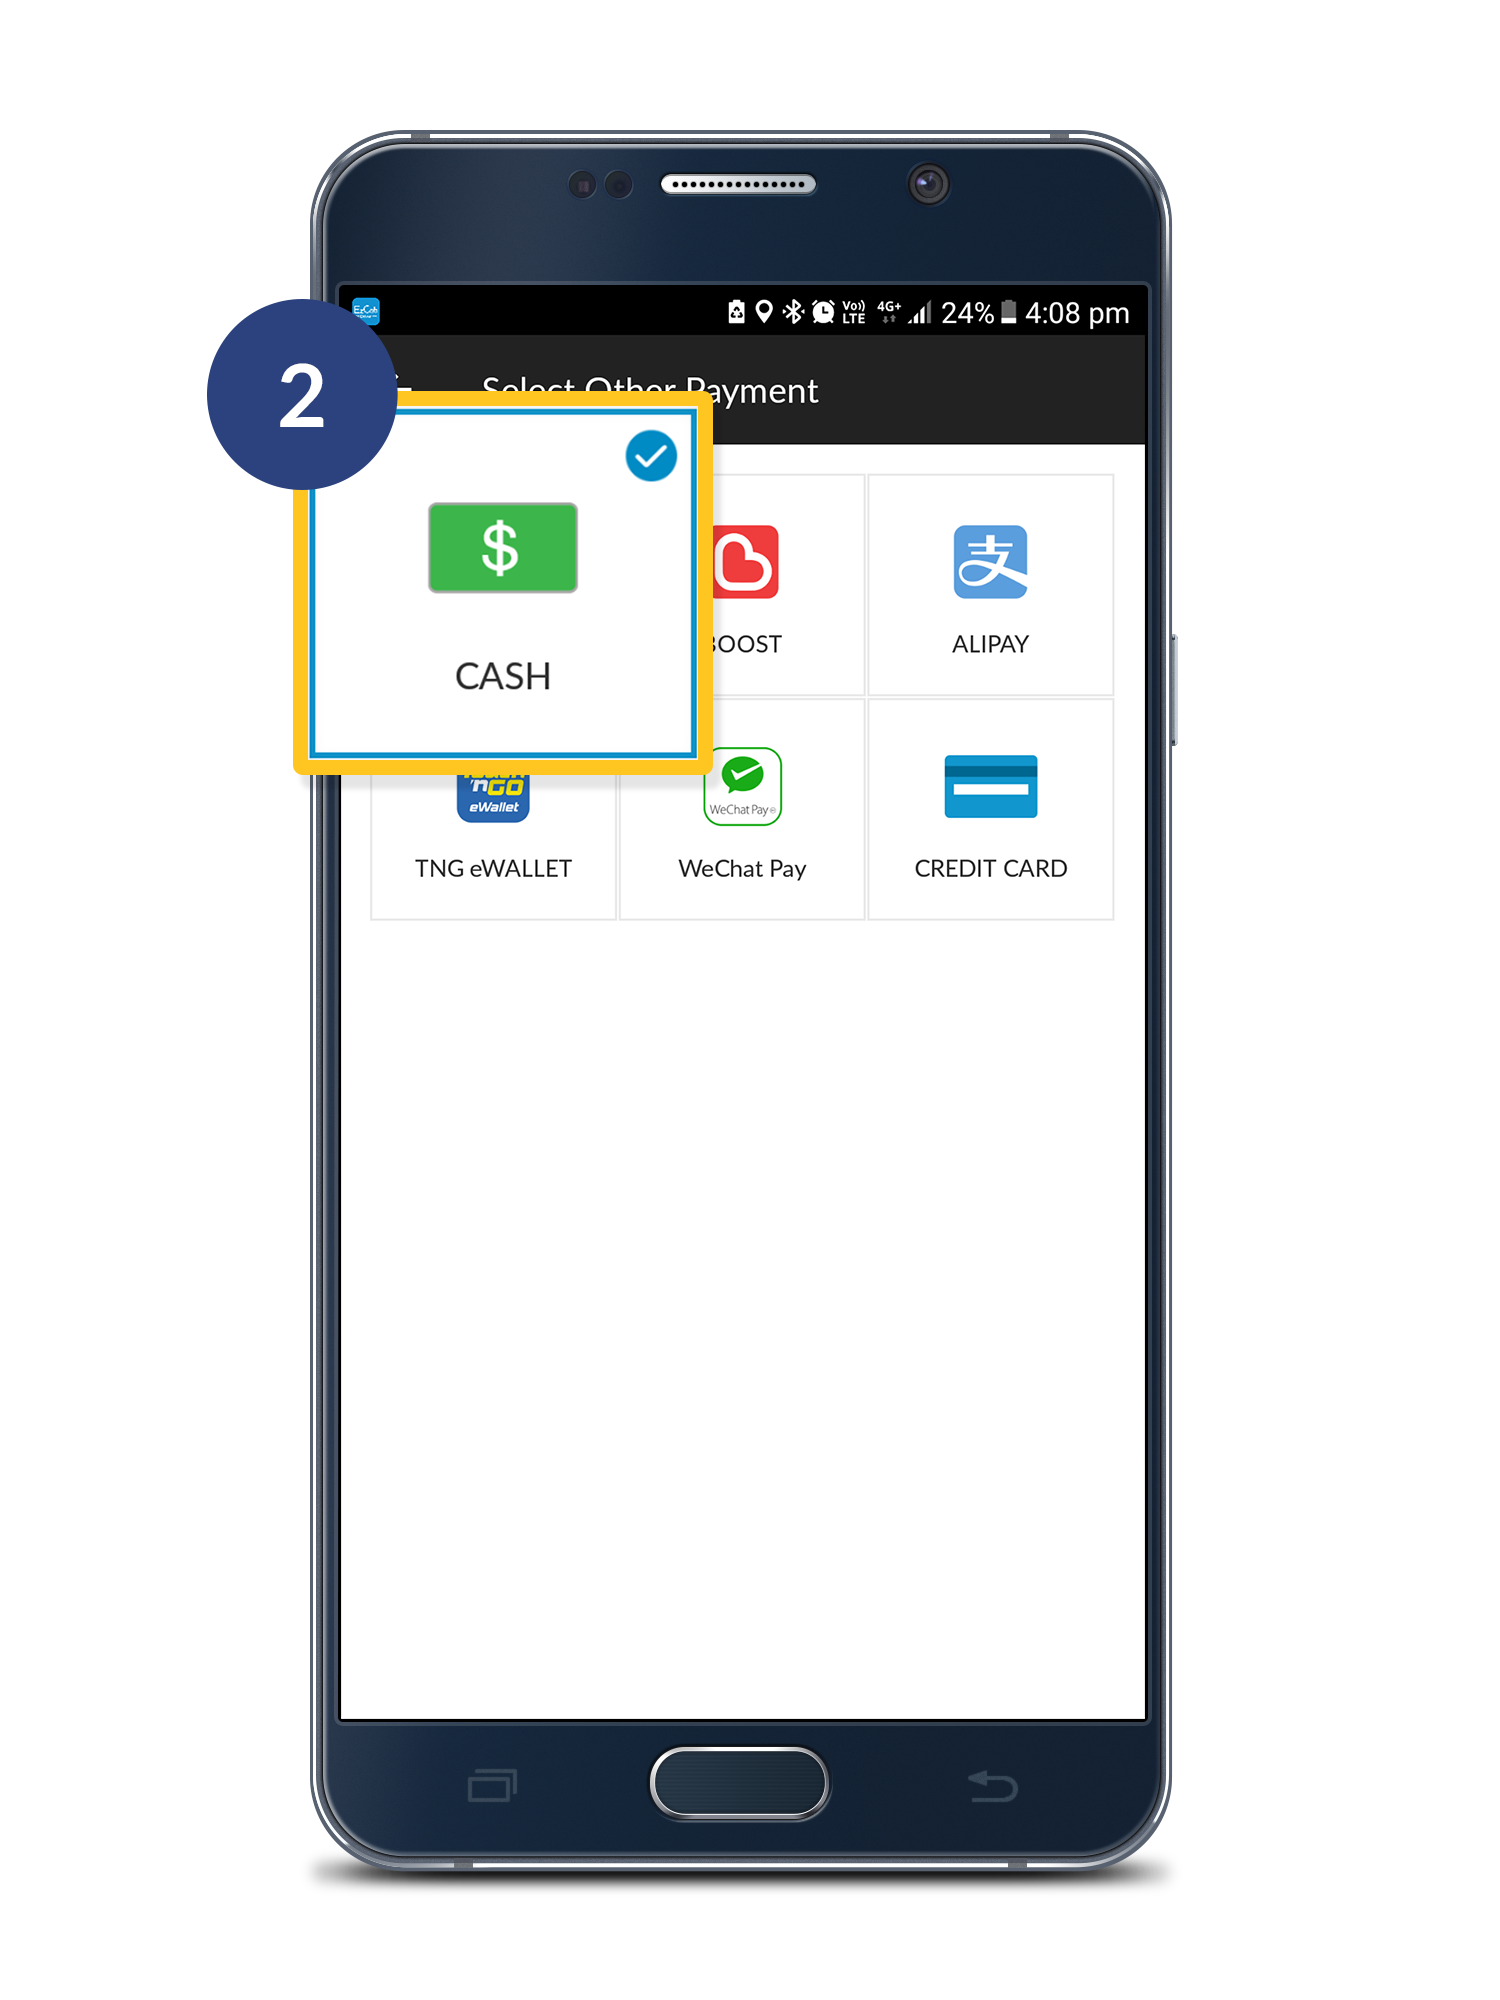
Step 2
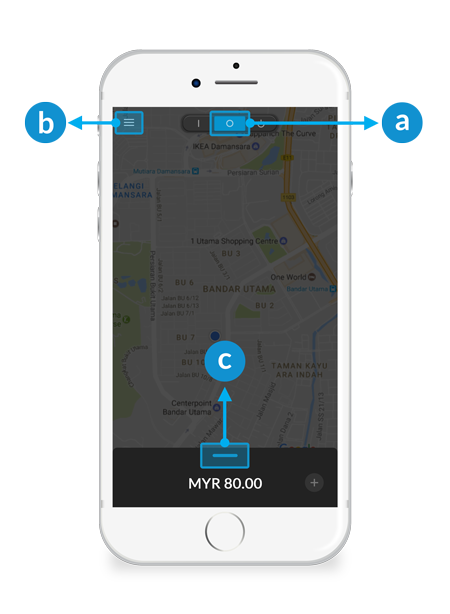
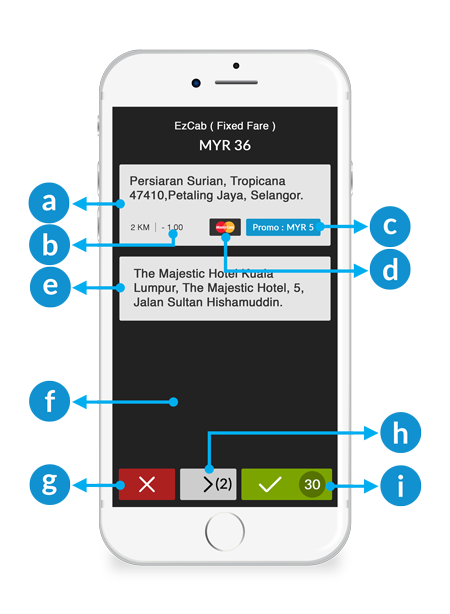
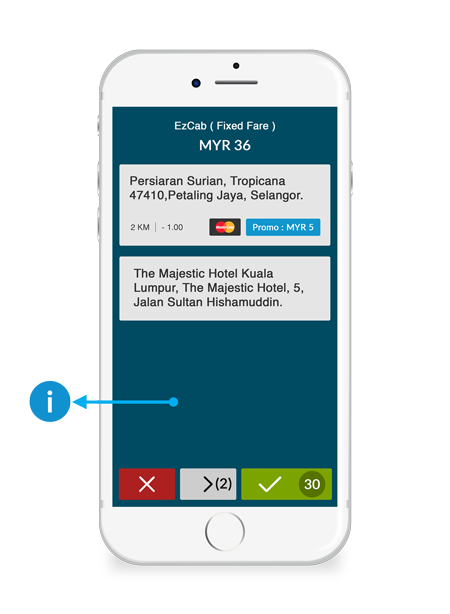
a. Click "" button to call passenger.
b. Click "" button to communicate In Apps with Passenger.

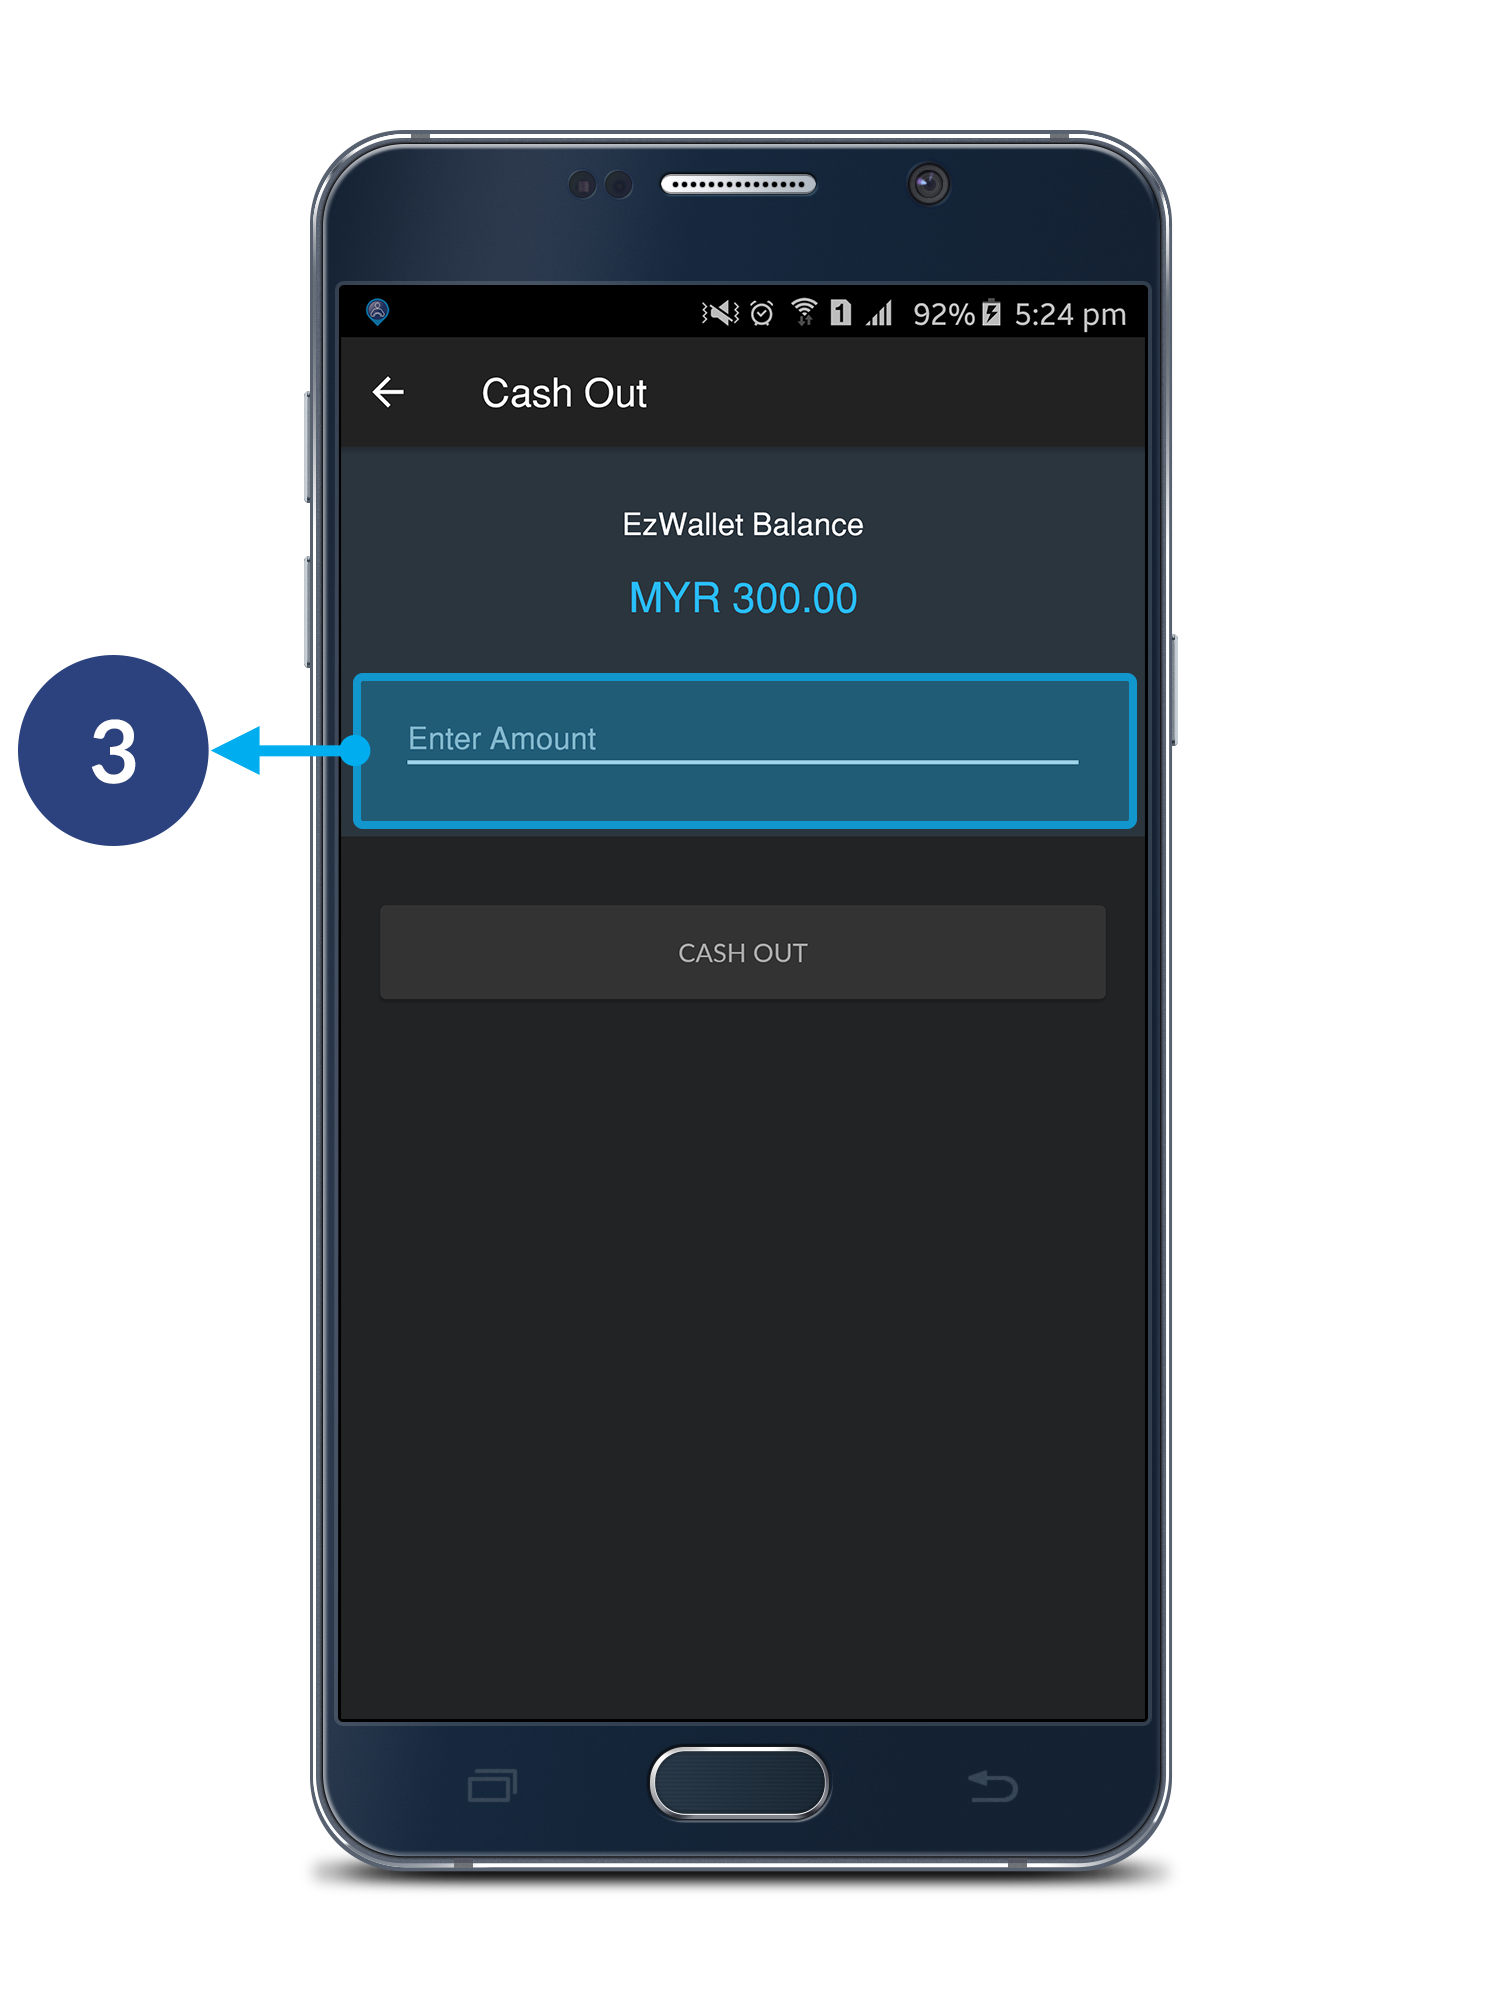
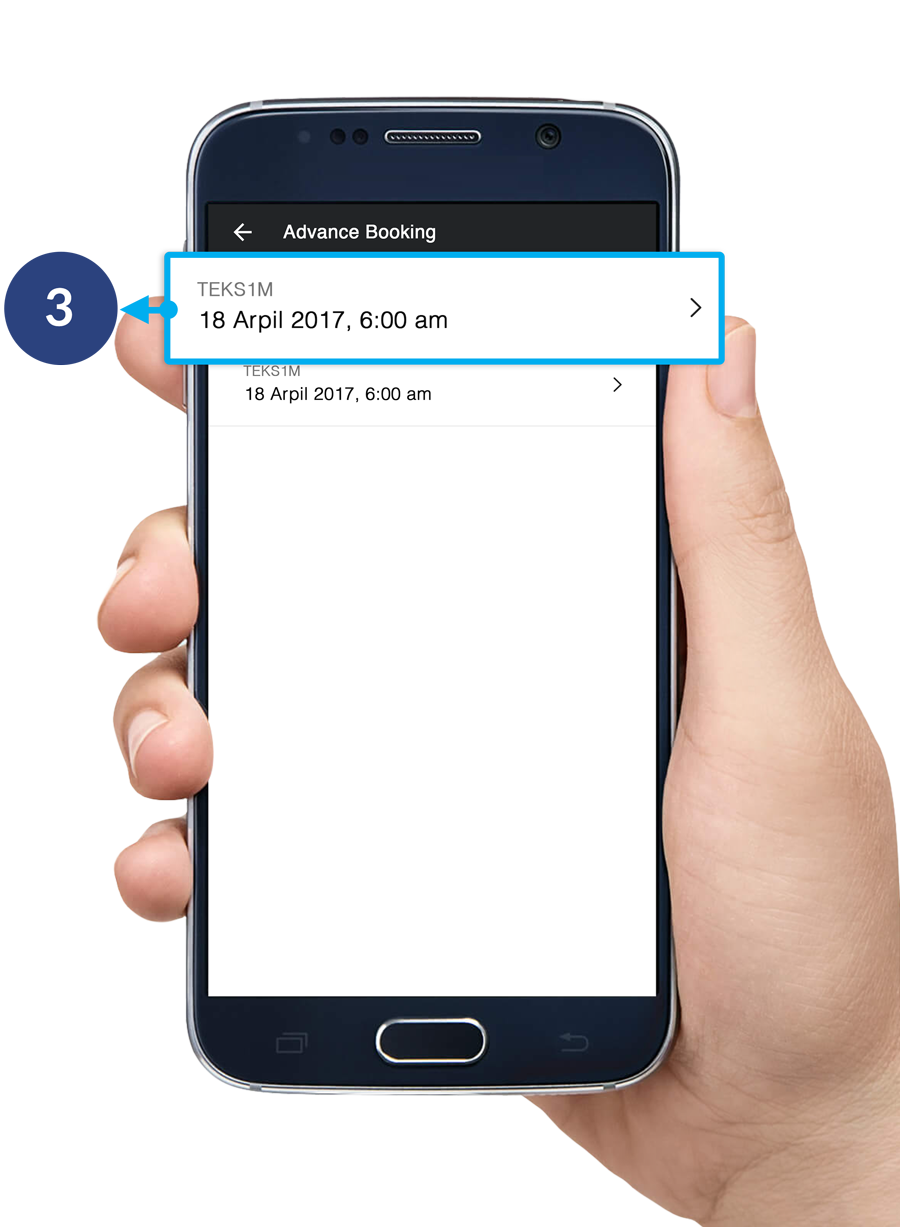
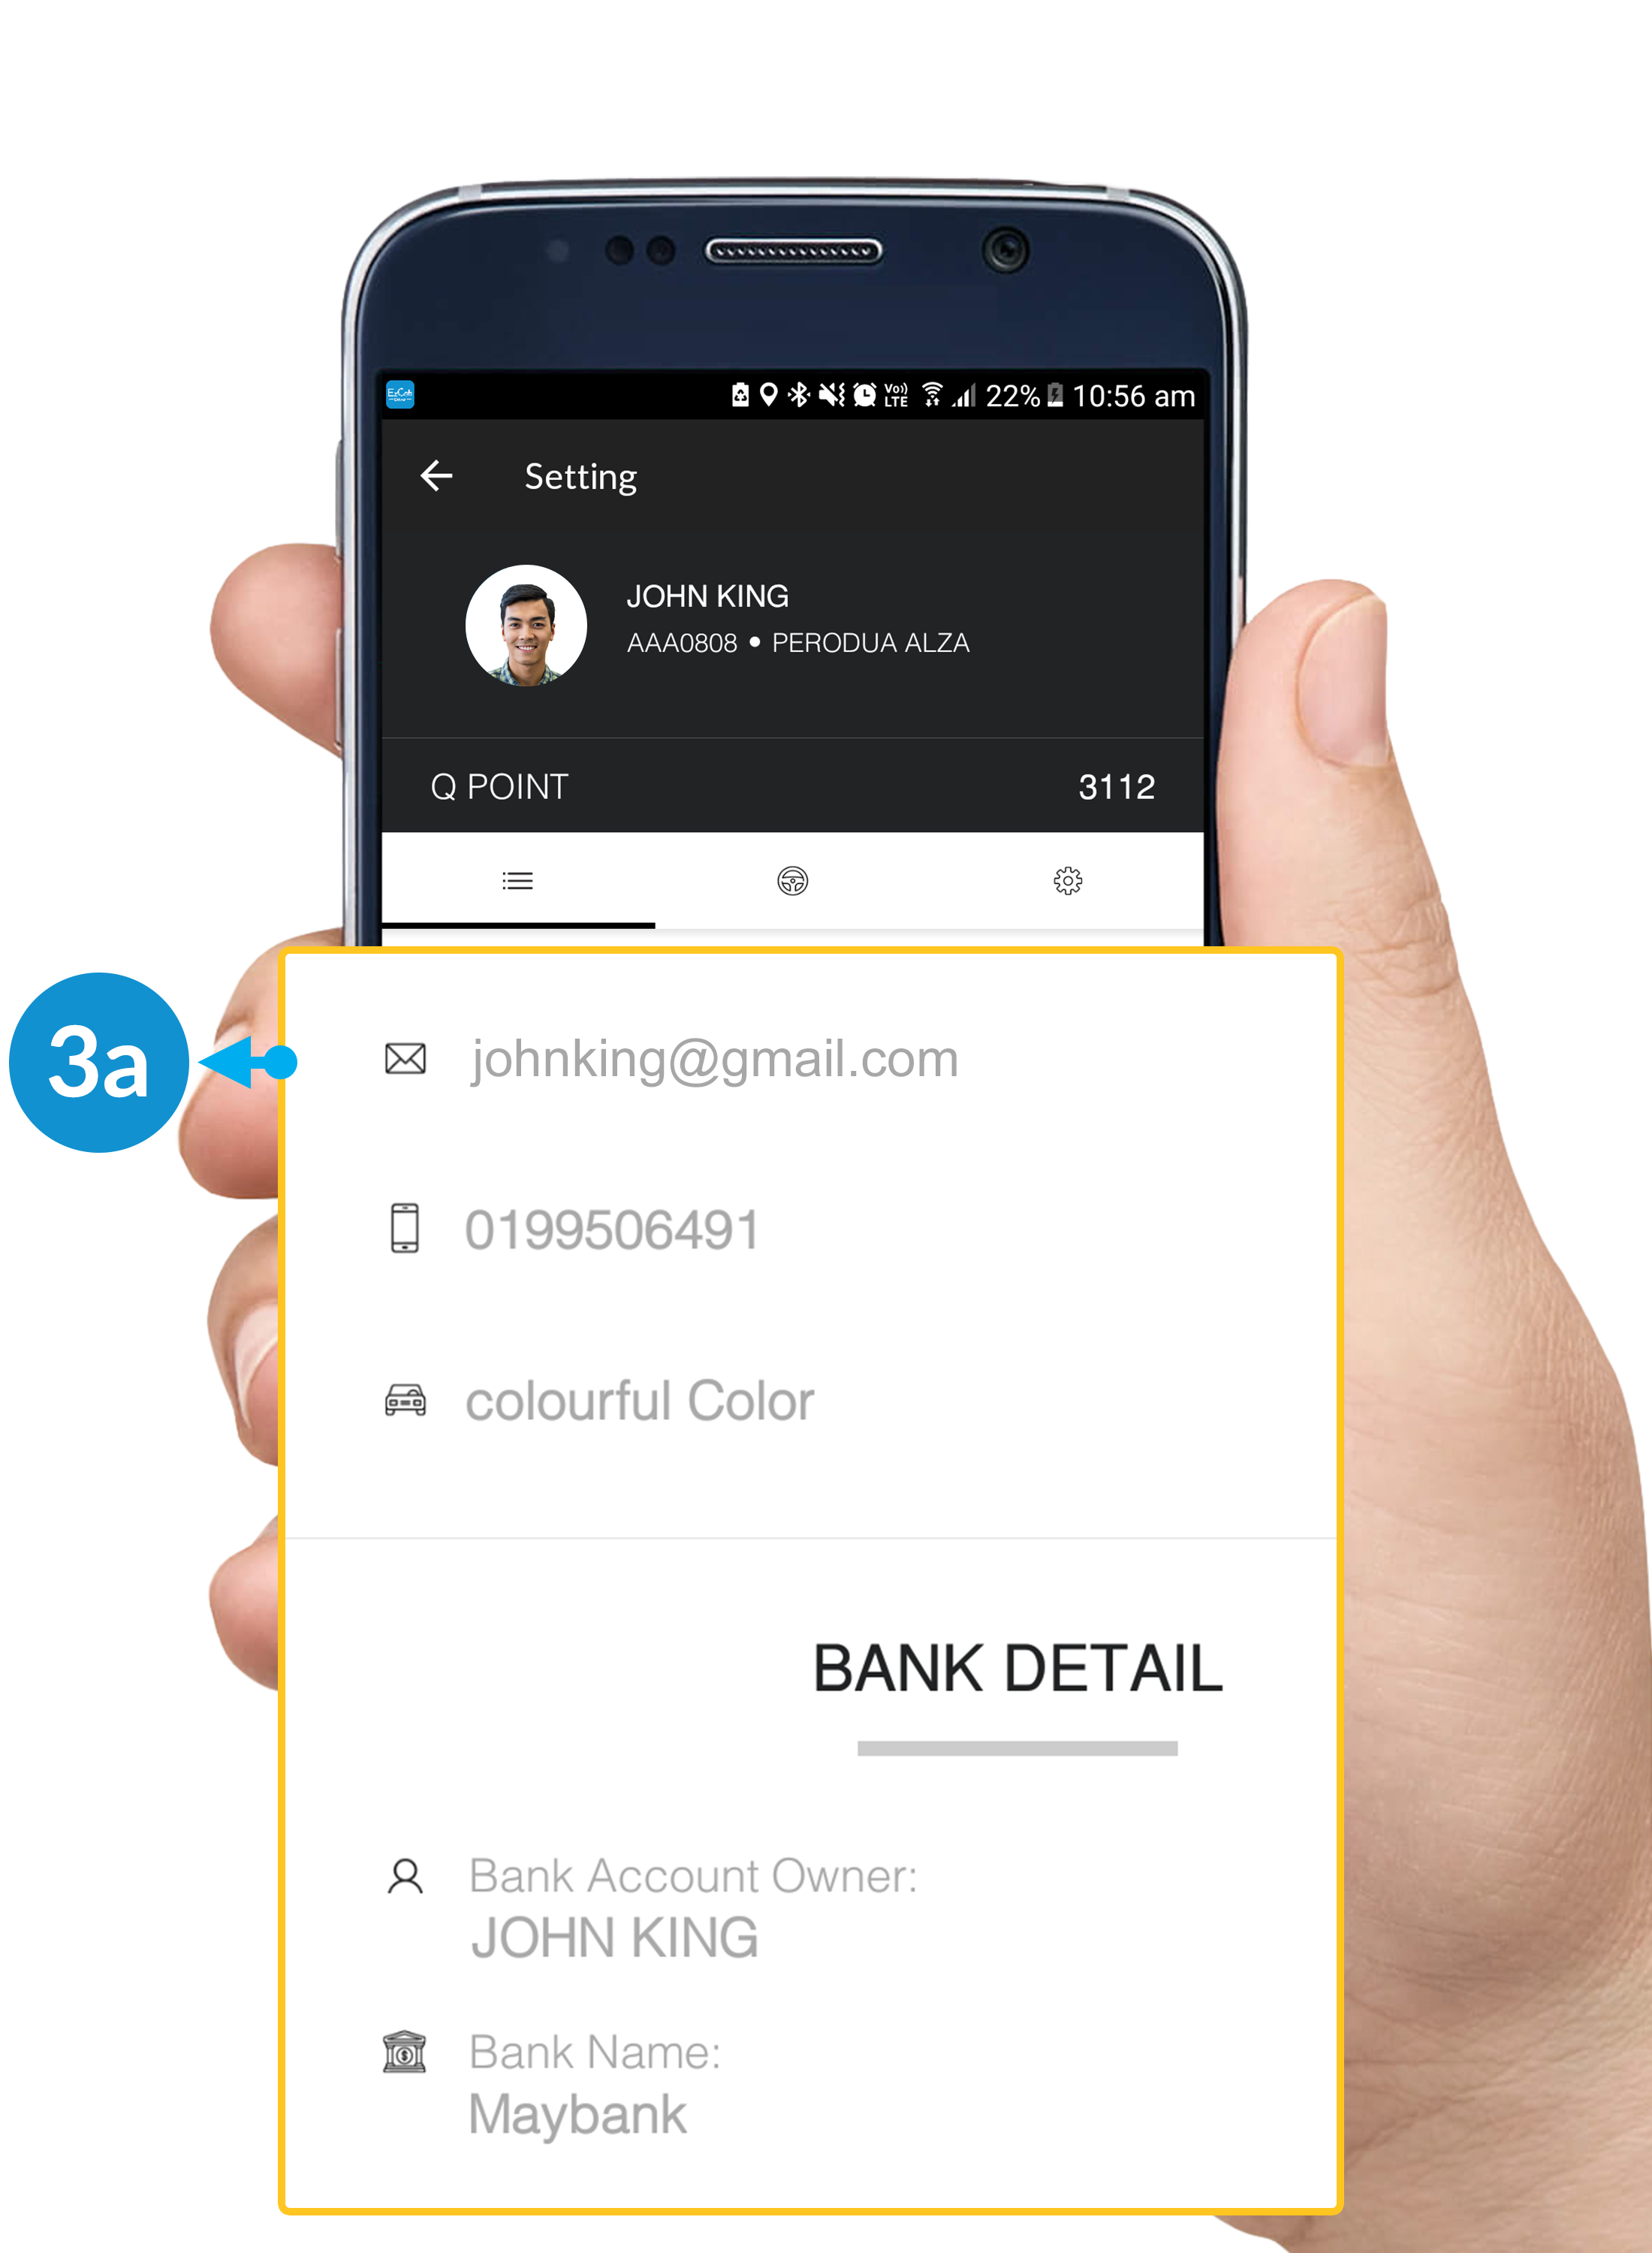
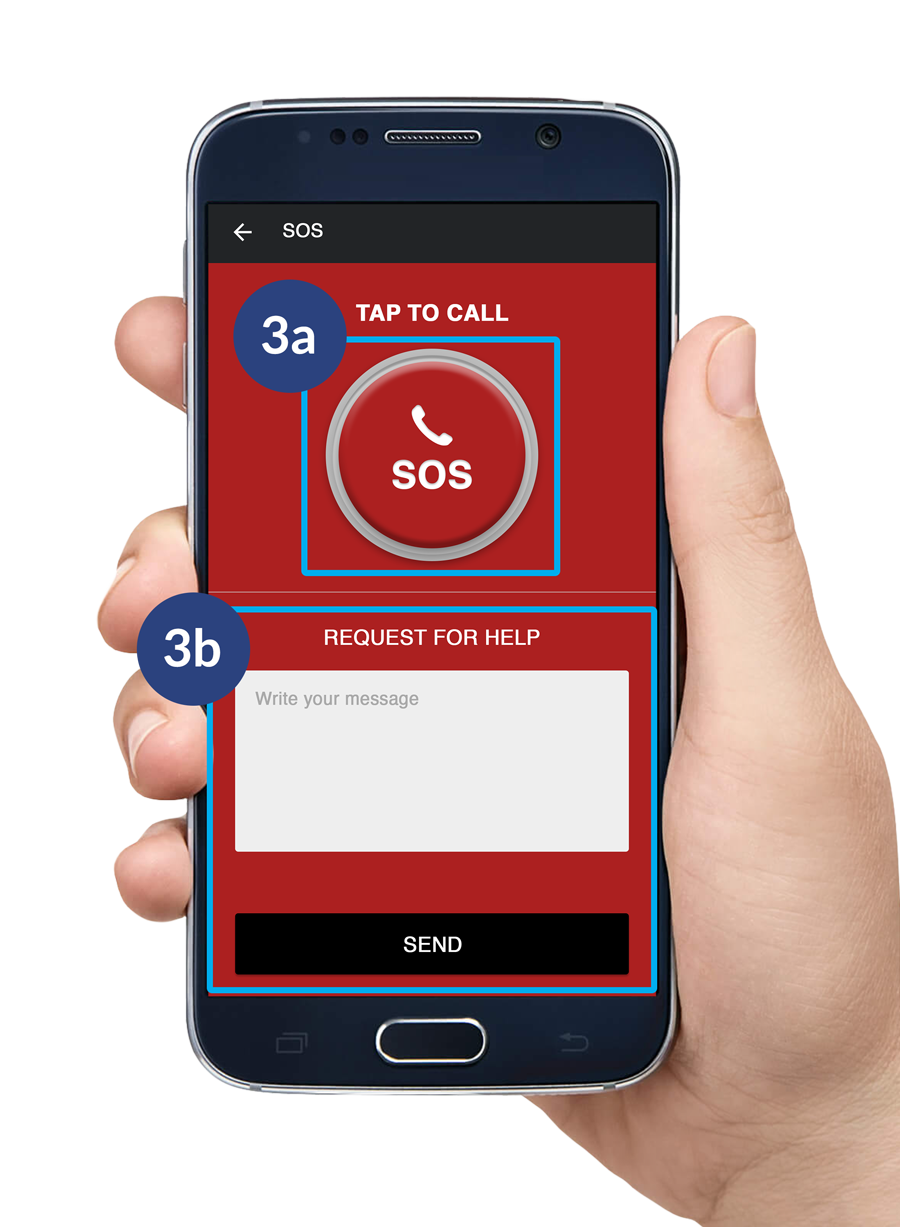
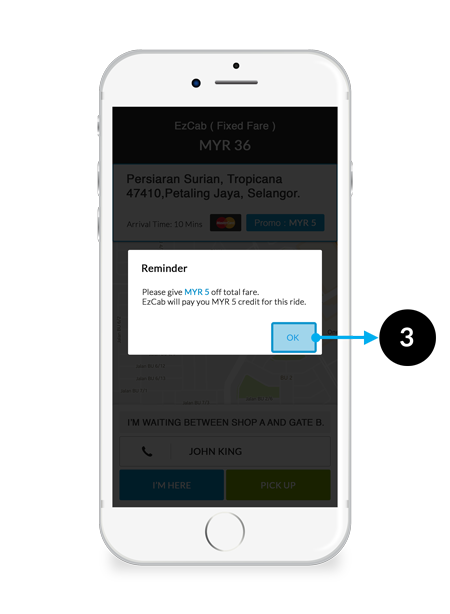
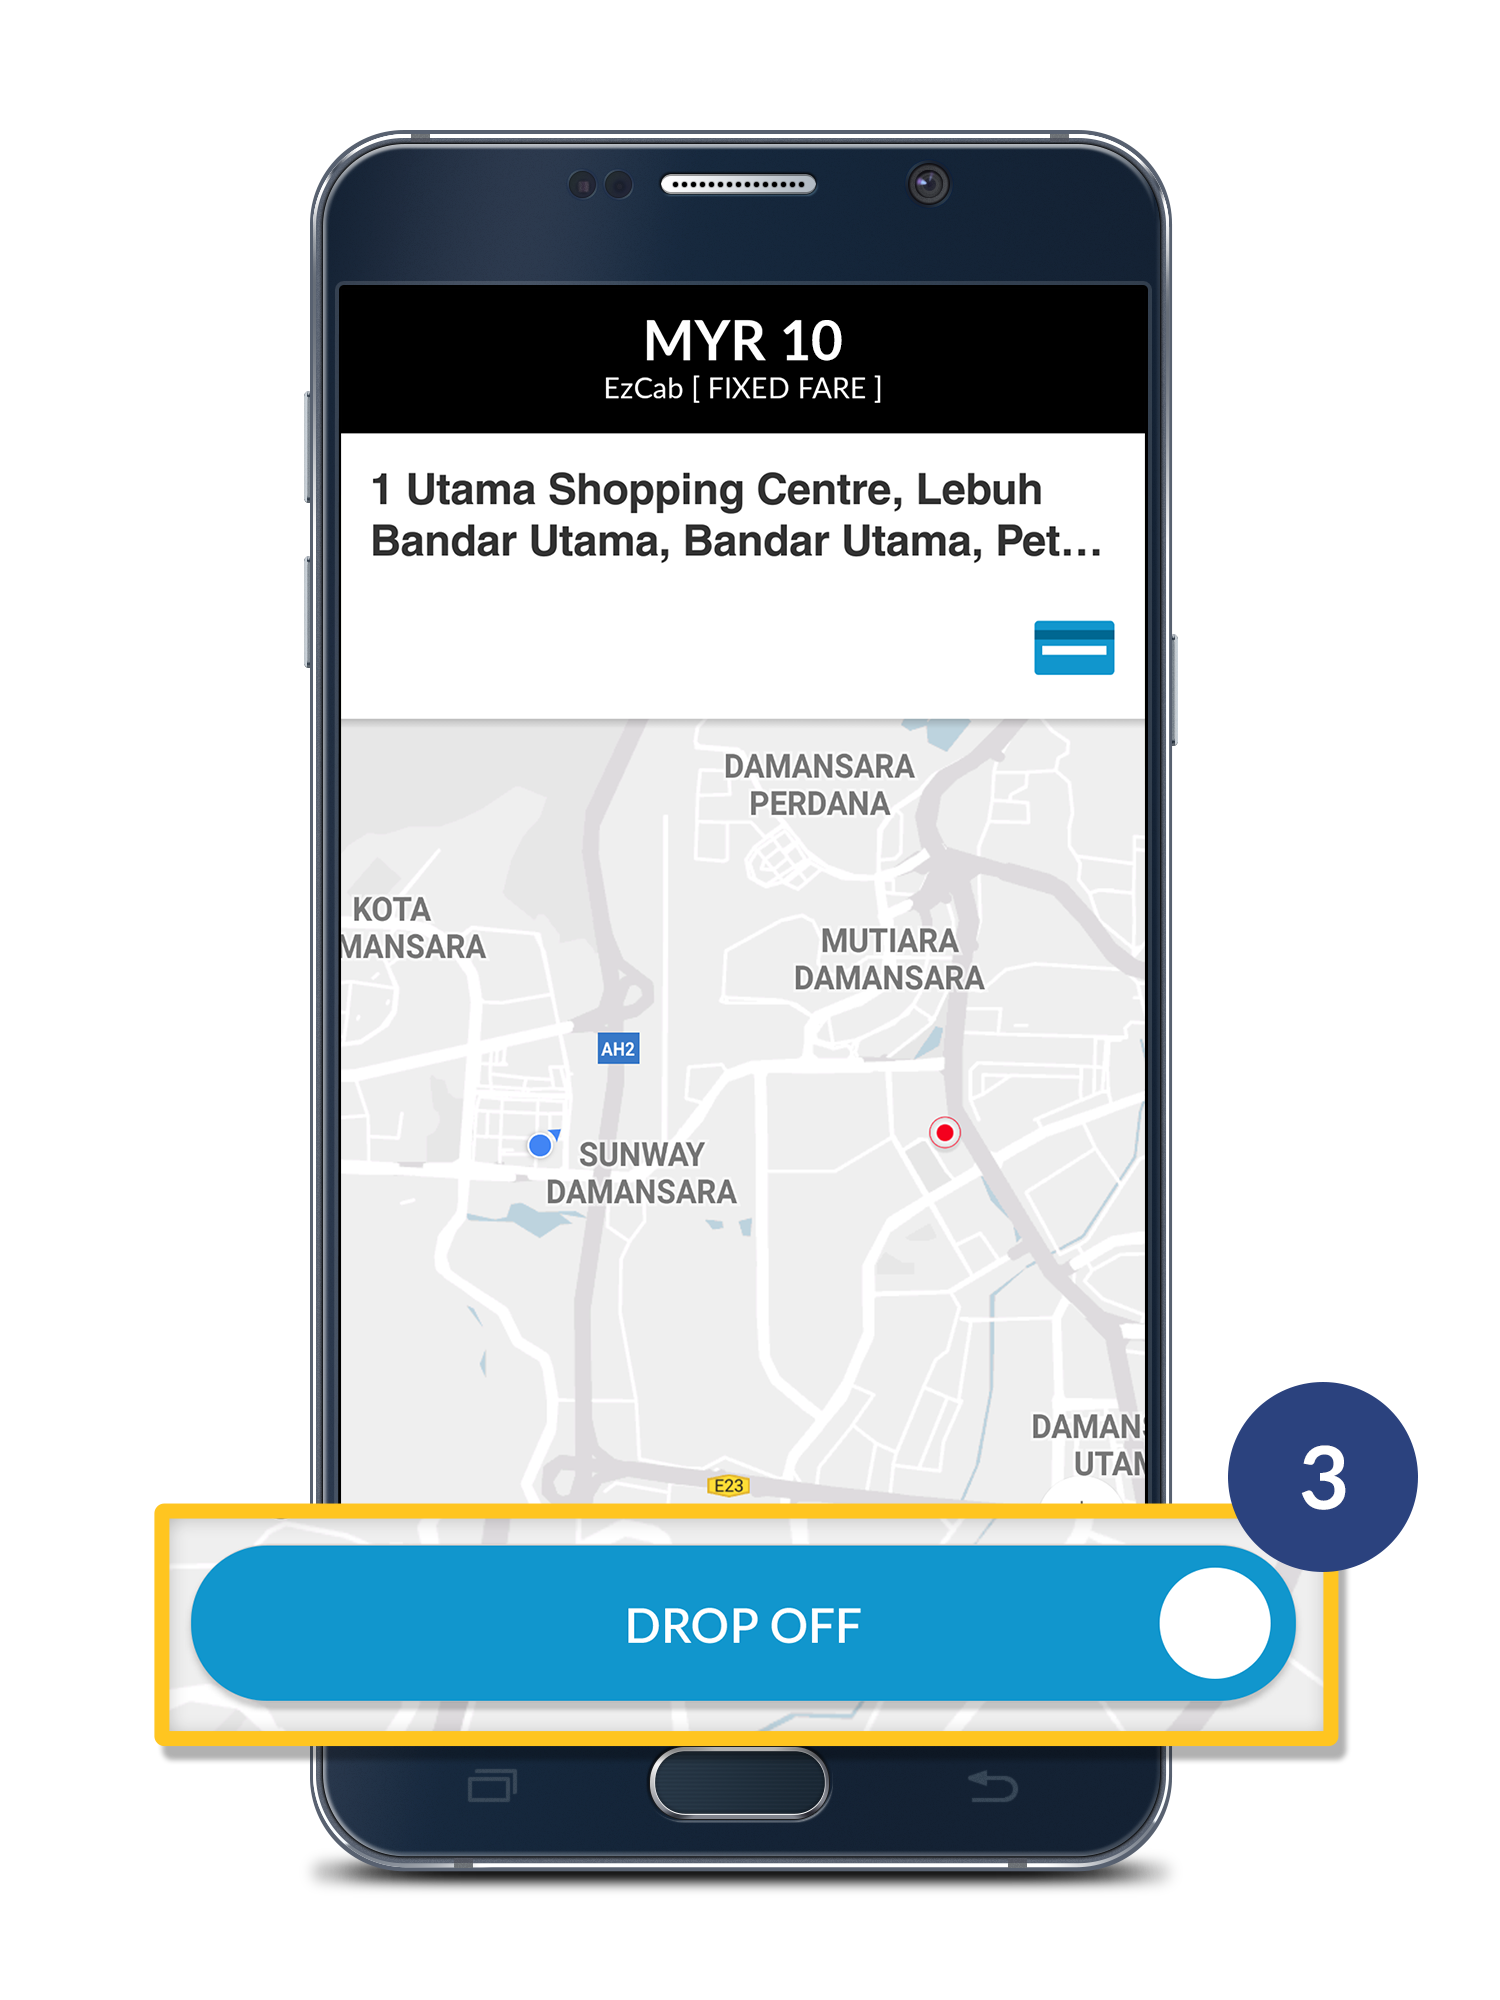
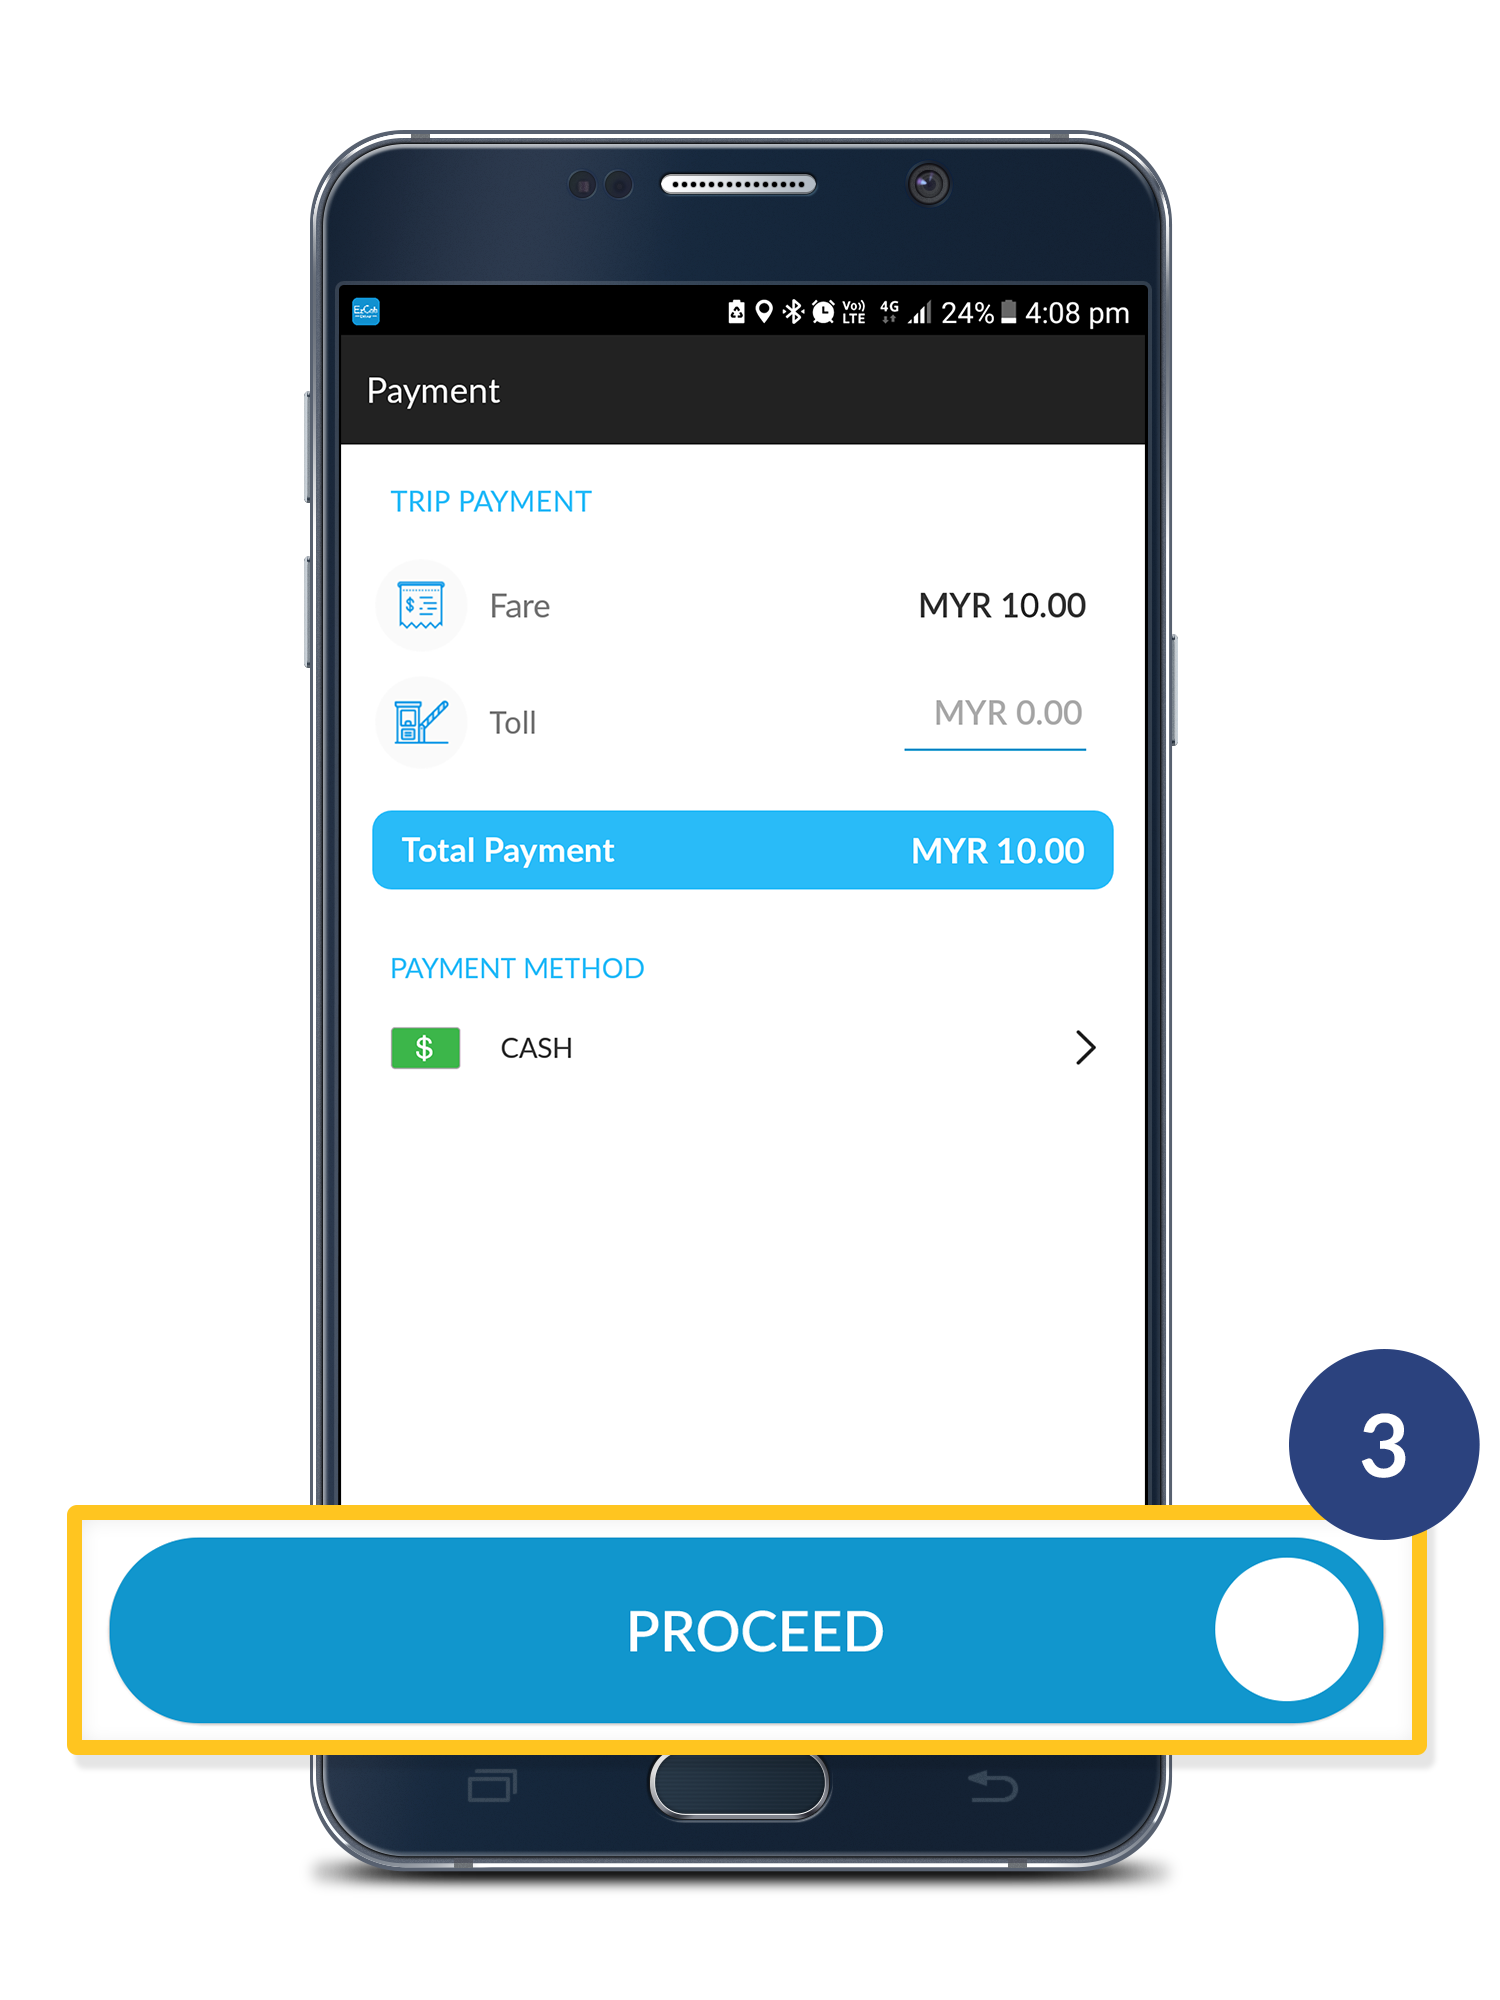
Step 3
a. Chatting function: Type your message to passenger
OR
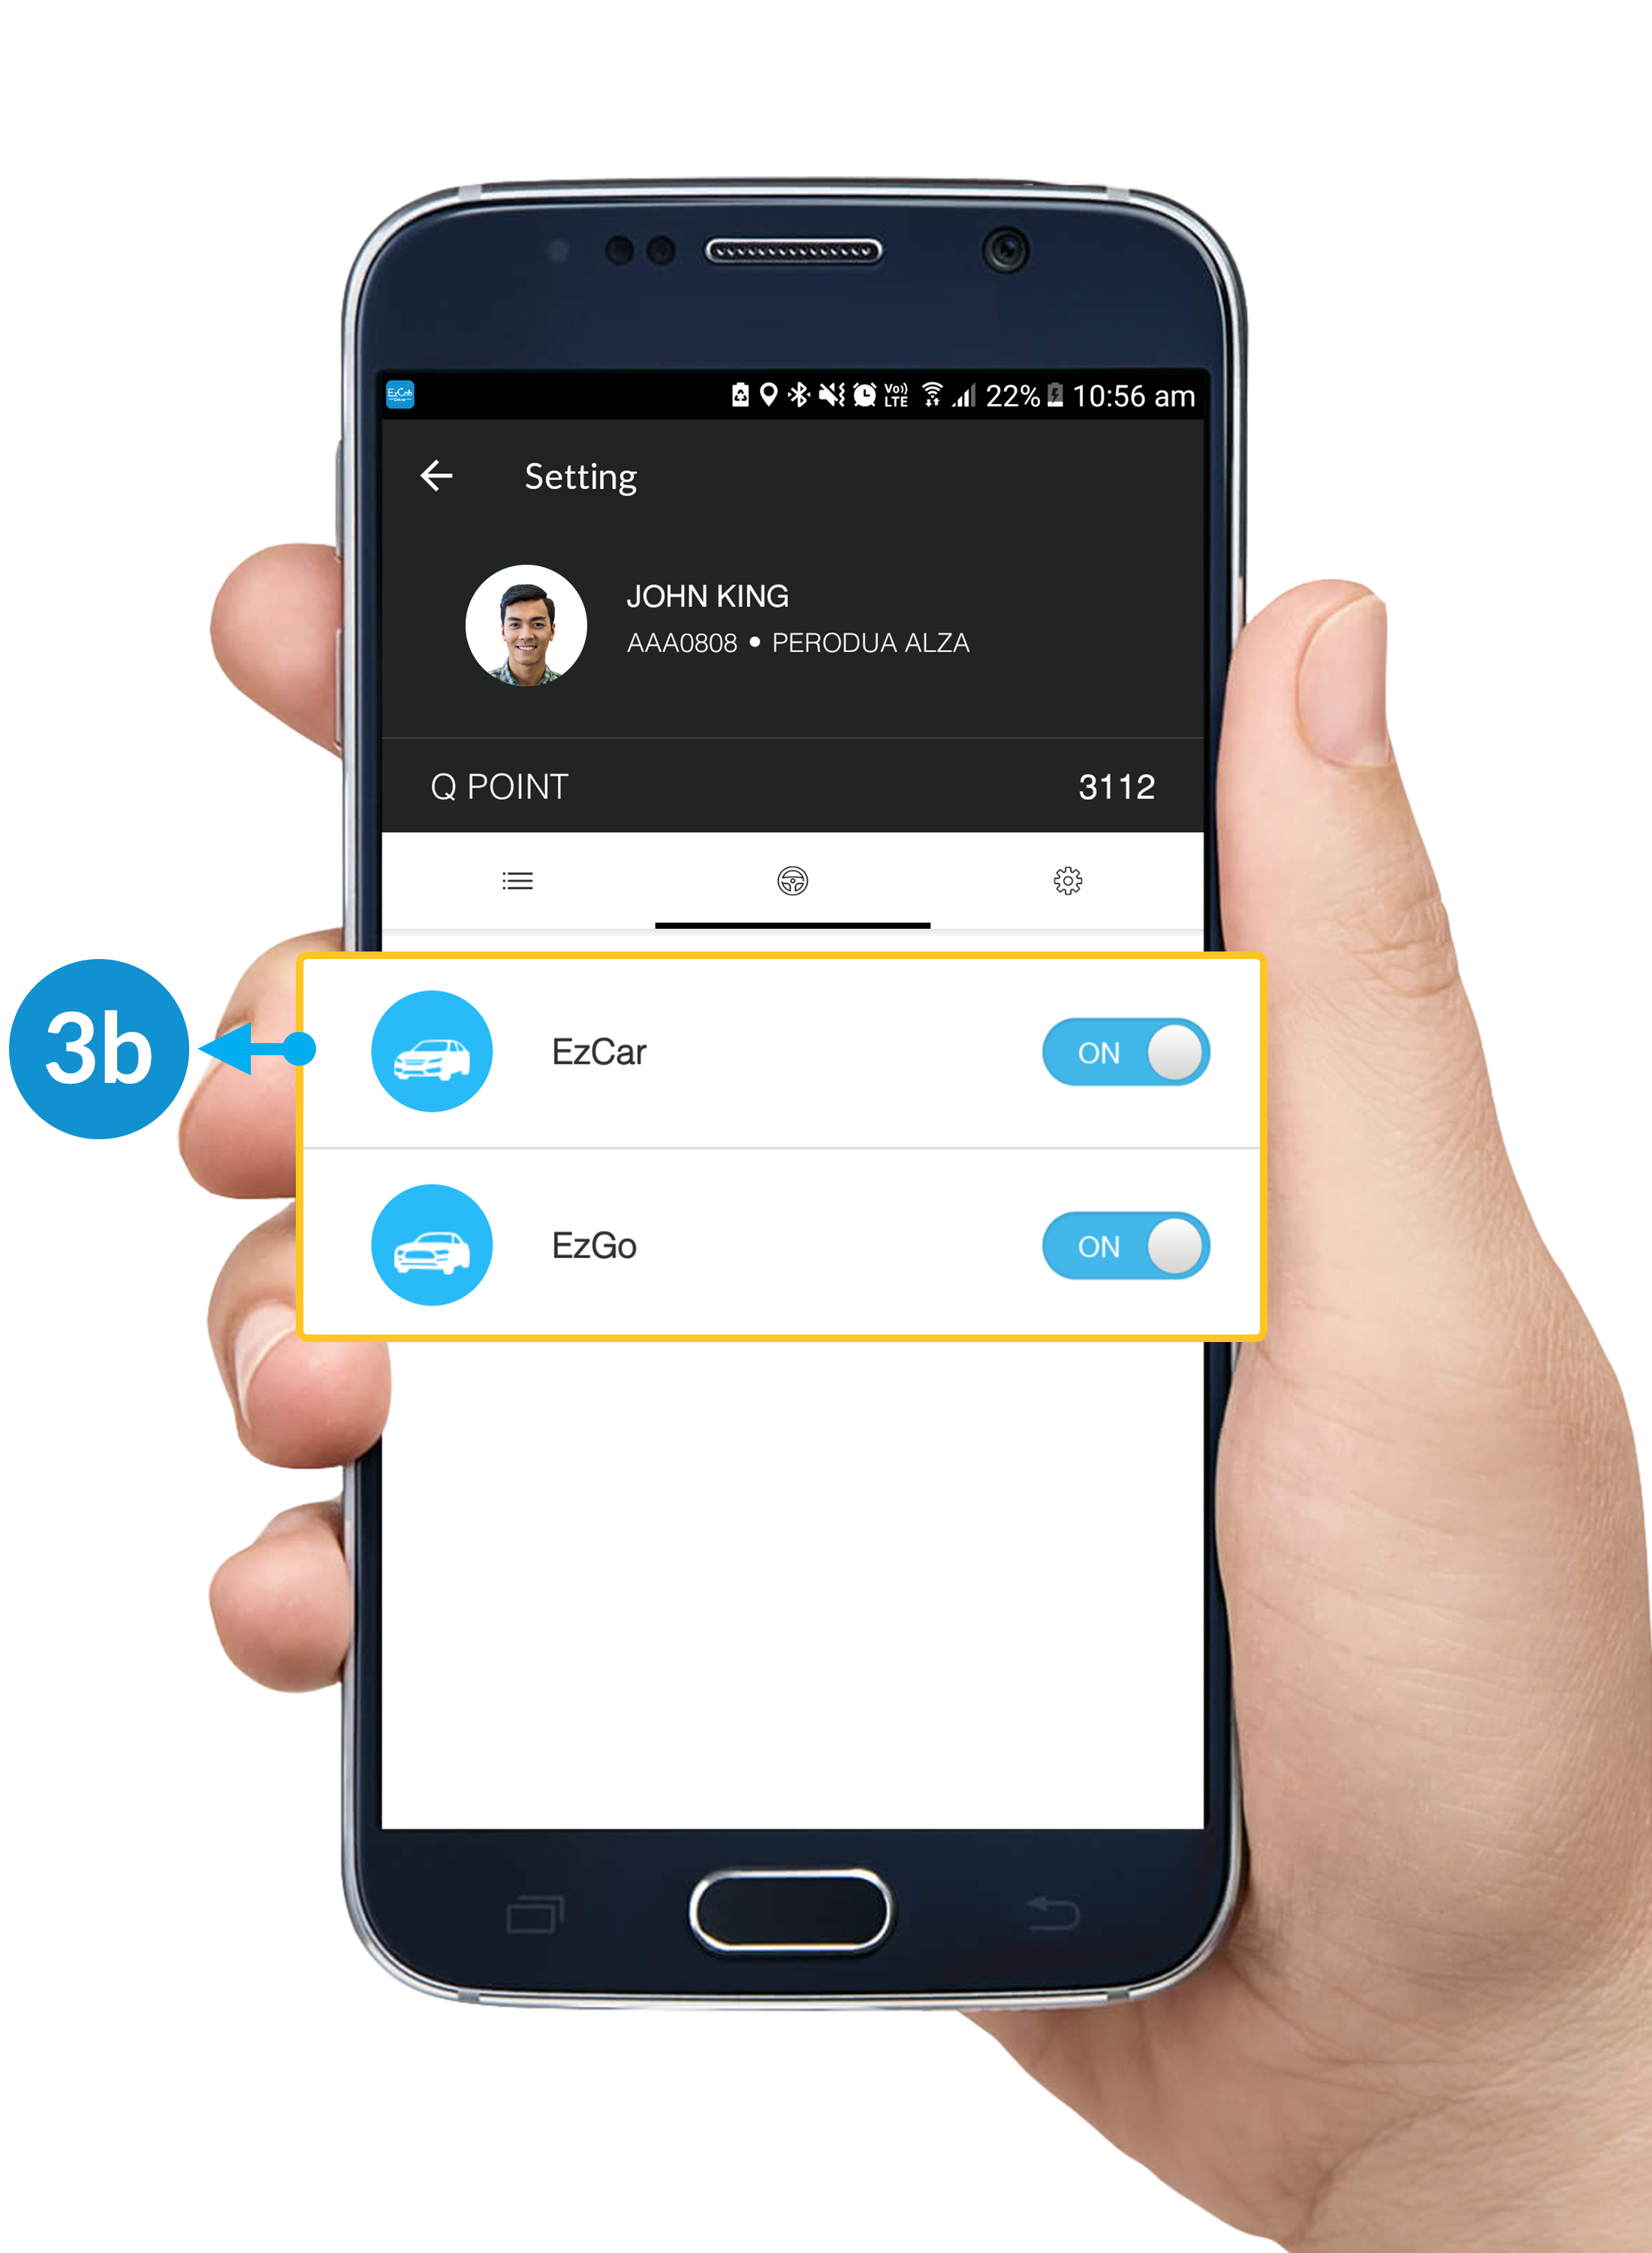
b. Select Quick Messages.
c. Select "" to Send.
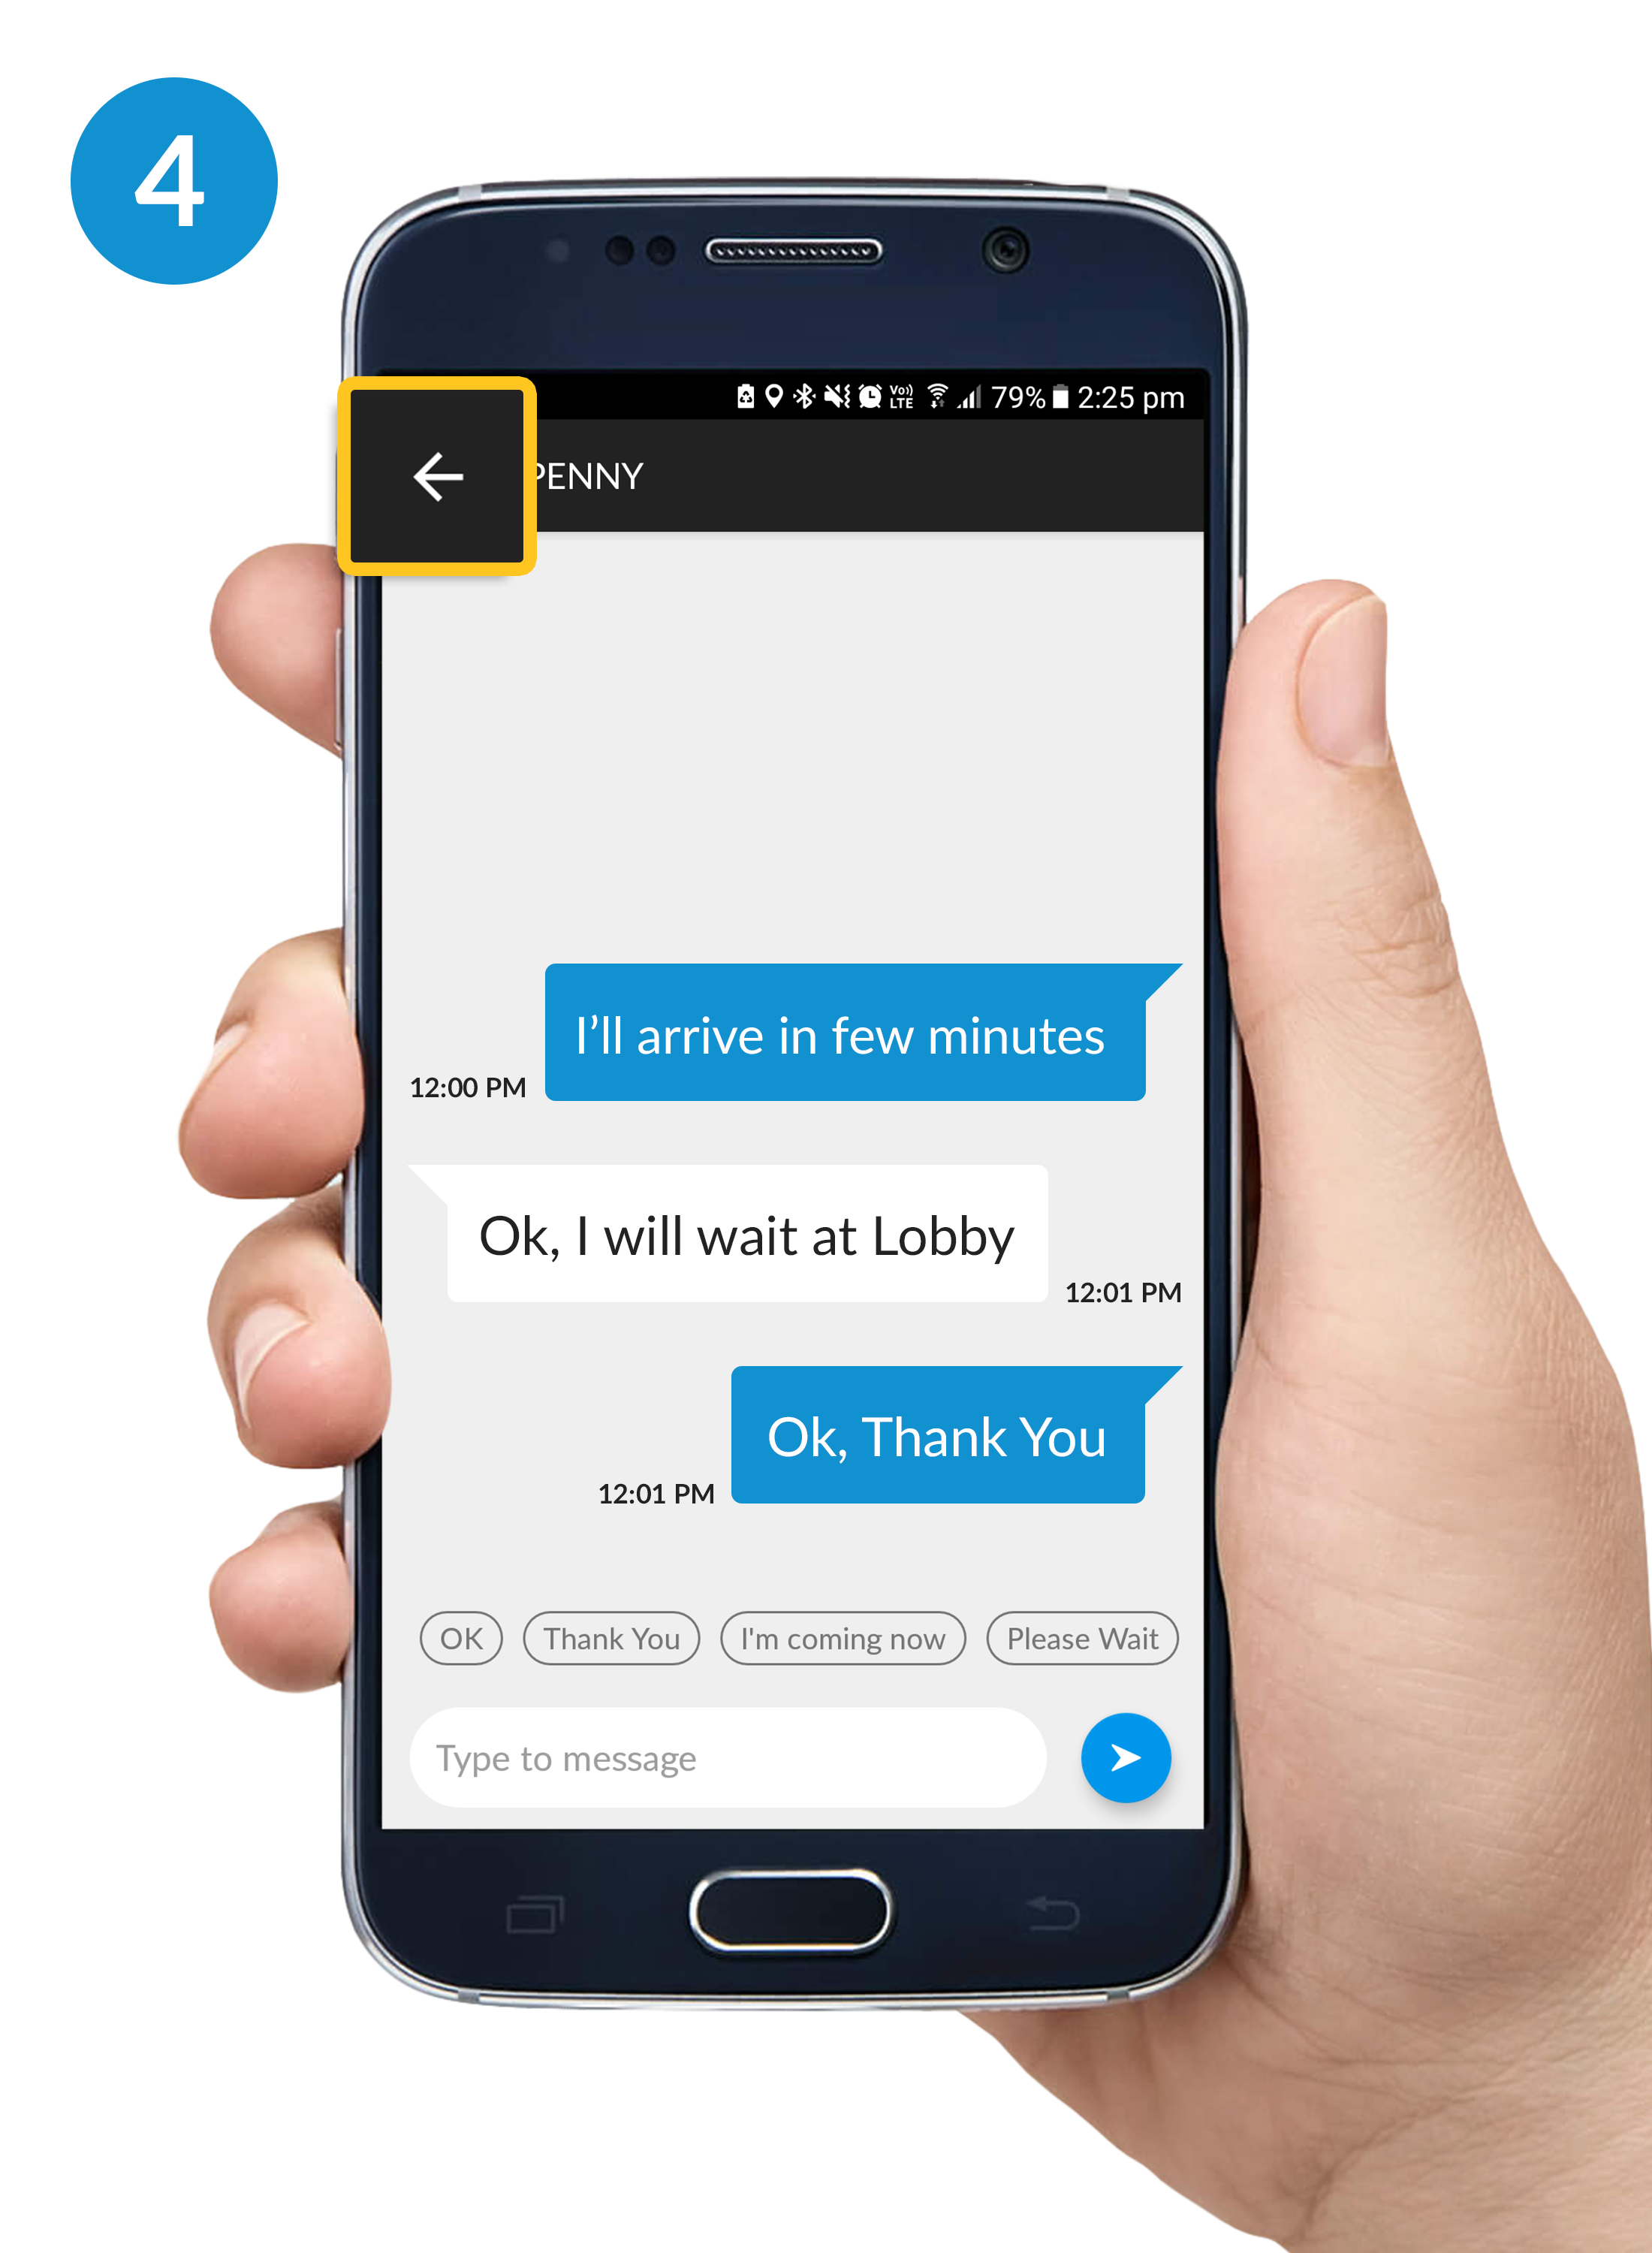
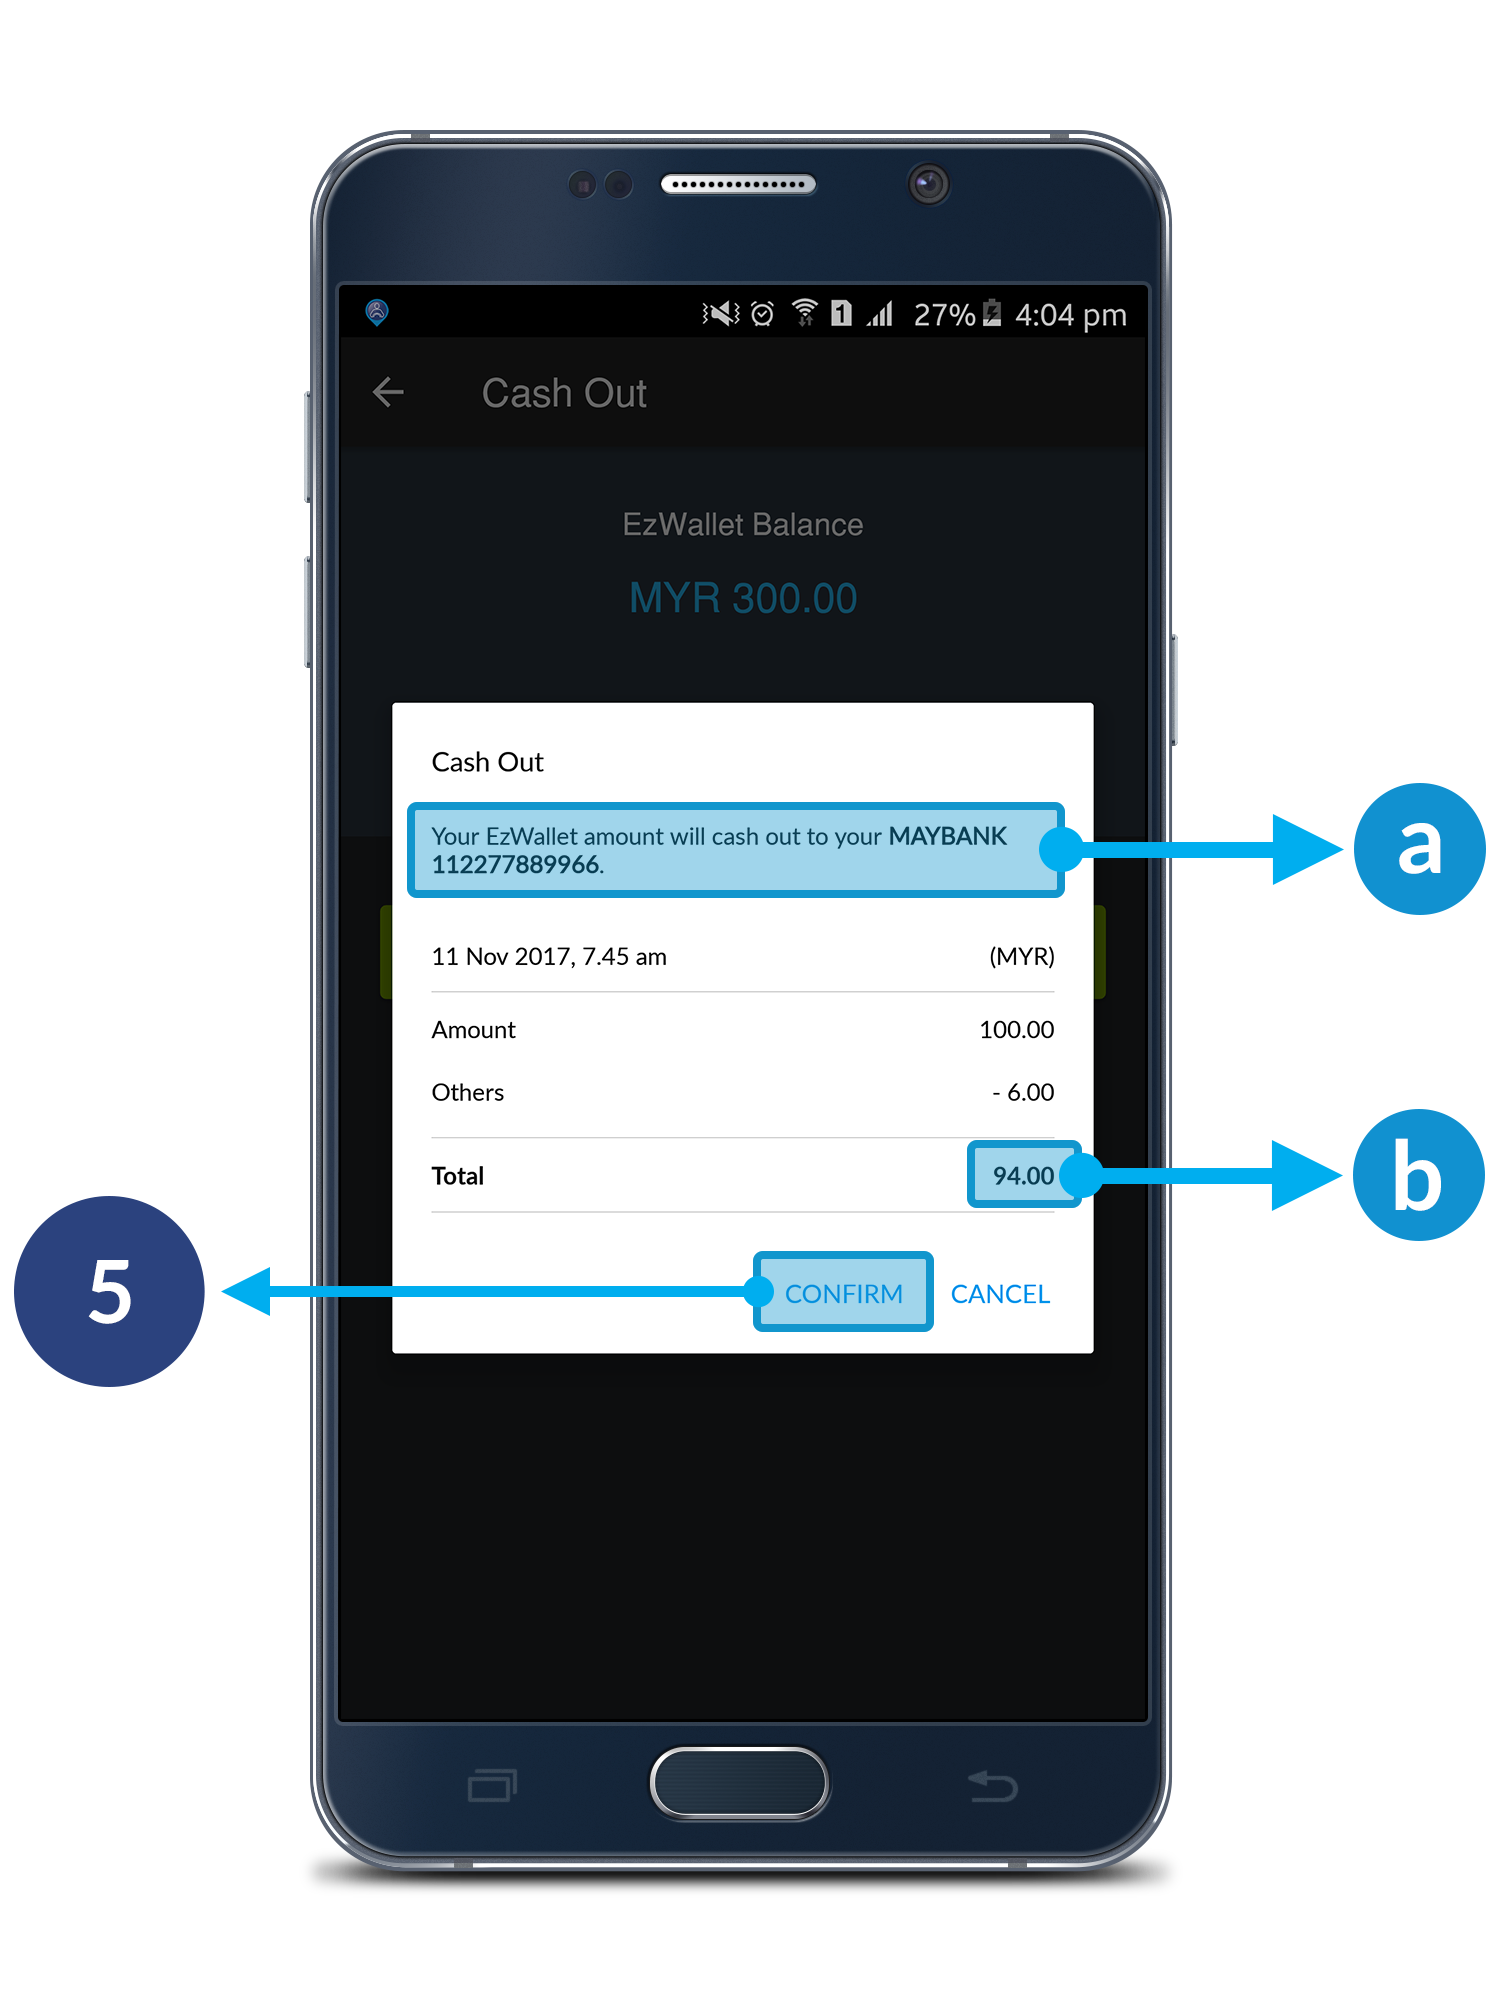
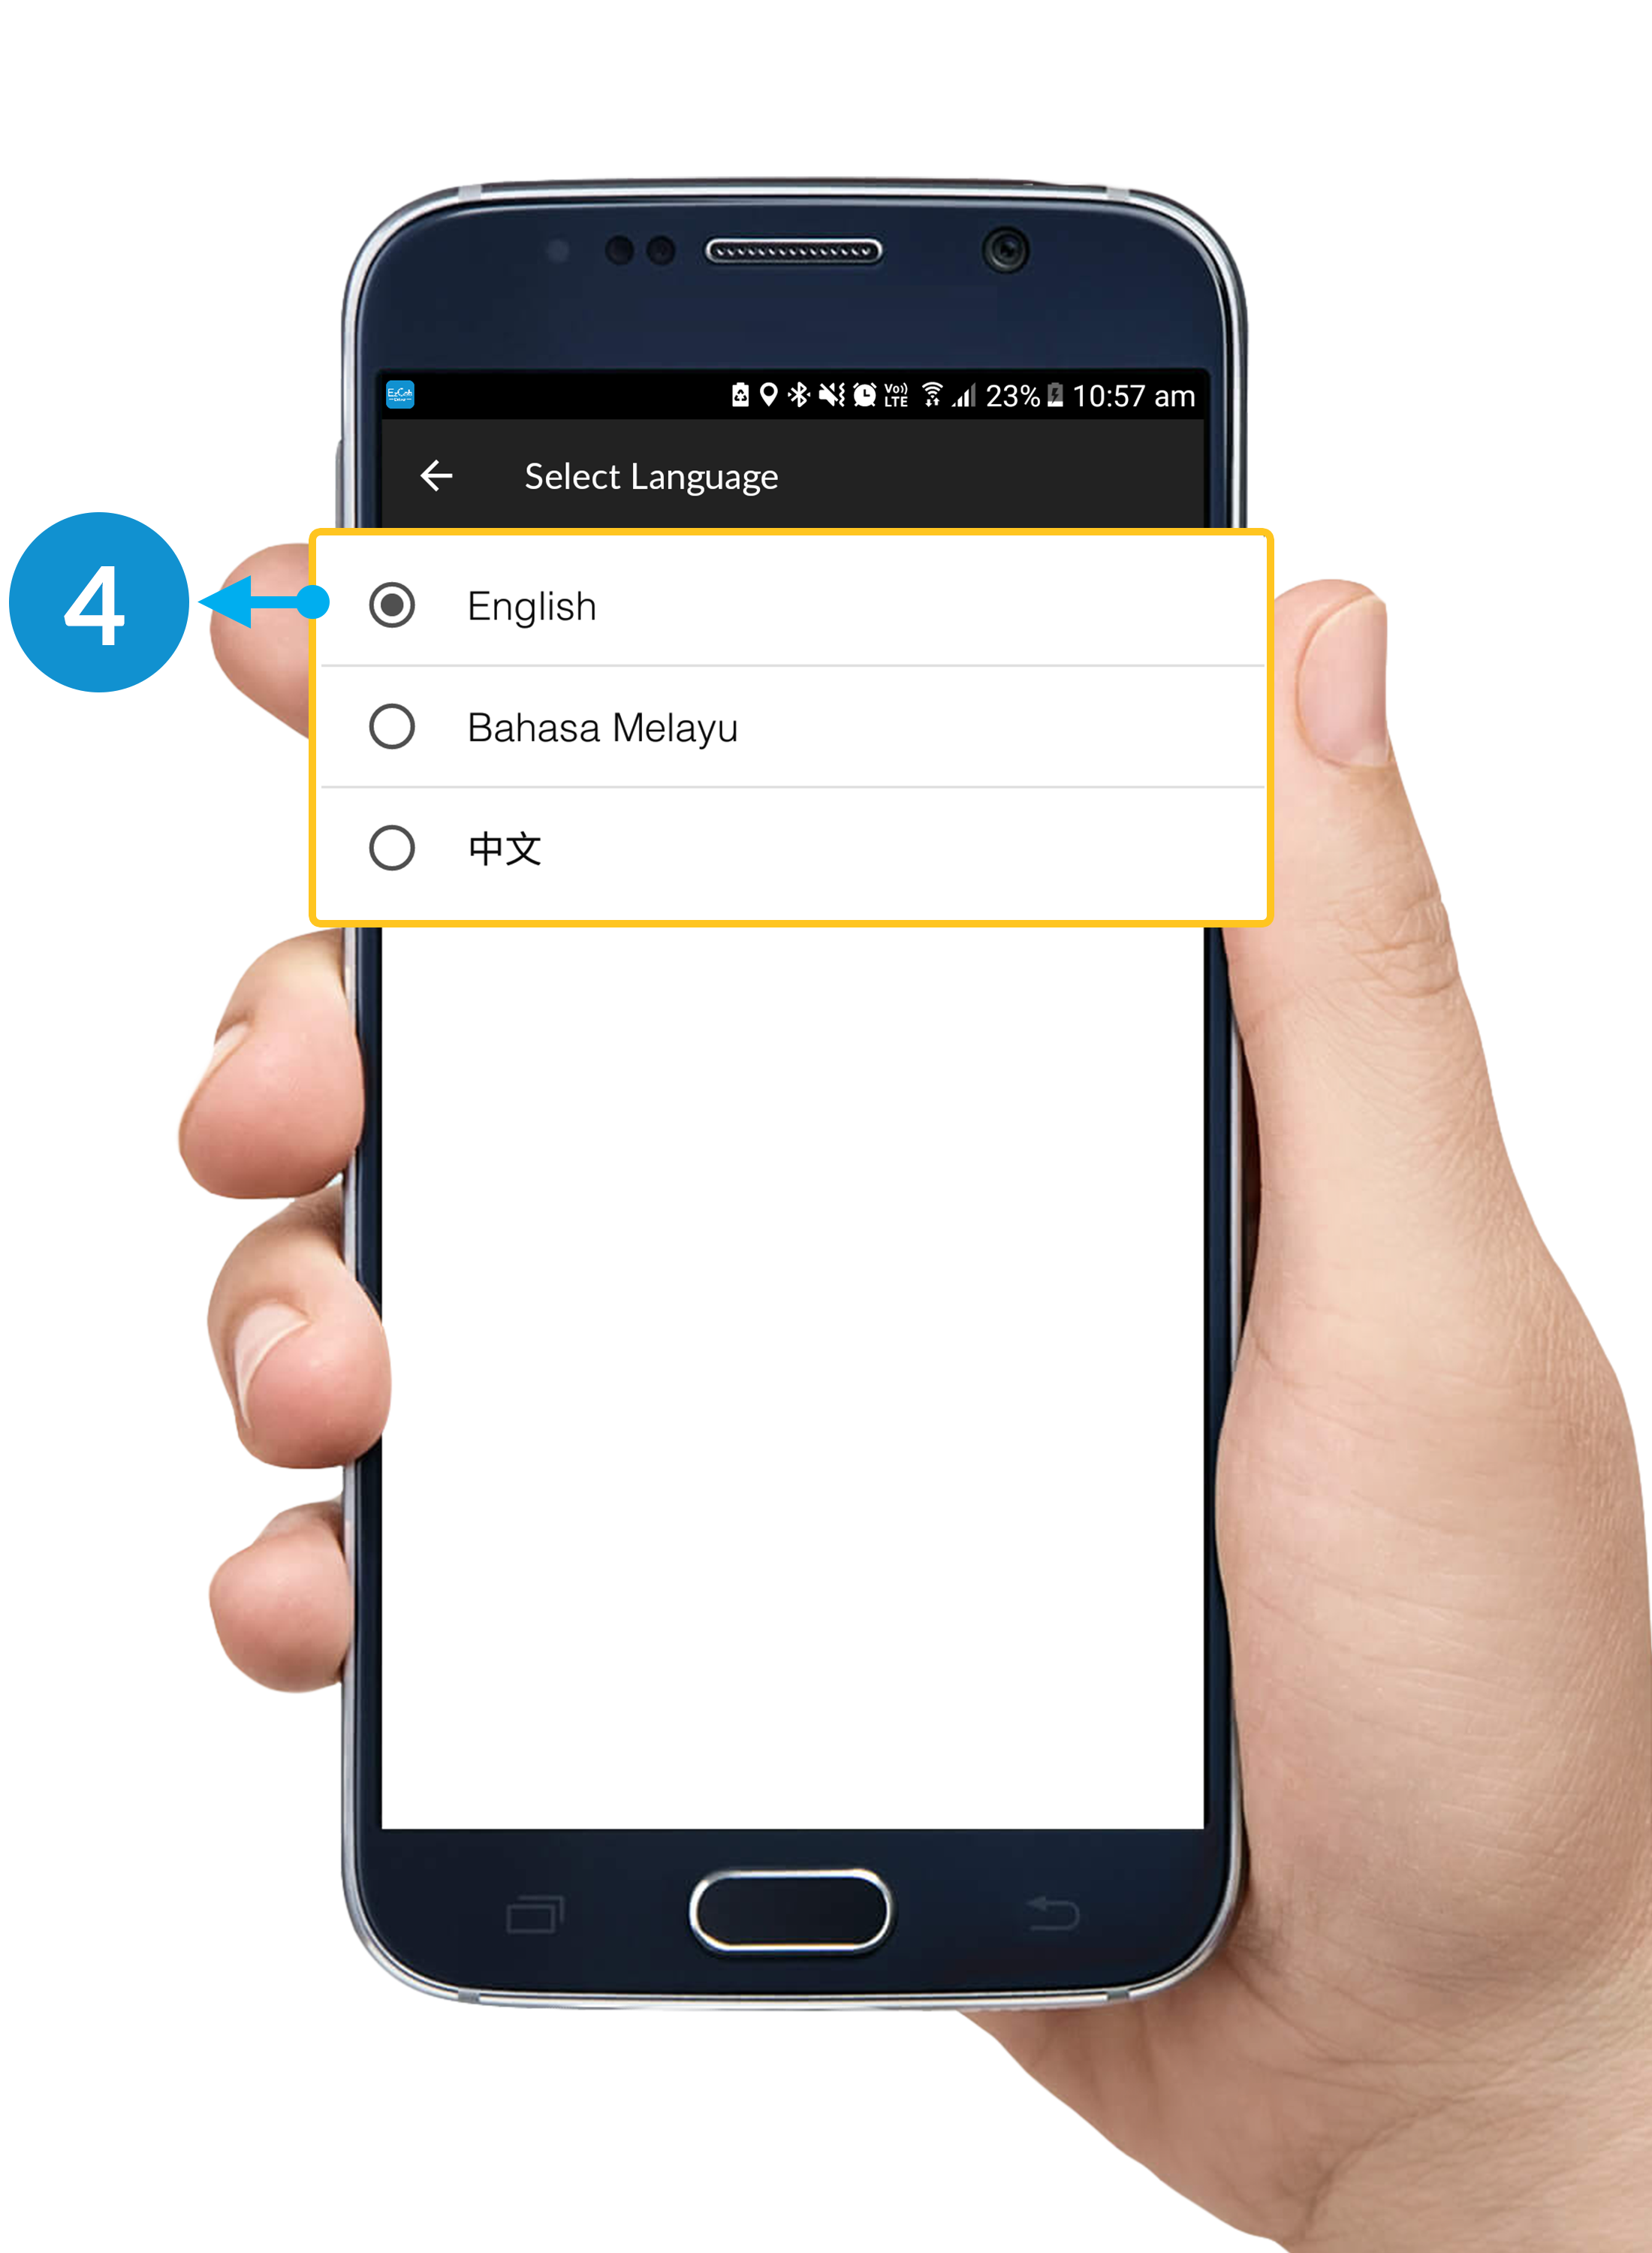
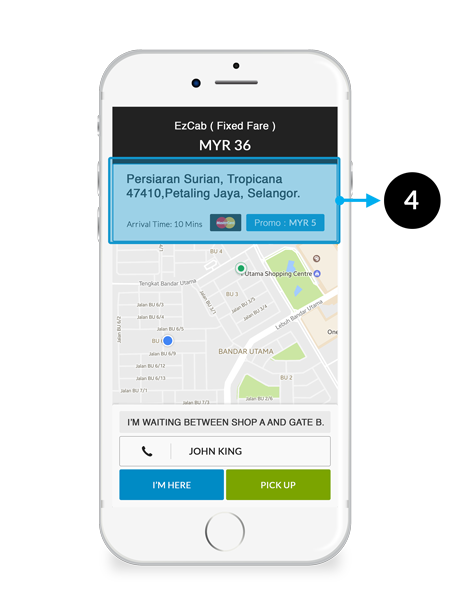
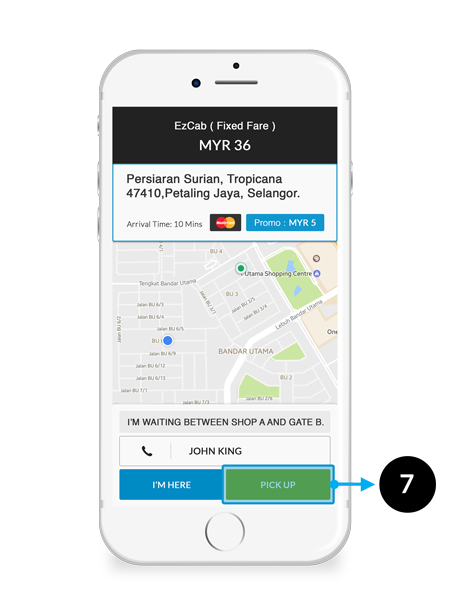
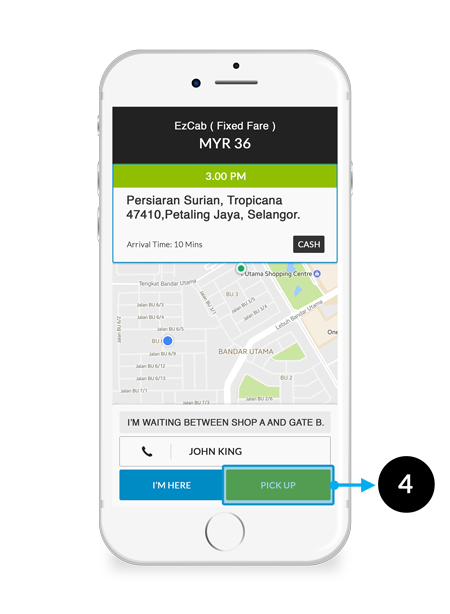
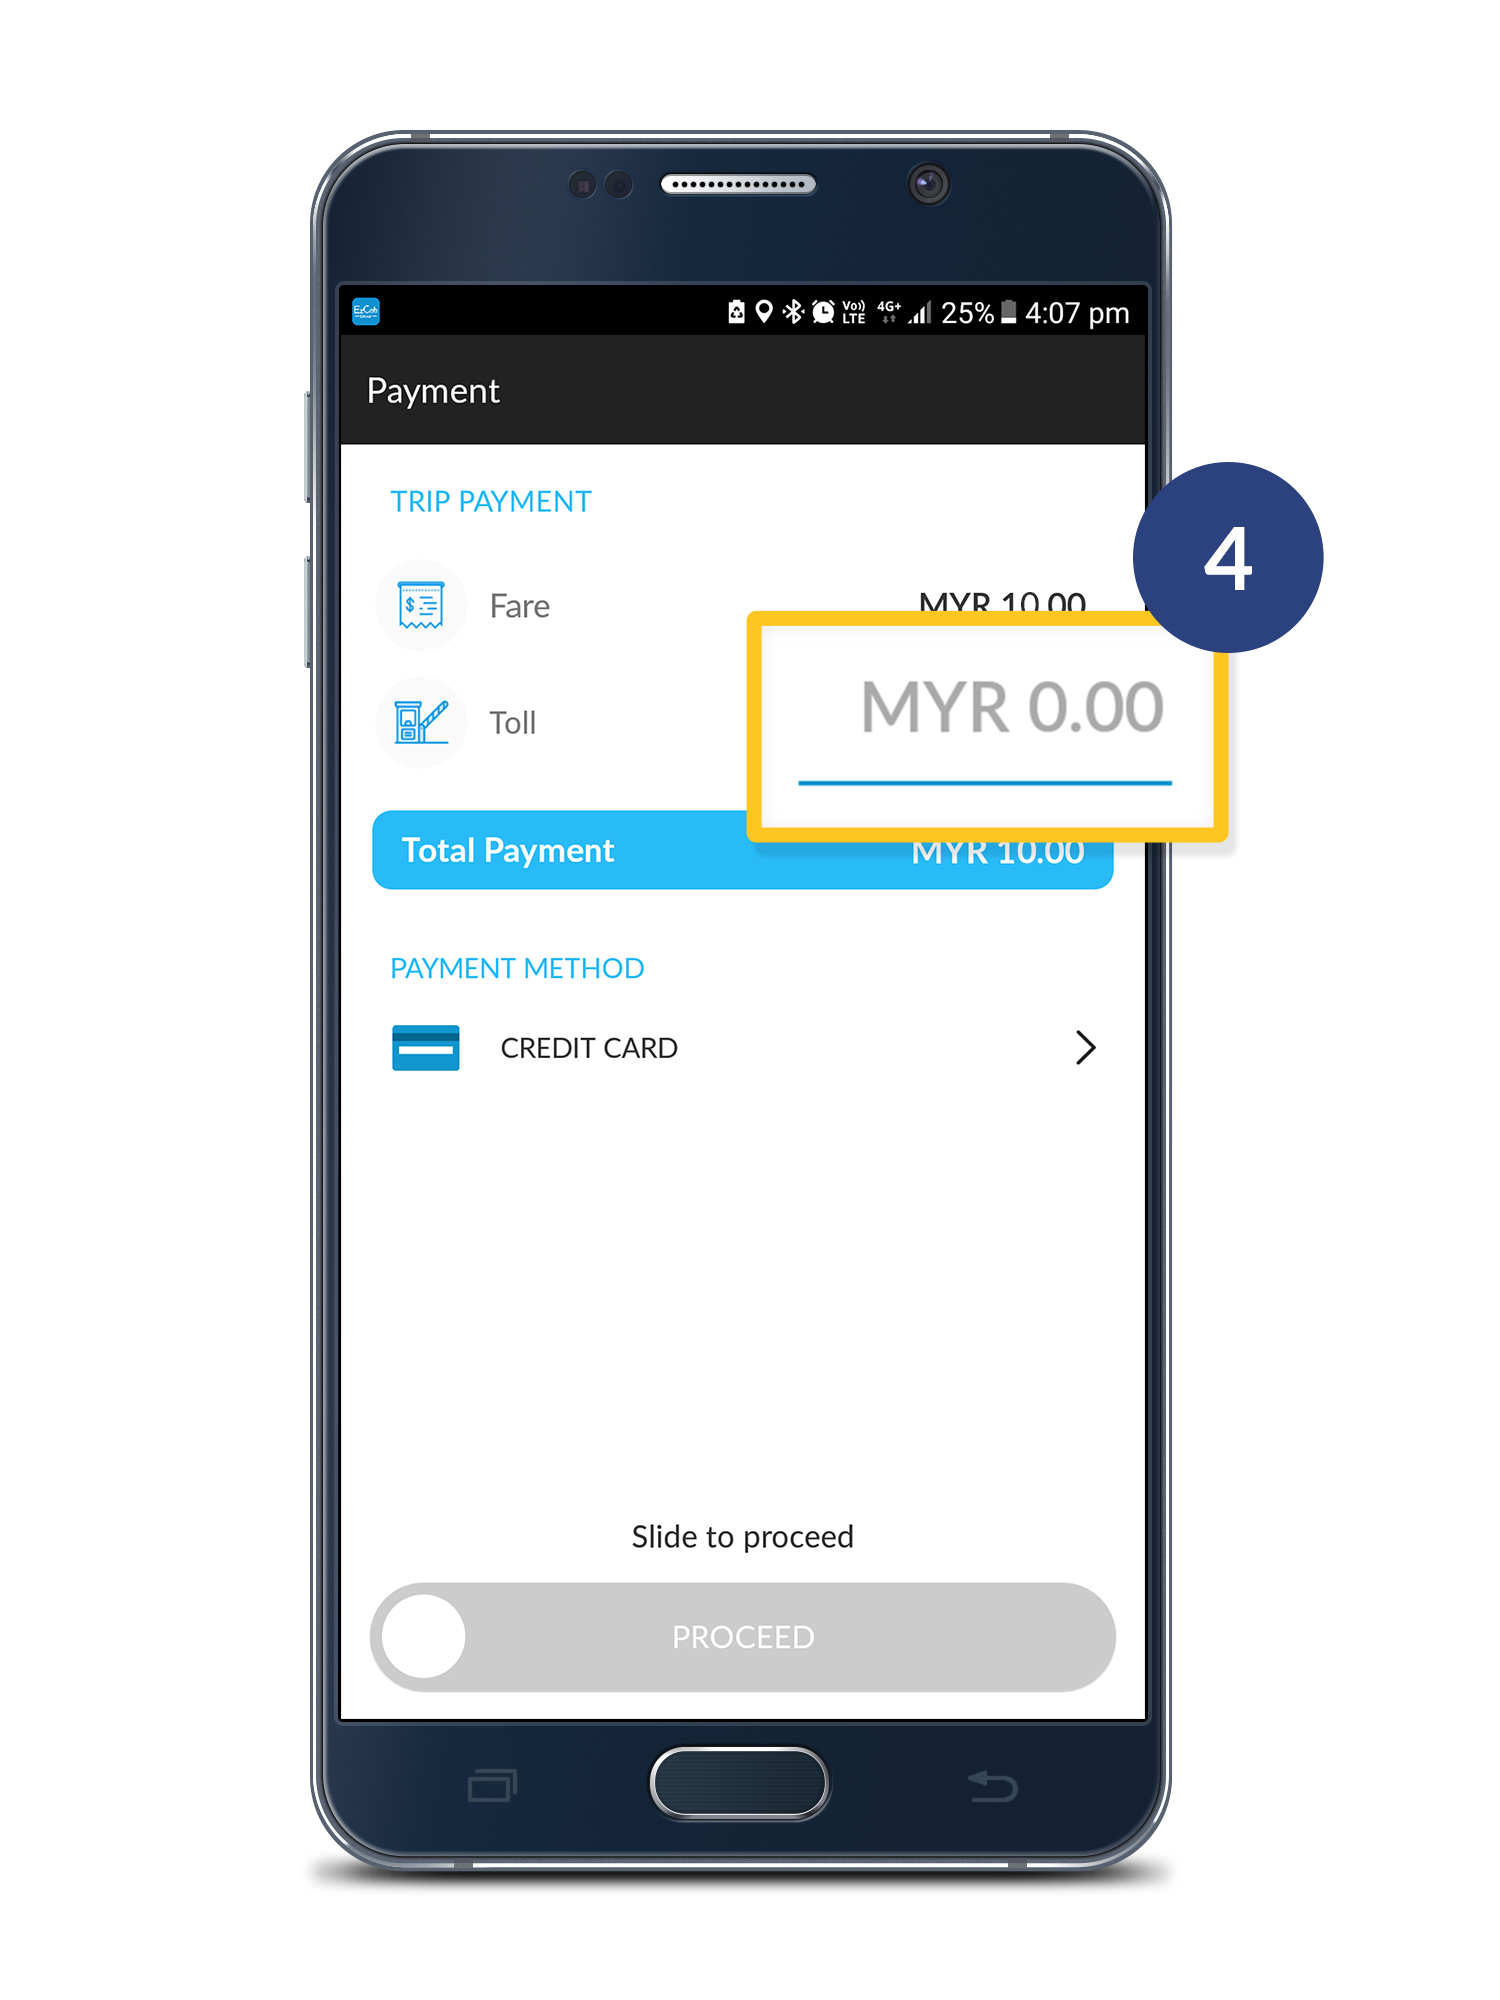
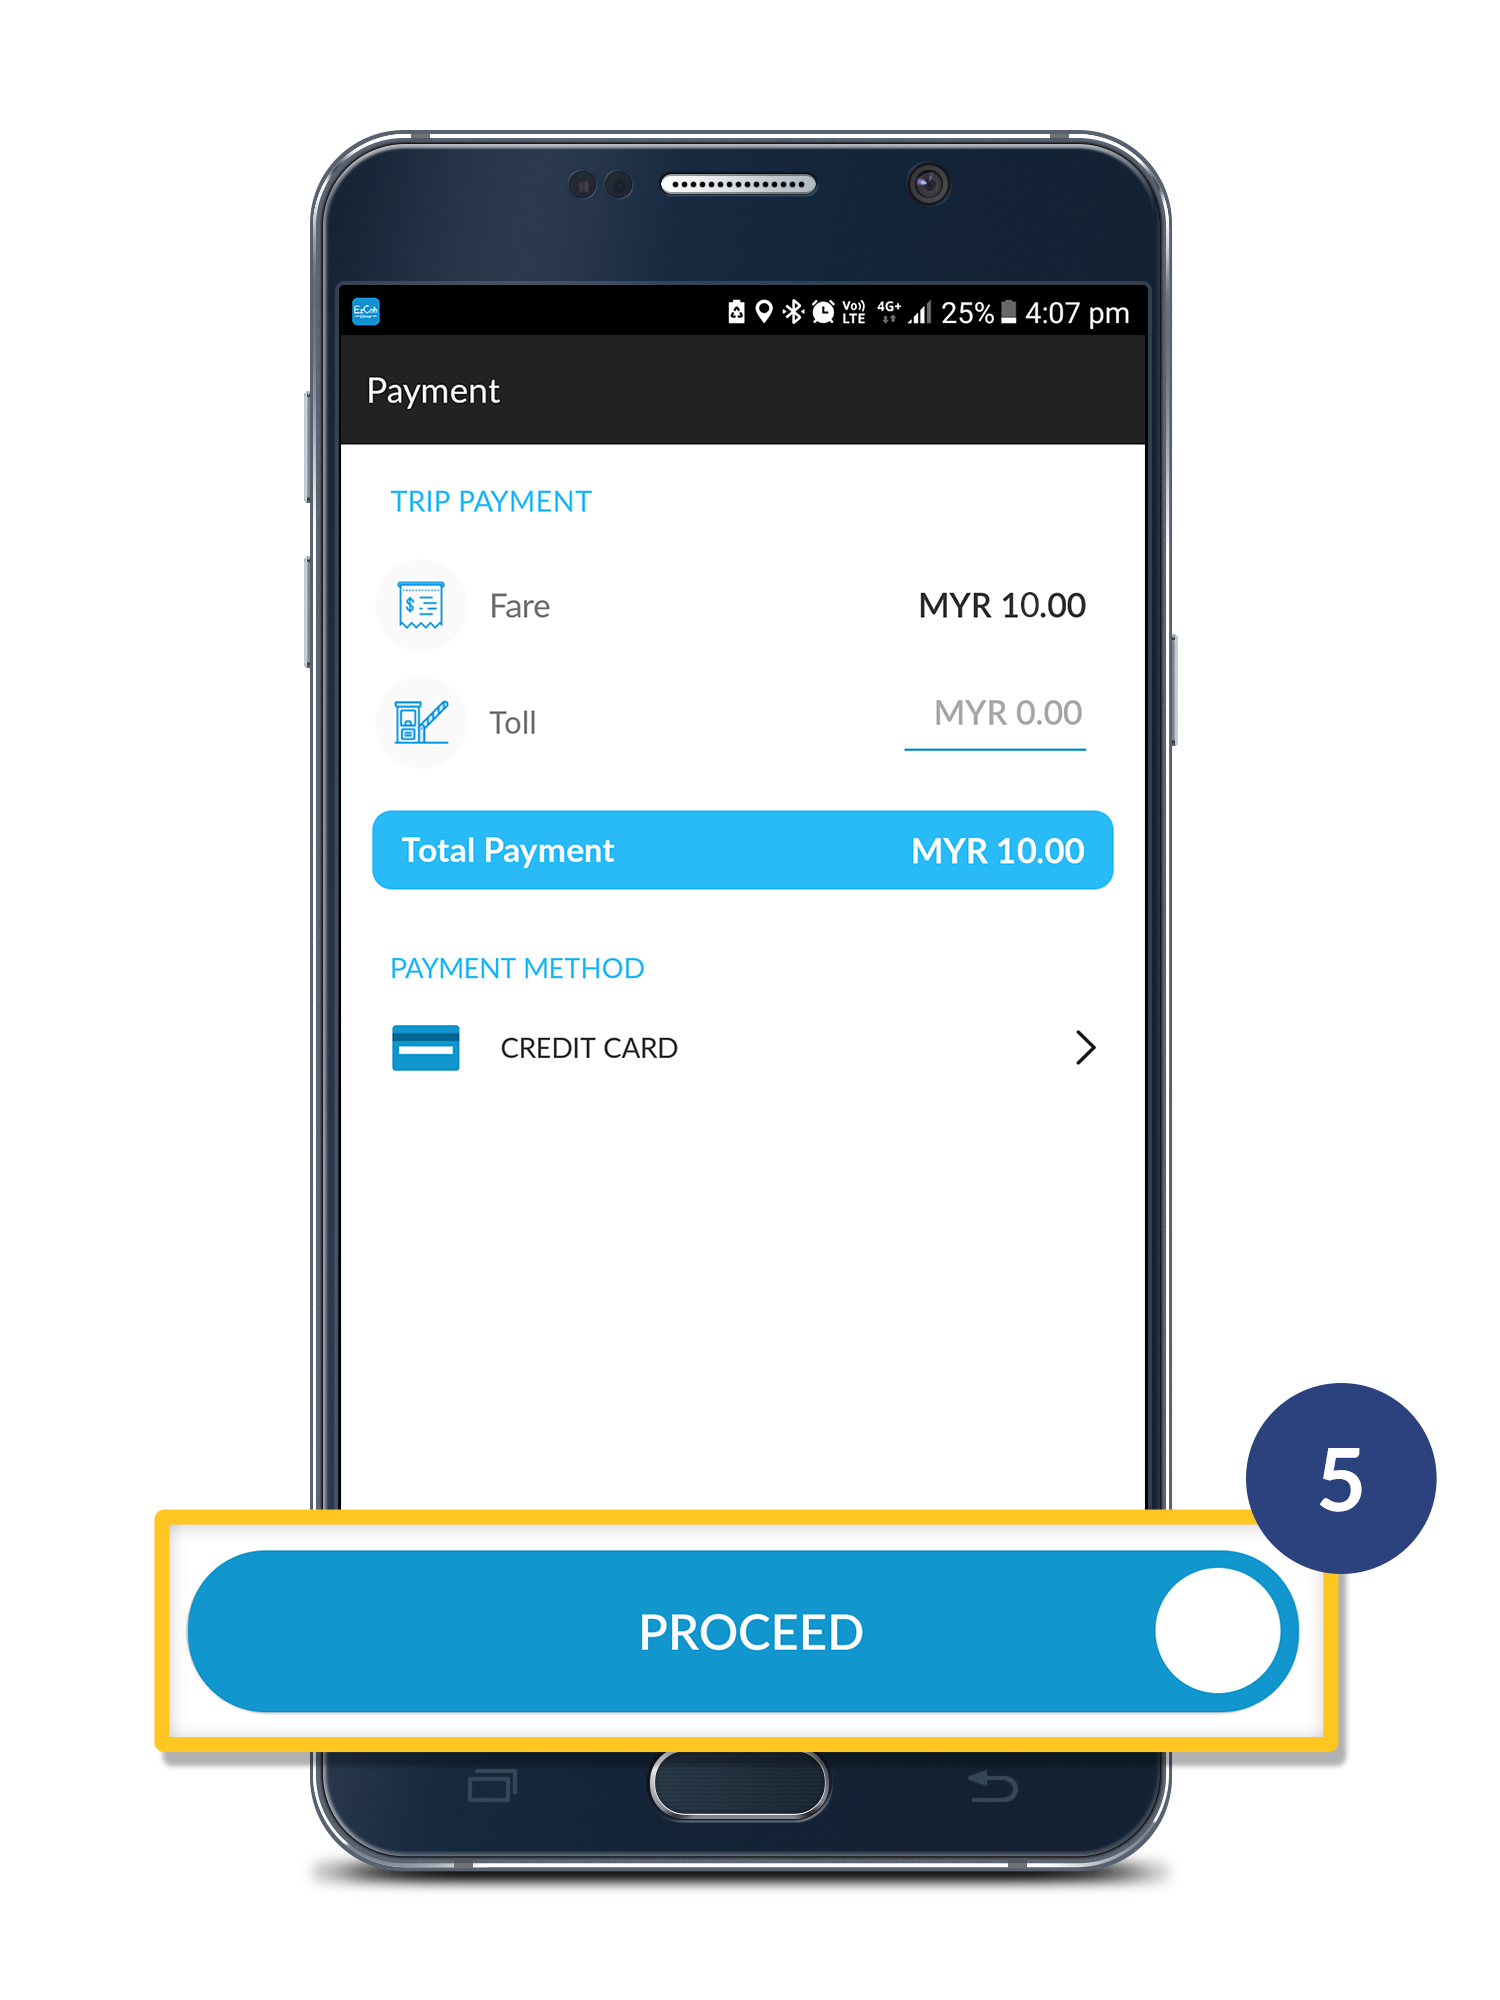
Step 4
Closing Chat window
Click "" to exit the chat window.
* Message history will clear once Picked up.

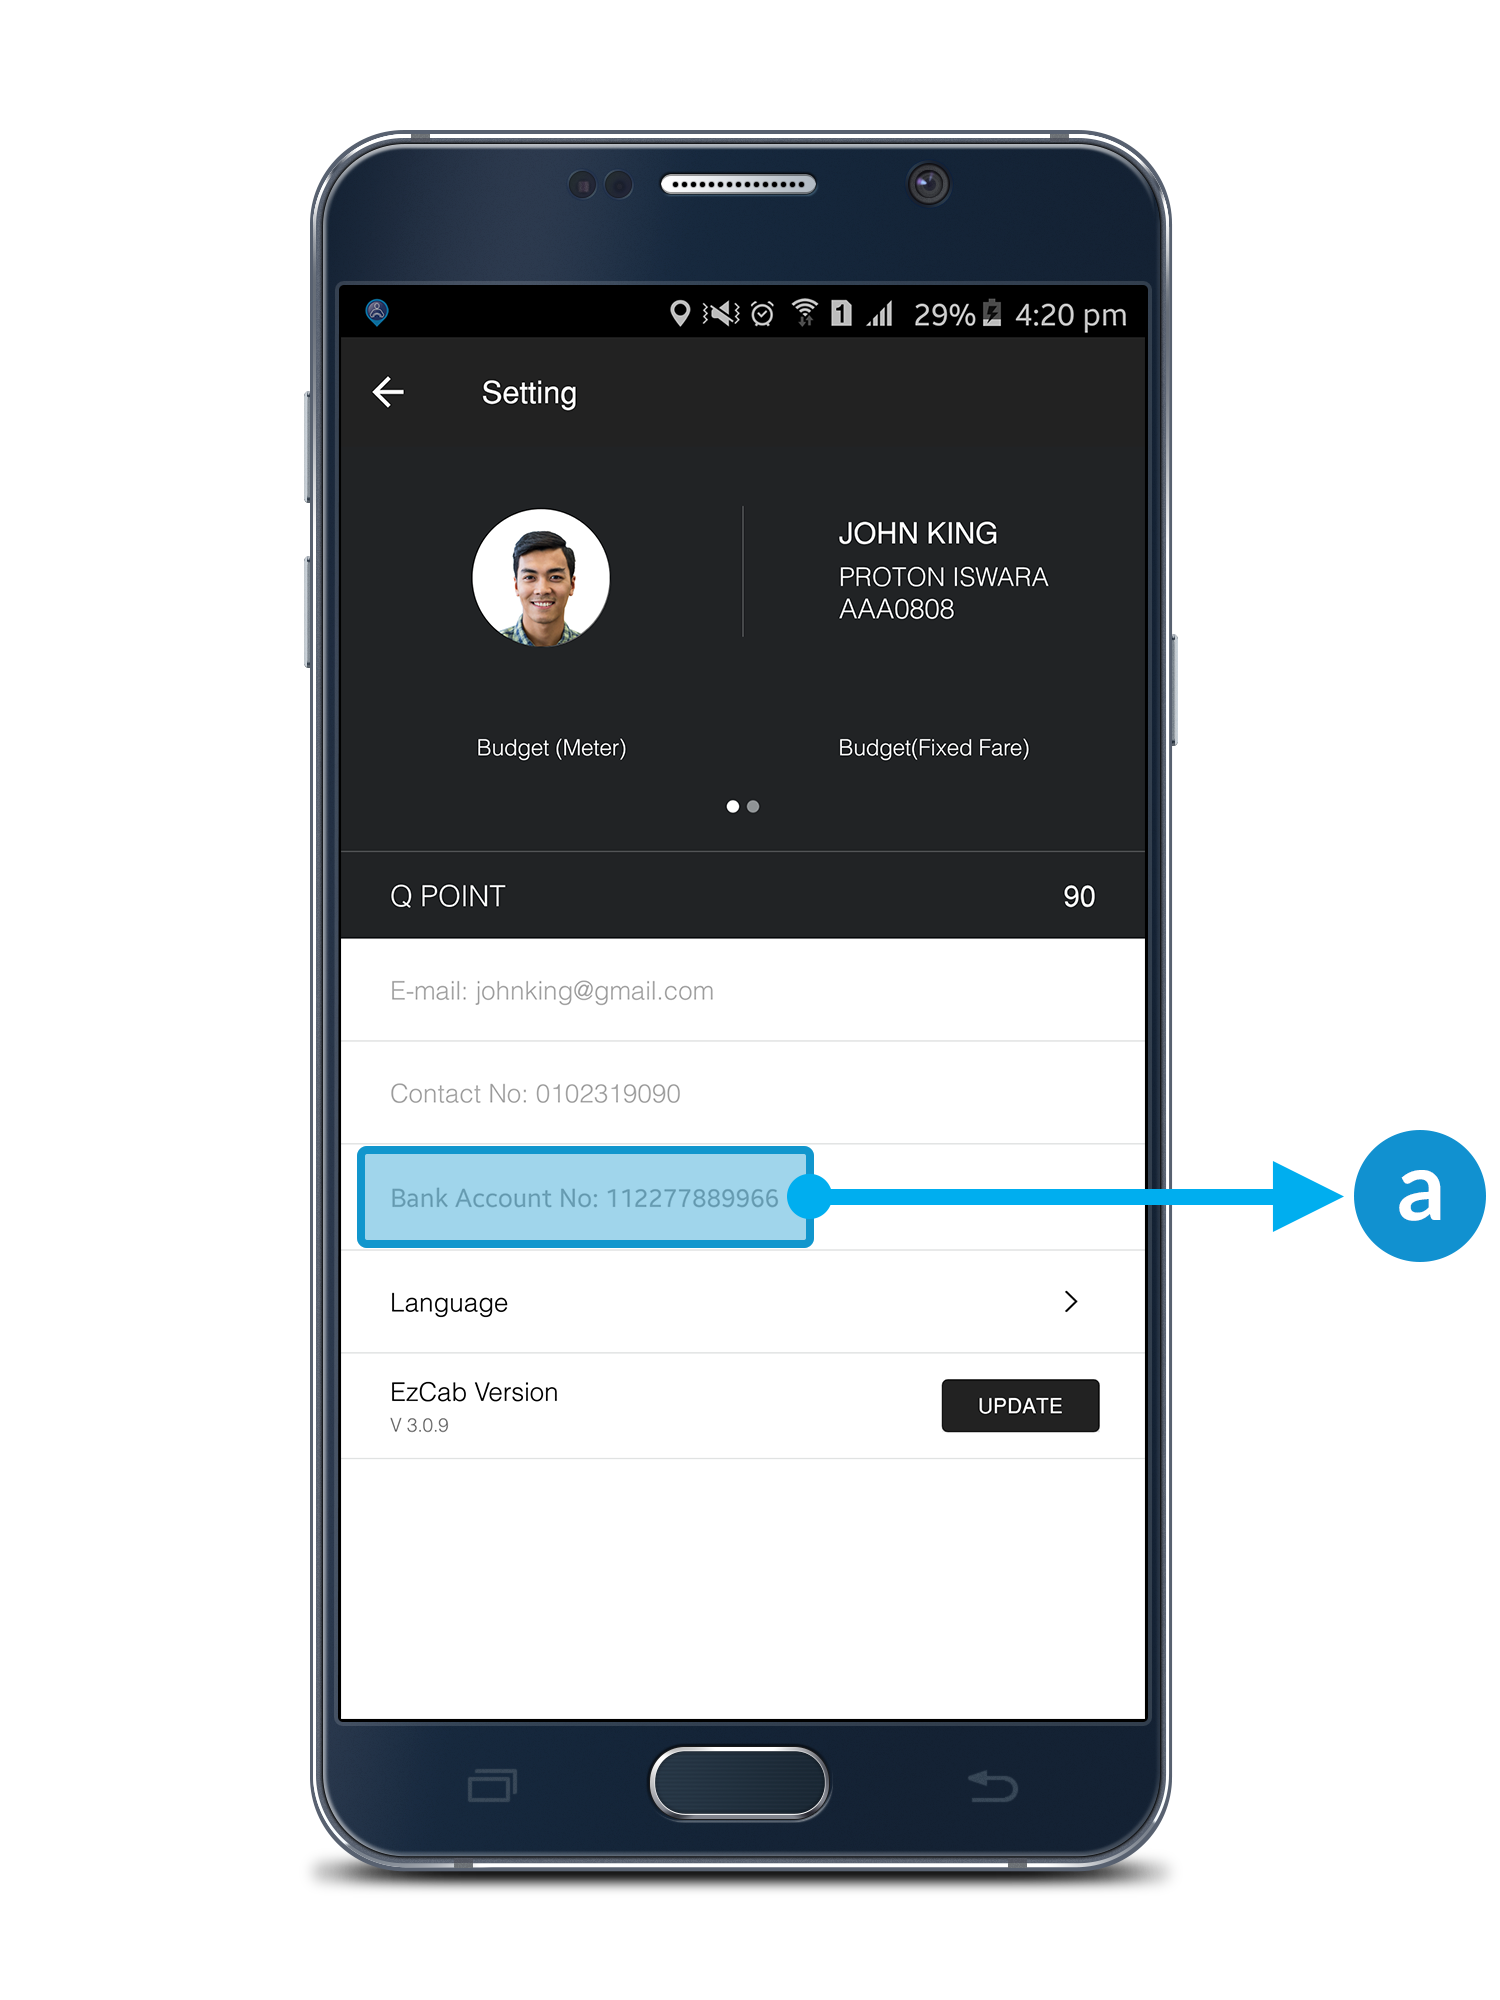
Message Notification
a. Notification will pop up on top.
b. A small red notification will show on the "" Driver can click and open up the Chat Window.

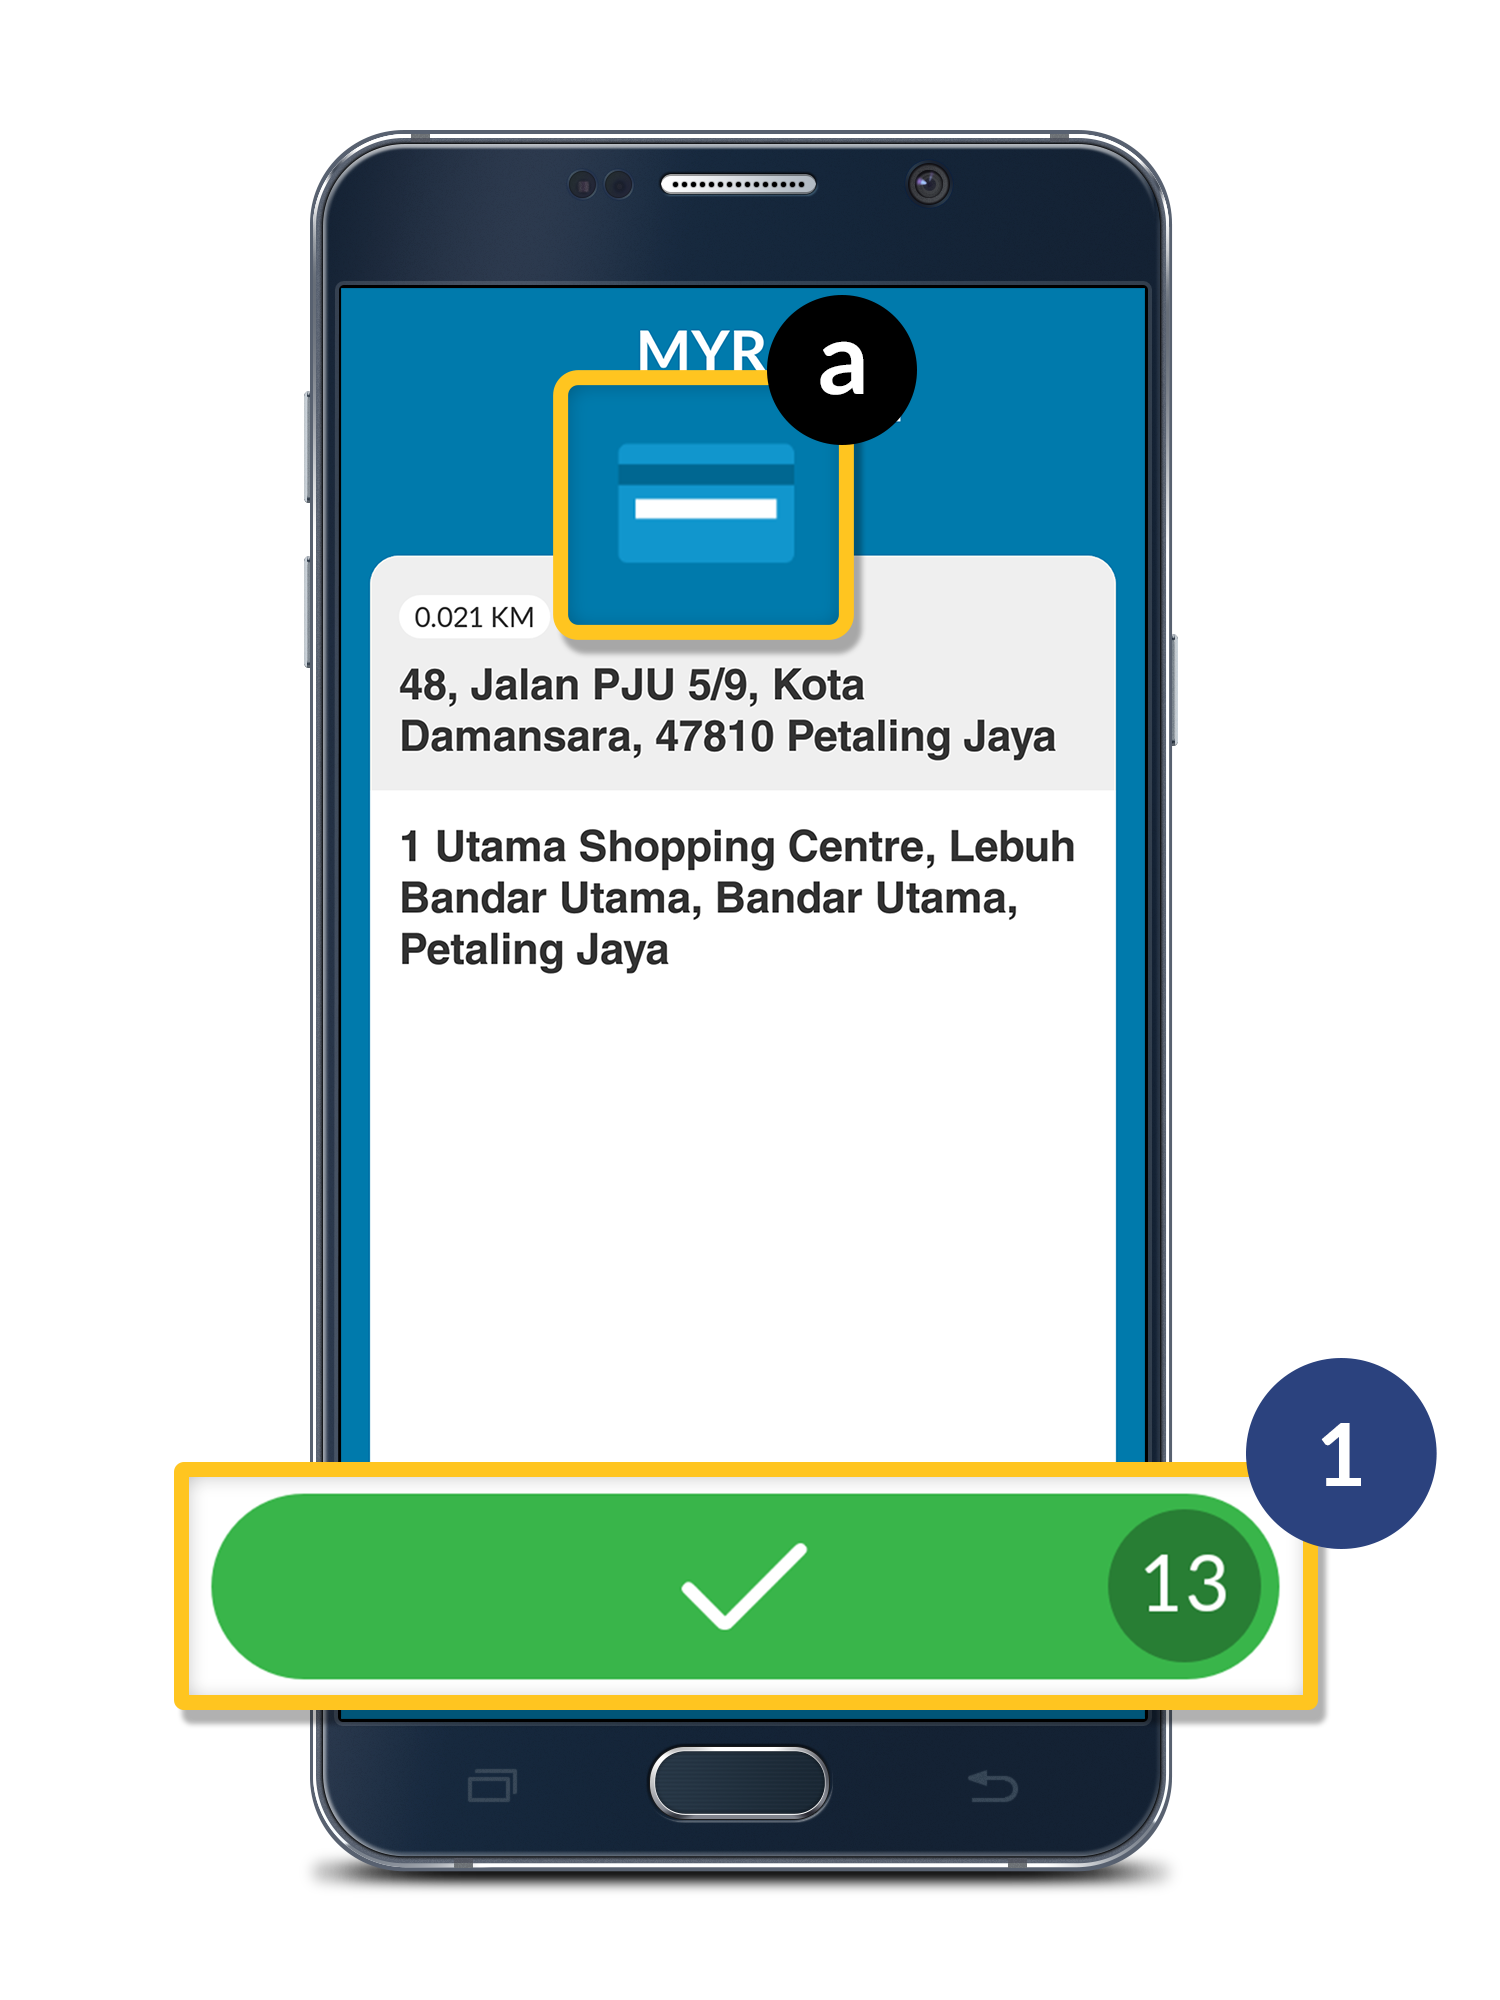

 in your EzDriver app.